
Configuring Inspection Parameters
Overview
This guide explains how to configure inspection settings in EPR FireWorks Back-Office. These settings control inspection procedures, schedules, reporting requirements, and workflow management for fire prevention activities within the EPR FireWorks system.
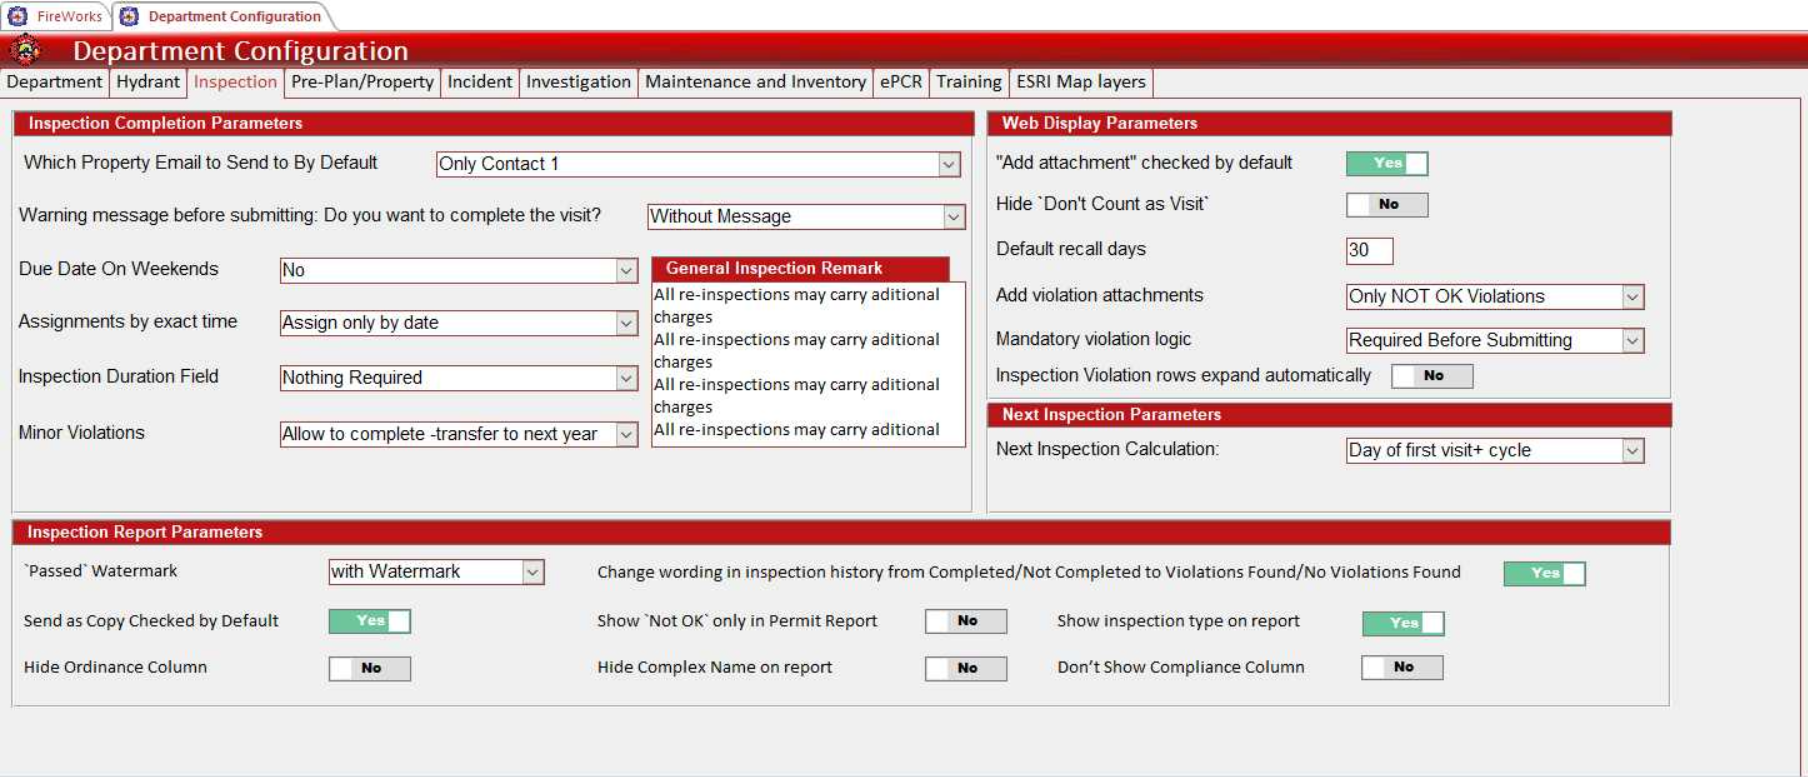
The Inspection Configuration interface organizes parameters into four sections: Inspection Completion Parameters, Web Display Parameters, Next Inspection Parameters, and Inspection Report Parameters.
Before You Start
Before you configure inspection settings in EPR FireWorks, ensure:
You have administrator permissions in EPR FireWorks Back-Office
Department inspection policies and procedures are documented
Email notification requirements and reporting preferences are established
To access the configuration interface:
Navigate to Management > Department Settings > Department Configuration.
Click the Inspection tab.
Configure Inspection Completion Parameters
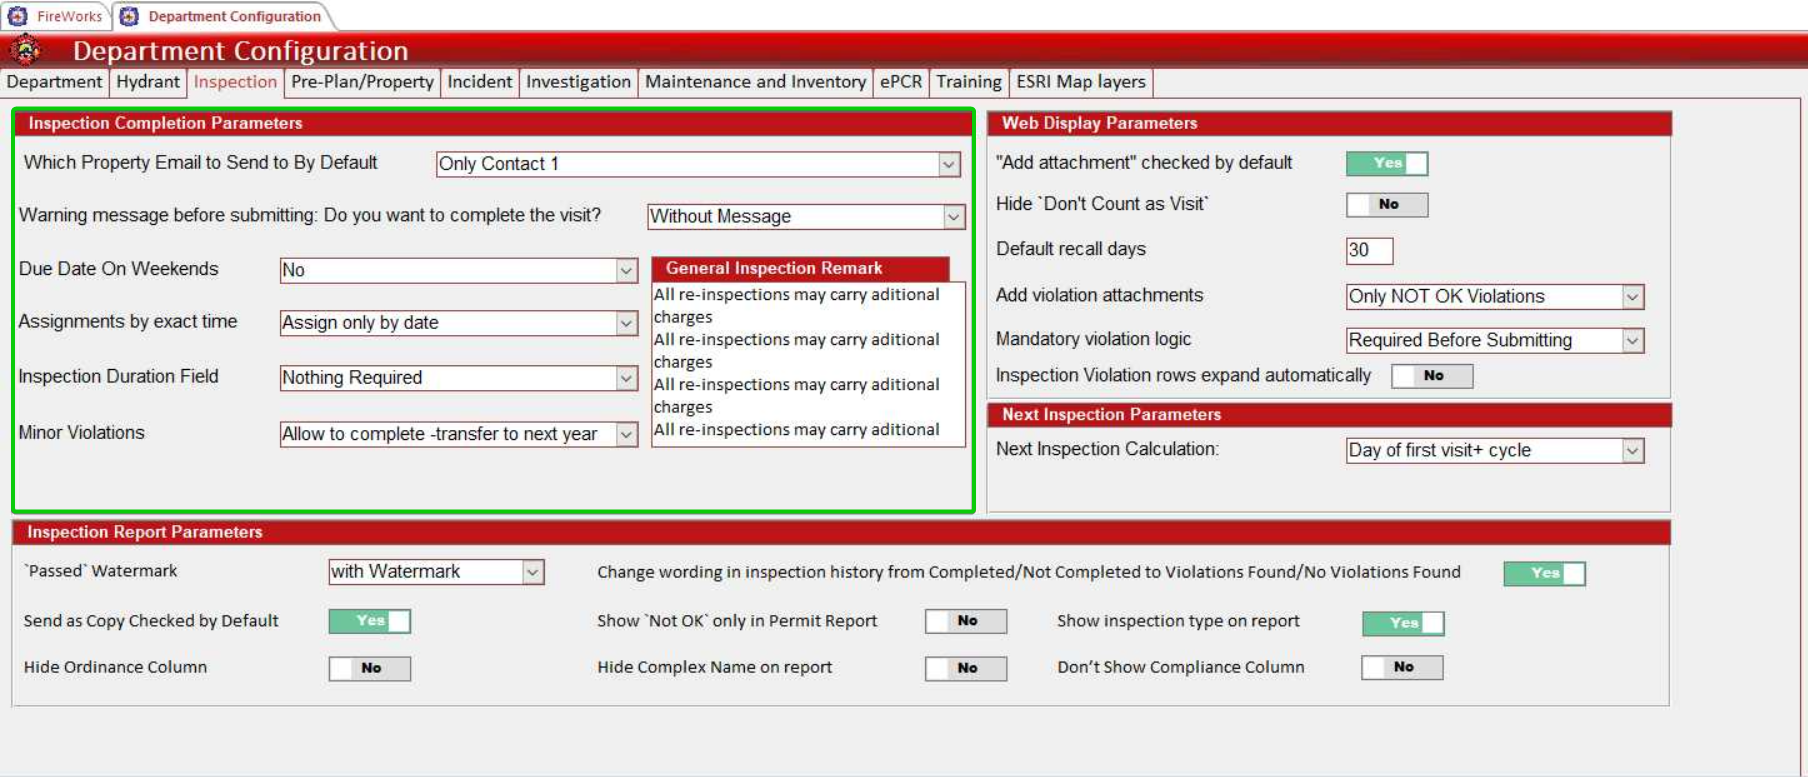
Configure Which Property Email to Send By Default:
Only Contact 1: Sends to primary contact only
Contact 1 and Contact 2: Sends to both primary contacts
Contact 1 and Parent property contact 1: Sends to primary contact and parent property contact
Set Warning message before submitting: Do you want to complete the visit?:
Without Message: No confirmation prompt
With Message: Displays confirmation prompt
Configure Due Date On Weekends:
Yes: Allows weekend due dates
No: Restricts to weekdays only
Set Assignments by exact time:
Assign only by date: Date-only scheduling
Assign Inspections by time of day: Includes specific time slots for inspections
Assign Inspections and Pre-Plans by time of day: Time-based scheduling for inspections and pre-plans
Configure Inspection Duration Field:
Nothing Required: No time tracking
Visit Duration Fields Required: Inspectors complete duration fields
Time Tracking Required + Hide Duration Fields: System tracks time, fields hidden
Time Tracking Required + Don't Hide Duration Fields: System tracks time, fields visible
Visit Duration Fields + Time Tracking Required: Both inspector entry and system tracking
Set Minor Violations:
Hide option of minor violations: Option unavailable in interface
Allow to complete: Fix during current inspection
Allow to complete -transfer to next year: Fix but carry forward to next inspection
Configure Web Display Parameters
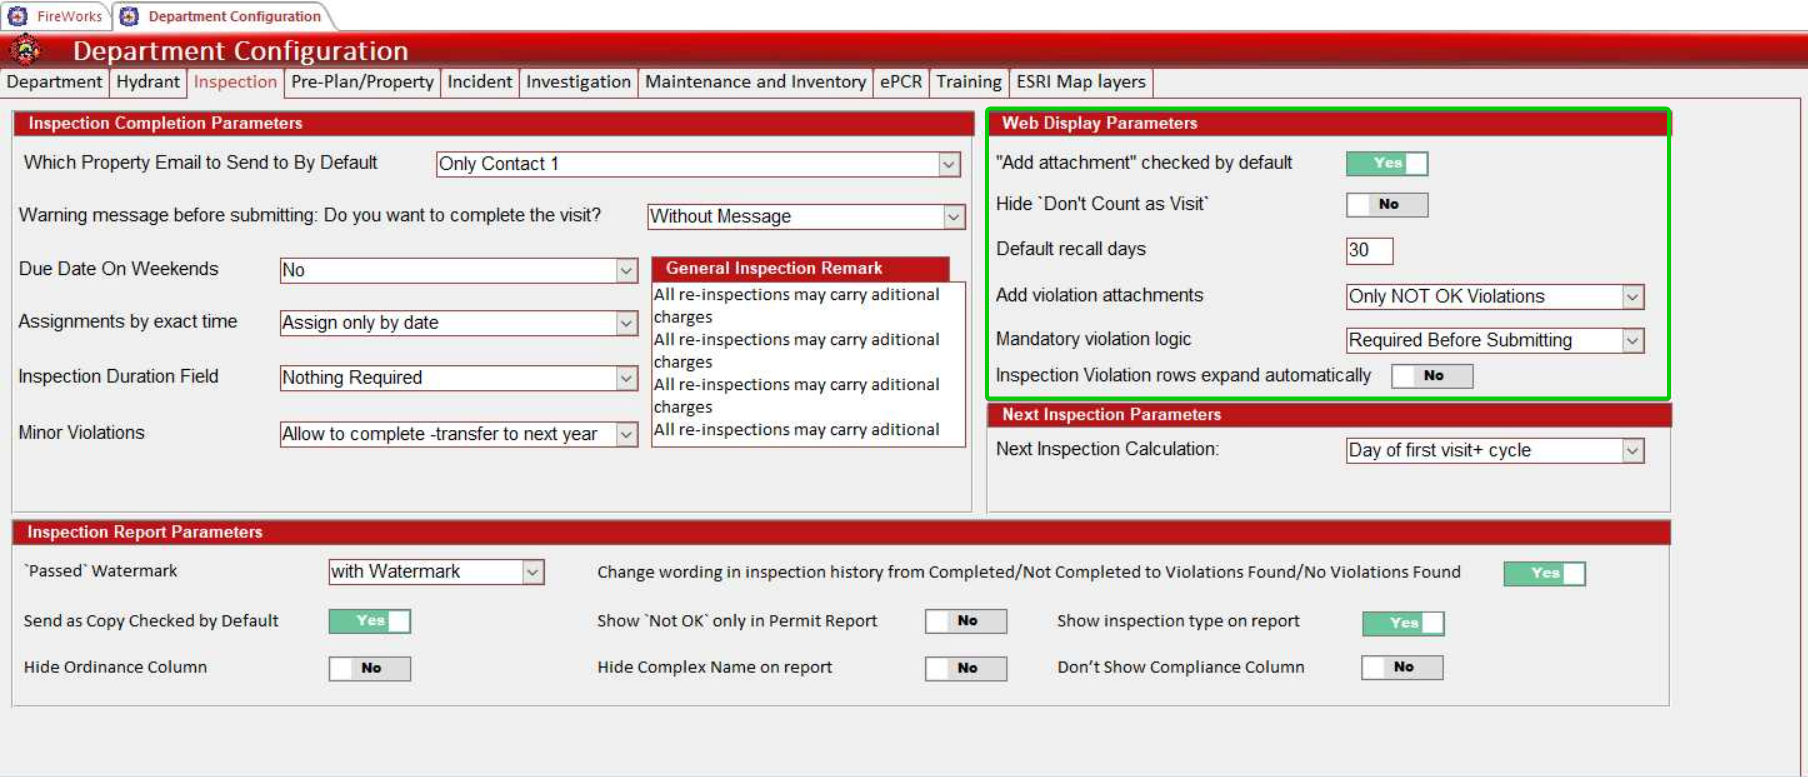
Set "Add attachment" checked by default:
Yes: Attachment option pre-selected
No: Attachment option not pre-selected
Configure Hide 'Don't Count as Visit':
Yes: Field hidden from inspectors
No: Field visible to inspectors
Enter Default recall days for the standard recall period.
Set Add violation attachments:
All Attachments: Required for all violations, including fixed
Only NOT OK Violations: Required only for NOT OK violations
Configure Mandatory violation logic:
Required Before Submitting: Must complete all violation logic before submission
Default To 'NOT OK': Violations default to NOT OK status
Set Inspection Violation rows expand automatically:
Yes: Violation rows expand automatically
No: Violation rows remain collapsed
Configure Next Inspection Parameters
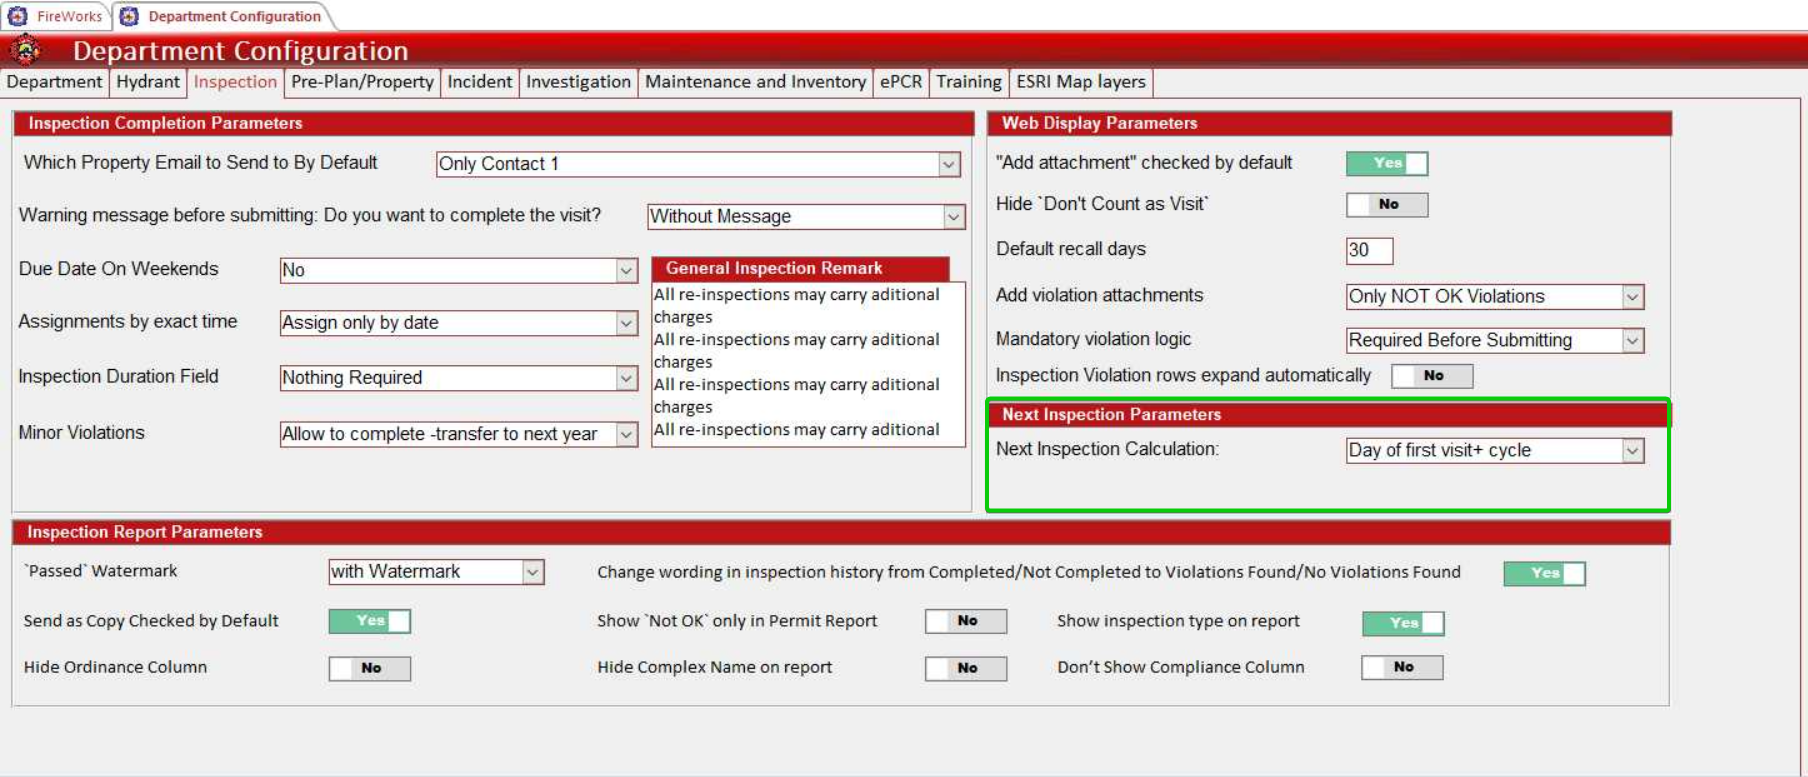
Set Next Inspection Calculation:
Day finished+ cycle: From completion date
Day of first visit+ cycle: From initial visit date
Original due date + cycle: From original due date
Configure Inspection Report Parameters
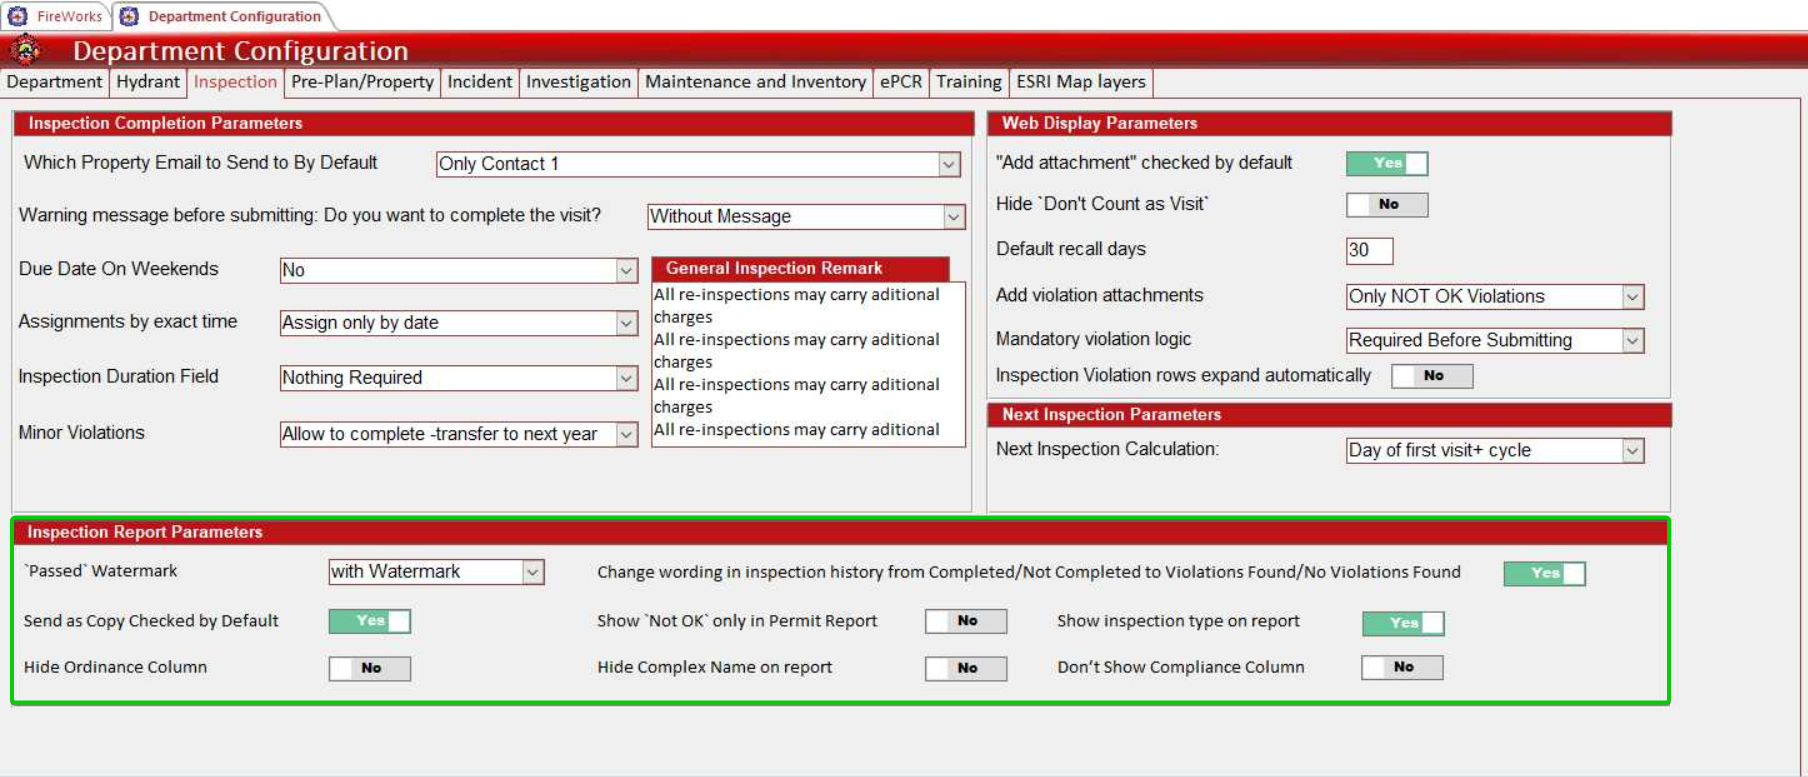
Configure 'Passed' Watermark:
with Watermark: Adds watermark to passed inspection reports
without Watermark: No watermark on reports
Set Send as Copy Checked by Default:
Yes: Copy option pre-selected
No: Copy option not pre-selected
Configure Hide Ordinance Column:
Yes: Ordinance column hidden
No: Ordinance column visible
Set Change wording in inspection history from Completed/Not Completed to Violations Found/No Violations Found:
Yes: Uses violation-focused language
No: Uses completion-focused language
Configure Show 'Not OK' only in Permit Report:
Yes: Displays only violations in permit reports
No: Shows all inspection results
Set Show inspection type on report:
Yes: Includes inspection type details
No: Excludes inspection type
Configure Hide Complex Name on report:
Yes: Complex name hidden
No: Complex name displayed
Set Don't Show Compliance Column:
Yes: Compliance column hidden
No: Compliance column visible
Important: Changes to inspection configuration affect existing inspection workflows and scheduled inspections. Coordinate modifications with fire prevention personnel before implementing system-wide changes.