Complete a Pre-Plan (FireWorks PRO)
What you'll learn: How to complete property pre-plans on-site with mobile device for immediate incident response availability.
Overview
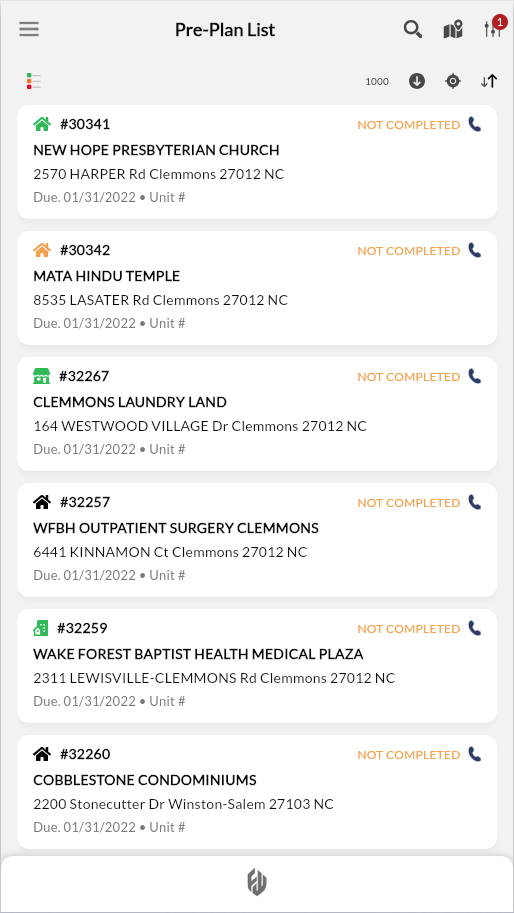
Before you begin: From Pre-Plan list, tap your assignment, then tap Pre-Plan Details to open.
Pre-plans document tactical information that informs apparatus deployment and water supply decisions during incidents. The mobile app guides you through property verification, tactical marker placement with configurable floor-level properties, and needed fire flow calculations. Submit when complete to make tactical data immediately available for incident response.
Tip: Assign floor numbers to tactical markers for multi-story properties to enable floor-filtered viewing during incidents.
Review Property Information
Review assignment details and compliance requirements.
Review Pre-Plan details and Property Info to verify accuracy.
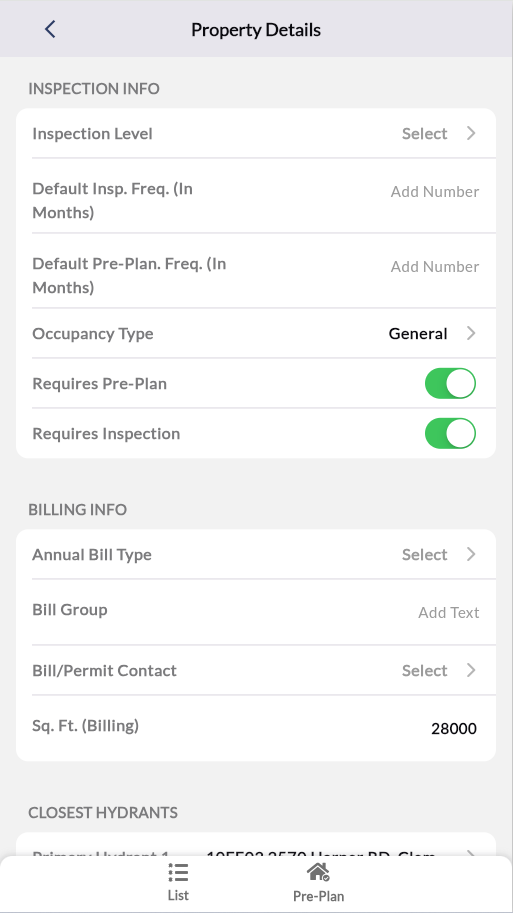
In Property Info, navigate to Inspection Info
Verify Requires Pre-Plan set to On.
Result: Assignment information verified and compliance confirmed.
If "Requires Pre-Plan" is set to “Off”: Contact the department administrator immediately. Do not proceed.
Tip: Navigate to Property Info > Activities to review past pre-plans, inspections, and permits before documenting new tactical features.
Access Property Map
Open the property map for tactical marker placement.
Tap Property Info >
 .
.Locate property using zoom controls and street view.
Review current markers:
Tap
 to view and/or update existing markers.
Tap
 to view, add, or modify floors.
Result: Map ready for tactical marker placement.
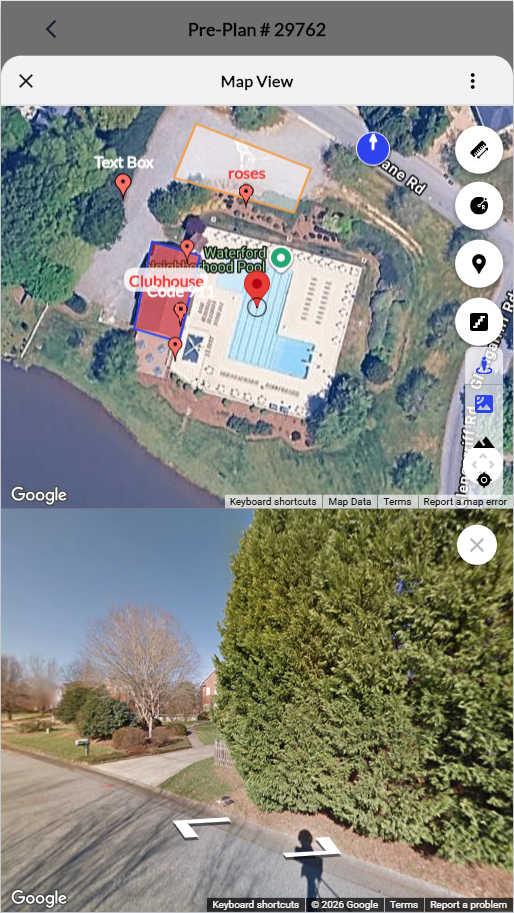
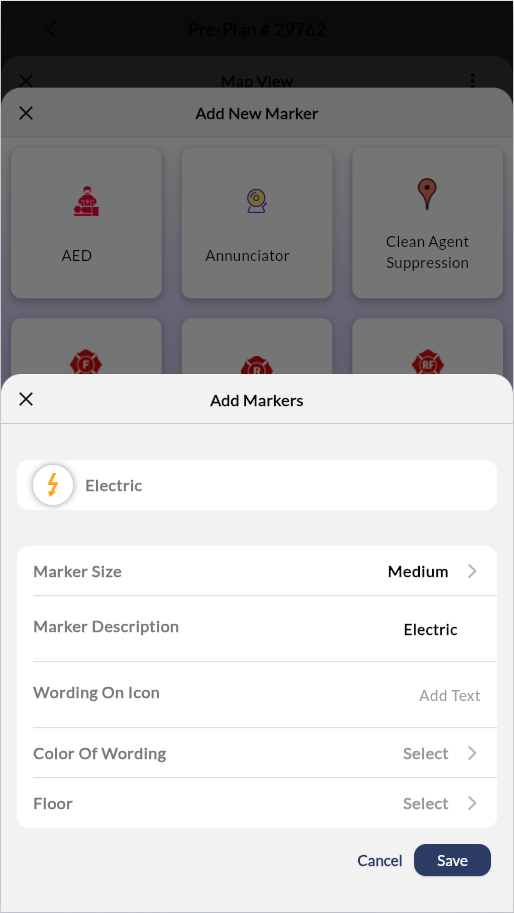
Add Tactical Marker
Mark critical fire safety features.
In Map View, press and hold the marker’s exact location on the map.
Select the marker from the available categories.
Press Create.
Edit marker details.
When done, tap save to return to the map.
Repeat steps 1-5 for all relevant markers.
Result: Marker placed on map. Configure properties before saving.
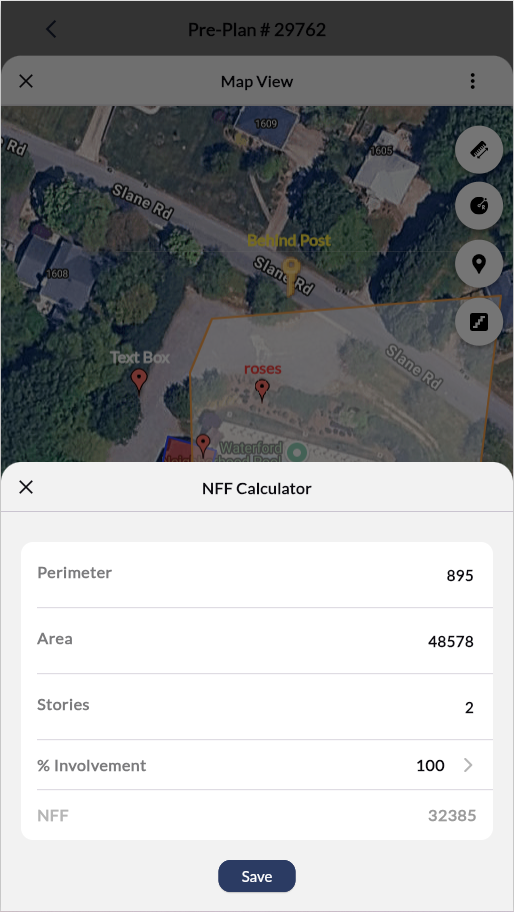
Measure Property and Calculate Needed Fire Flow
Determine water supply requirements for apparatus deployment.
In Map View, press and hold anywhere on the map.
Select Measure Property.
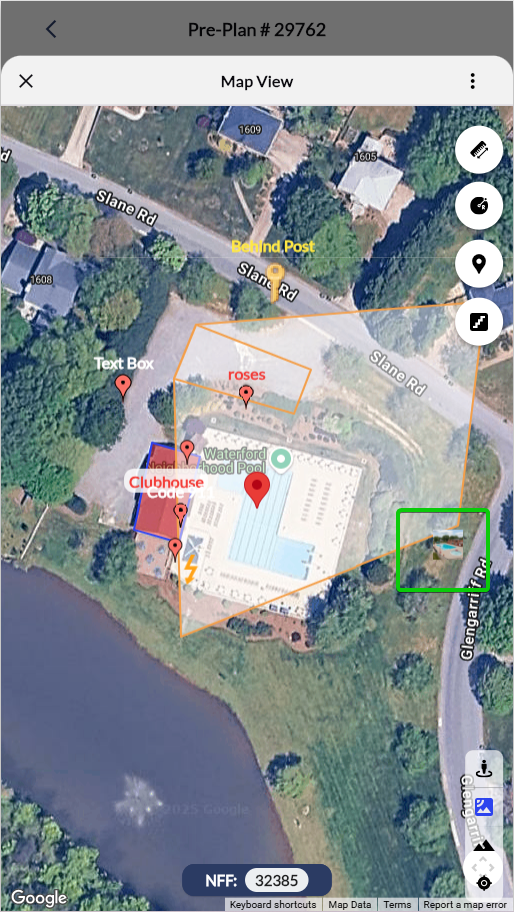
Tap corners to place boundary points (red squares) around the complete perimeter.
Review auto-calculated NFF at 100% involvement (displayed in bottom field).
Tap the NFF field to adjust involvement and polygon measurements.
Result: Needed Fire Flow calculated and displayed according to pre-plan requirements.
Add Property Images
Document visual features at specific map locations.
To add existing images:
In Map View, press and hold the desired map location
Select Property Image
Select the image from device storage
Result: Image appears on the map at the selected location.
To capture new photos: Use ![]() > Property Attachments >
> Property Attachments > ![]() . Photos are attached directly to the property record (not map-positioned).
. Photos are attached directly to the property record (not map-positioned).
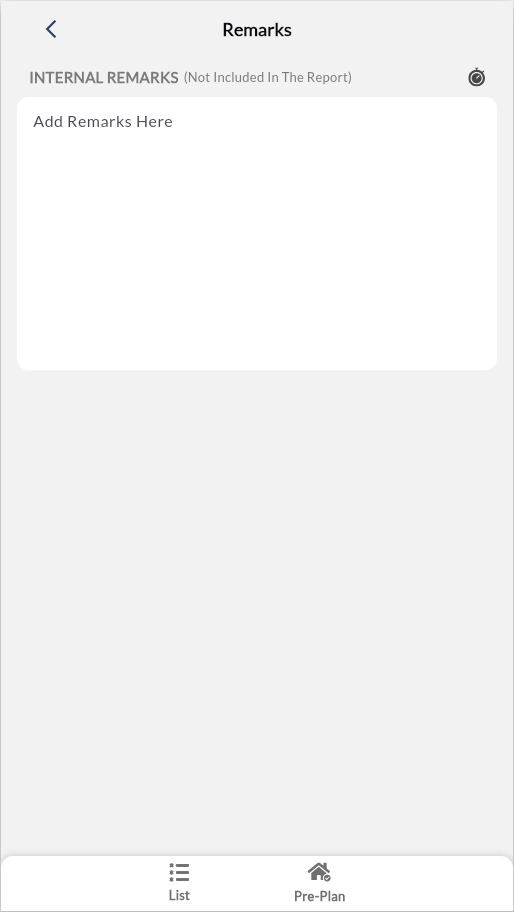
Document Internal Remarks
Add observations and notes with timestamps.
In the main pre-plan page, tap Remarks.
Enter observations and notes (internal).
Tap
 to insert the current date/time.
Result: Internal remarks saved to pre-plan record (will not appear on distributed report).
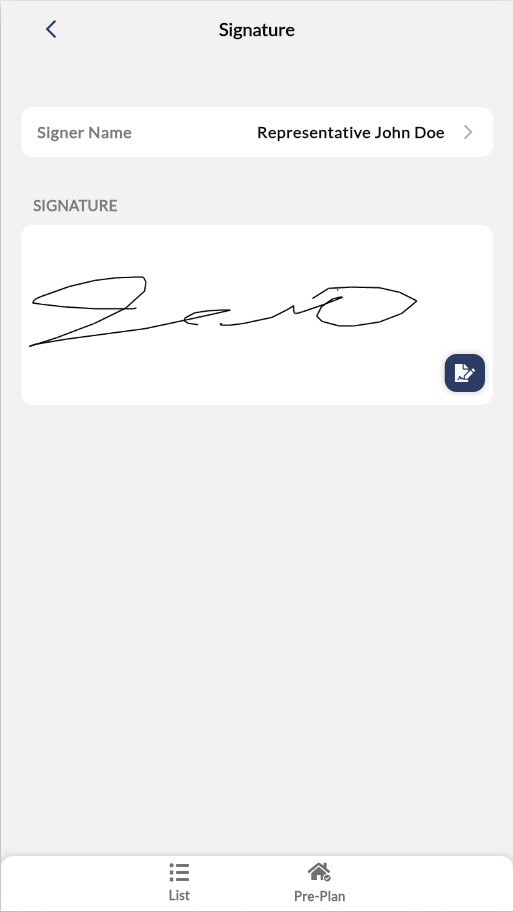
Capture Signature
Obtain the property owner’s or representative’s signature.
Tap Signatures from Summary section
Tap the Signer Name field
Select signer from list (property owner, representative, or inspector).
Tap
 to open the signature editor.
 Have the signer draw their signature on the screen.
When done, tap
 .
. Return to the pre-plan screen when complete.
Result: Signature saved with identification and timestamp.
Note: Tap the edit icon (pen) in the signature canvas to clear the signature and redraw.
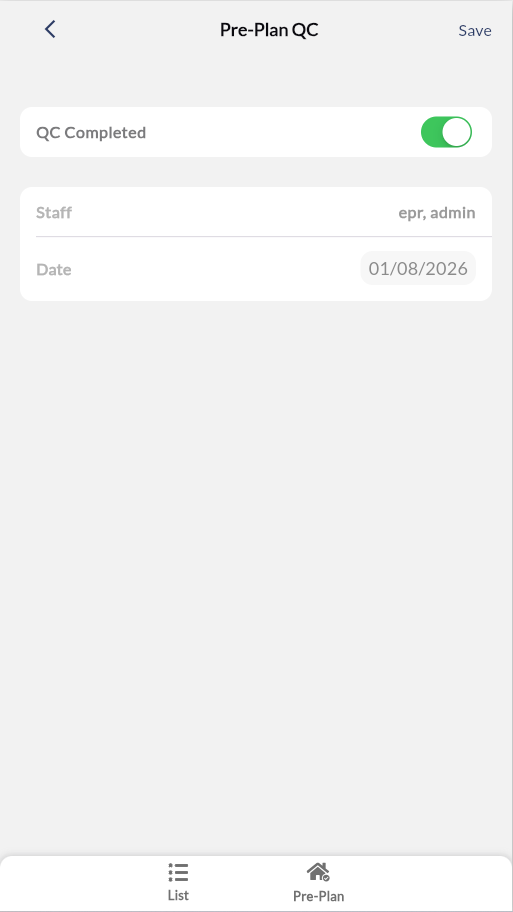
Complete Pre-Plan QC
Mark quality control review as complete.
Note: QC permissions required.
Tap Pre-Plan QC from the Summary section.
Toggle QC Completed to On.
Result: QC status saved. Pre-plan marked as reviewed.
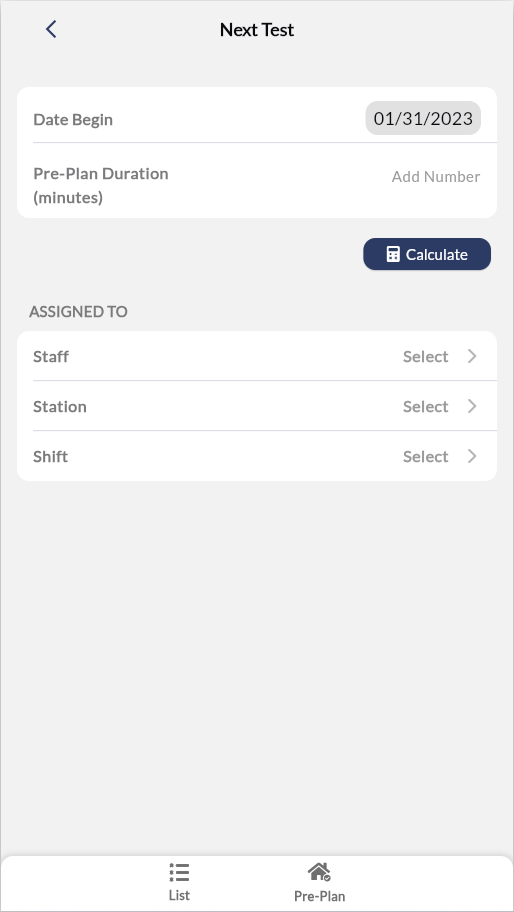
Schedule Next Pre-Plan
Set automatic scheduling for the next property inspection.
Tap Next Pre-Plan from the Summary section.
Review Date Begin (auto-calculated from last inspection and risk rating).
Do any of the following:
Accept default schedule: Tap Calculate to confirm the auto-calculated date
Adjust duration: Enter Pre-Plan Duration (minutes), then tap Calculate
Select custom date: Modify Date Begin, then tap Calculate.
Assign personnel: Select Staff, Station, and Shift for next pre-plan
Result: Next pre-plan automatically scheduled with assigned personnel.
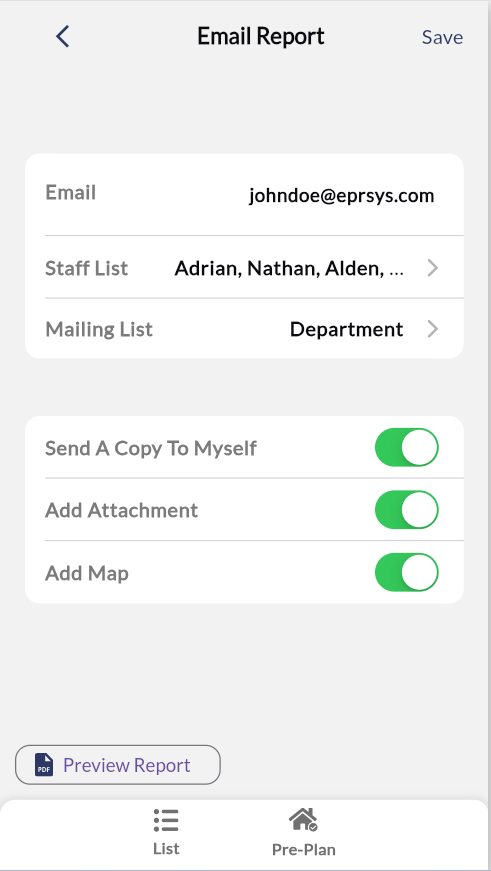
Configure Email Distribution
Set recipients for pre-plan report distribution.
Tap Email Report from the Summary section.
Select recipient method:
Individual recipients: Tap the Email field, then enter specific email addresses.
Department distribution: Tap Staff List, then select applicable staff members.
Configured groups: Tap Mailing List, then select distribution groups.
Configure report options:
Toggle Send A Copy To Myself to receive a confirmation copy.
Toggle Add Attachment to include supporting documentation.
Toggle Add Map to include tactical map view.
When done, press Save, and then return to the main pre-plan page.
Result: Email distribution configured with selected recipients and report options.
Tip: Tap Preview Report to review email content before submission.
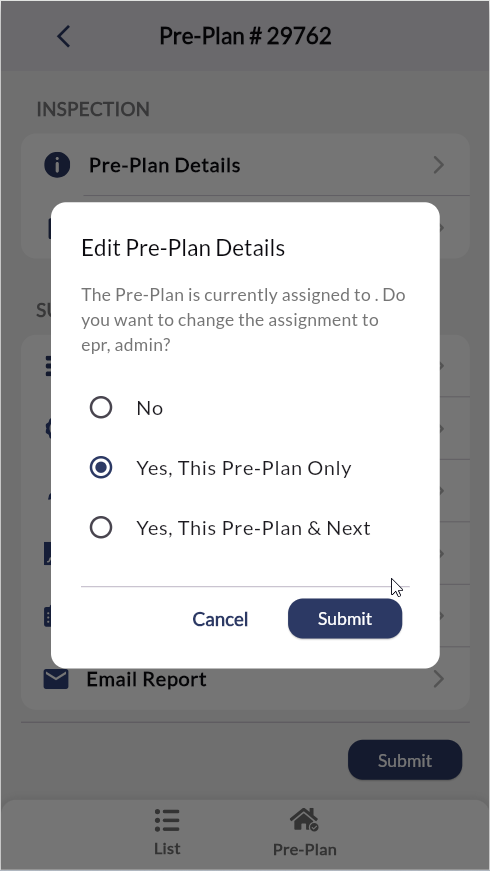
Submit Pre-Plan
Finalize and submit completed pre-plan.
Return to pre-plan main screen.
Tap Submit button at bottom.
Result: Pre-plan submits to supervisor with confirmation timestamp and report distribution. Tactical data is immediately available for incident response planning.
If validation errors appear: Fix flagged issues, then resubmit.
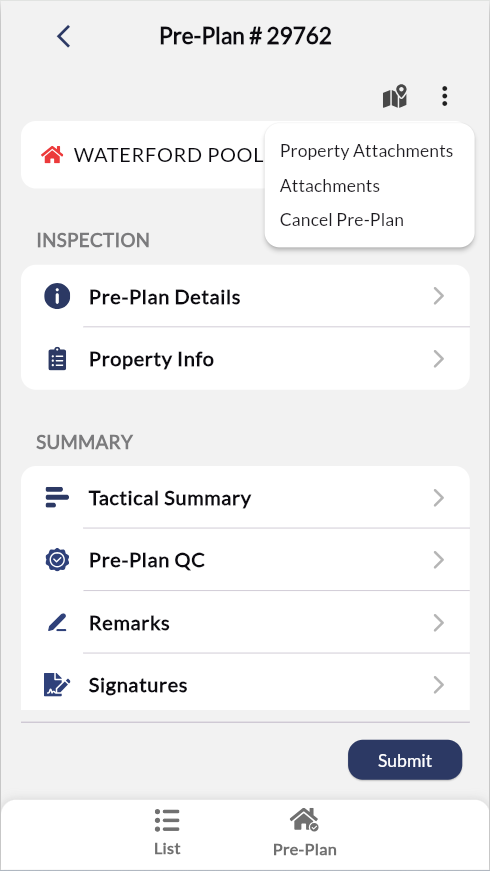
Additional Actions
Access supplementary functions through the menu.
Access through three-dots menu (upper right):
Property Attachments: Add files associated with the property record.
Attachments: Add files from device storage, capture camera photos, and add links to the pre-plan report.
Cancel Pre-Plan: Cancel inspection if needed.