Complete an Inspection (FireWorks PRO)
What you'll learn: How to open, document, and submit inspections in FireWorks PRO.
Overview
Open inspections to access property details, complete sections to document findings, and submit when finished. Auto-save protects your work throughout the process.
Open the inspection
Tap any inspection card to access property details, required sections, and previous inspection history.
Document Preconfigured Violations
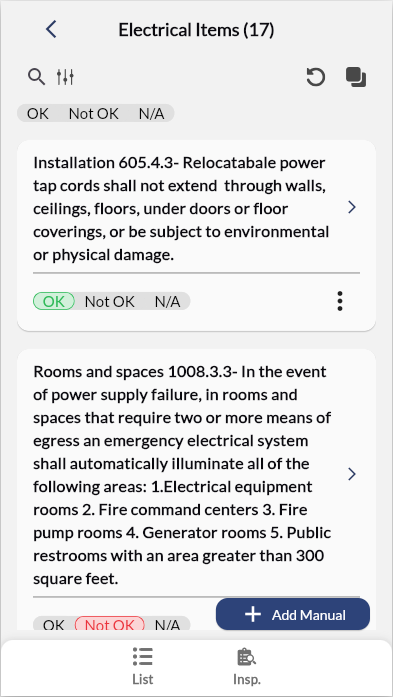
Complete Violation Sections
Document inspection findings. Work through sections one at a time. Complete required sections (red asterisks) before submission.
Tap Violations
Locate the violation section (Fire Exits, Sprinklers, etc.)
Mark each item: OK, Not OK, or N/A
Add violation details for items marked Not OK (see next section)
Repeat for all applicable sections
Note: Sections save automatically as you work.
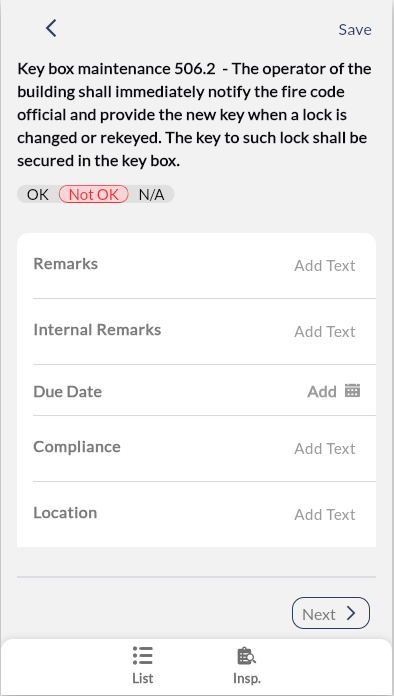
Add Violation Details
Document violation specifics. If you marked any item Not OK, provide location and corrective action details.
Tap the Not OK violation
Complete required fields (Location, Corrective Action, Due Date)
Add inspection evidence. Tap Attachments (bottom of page), and then select the attachment type you need.
Tap Save.
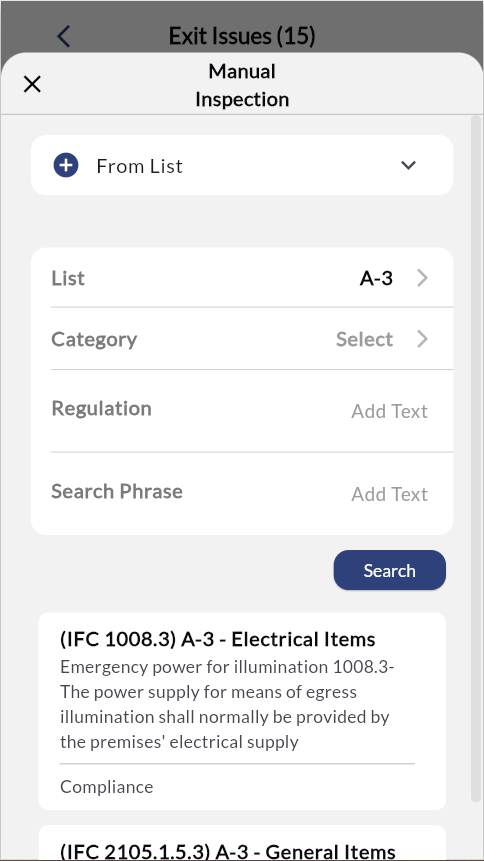
Add Manual Violations
You can add violations to the violation lists where the state of the inspection requires you to do so.
In the violation list, tap Add Manual.
Select the list or standard associated with the violation.
Complete violation details.
Click Search.
Select the violation from the search results below.
Note: If you are adding a violation that does not appear on any list or standard, add the violation’s details manually.
Result: The violation is now part of the preset violation list for the current inspection.
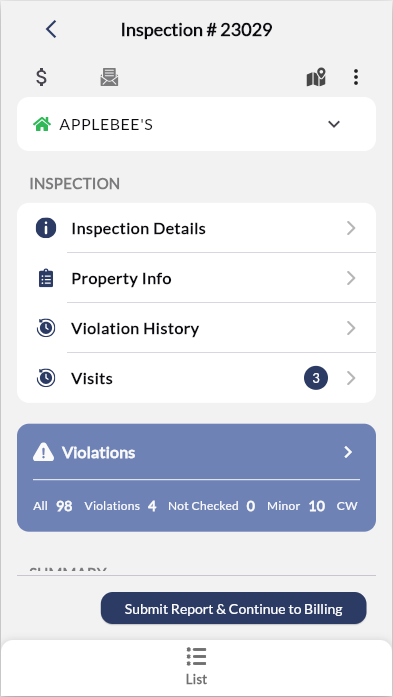
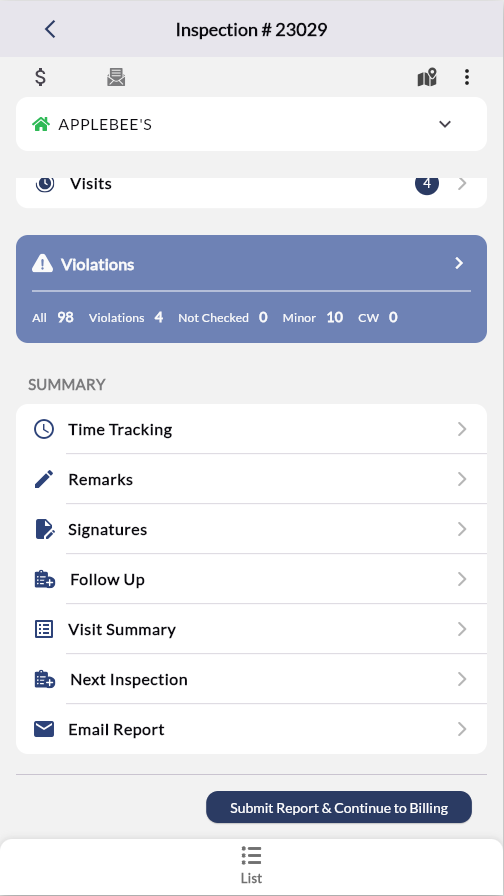
Submit for Review
Review all required sections for completeness before submitting. The system validates data and flags any missing required fields or incomplete sections.
Review all required sections for accuracy.
Tap Submit (or Submit Report & Continue to Billing if billing is involved).
Review Validation Results if errors appear.
Fix flagged errors (incomplete required fields, missing photos).
Tap Submit again.
Result: Inspection status changes to COMPLETED in the inspections list. If billing is required, you're redirected to the Billing interface automatically.
Submit Bills
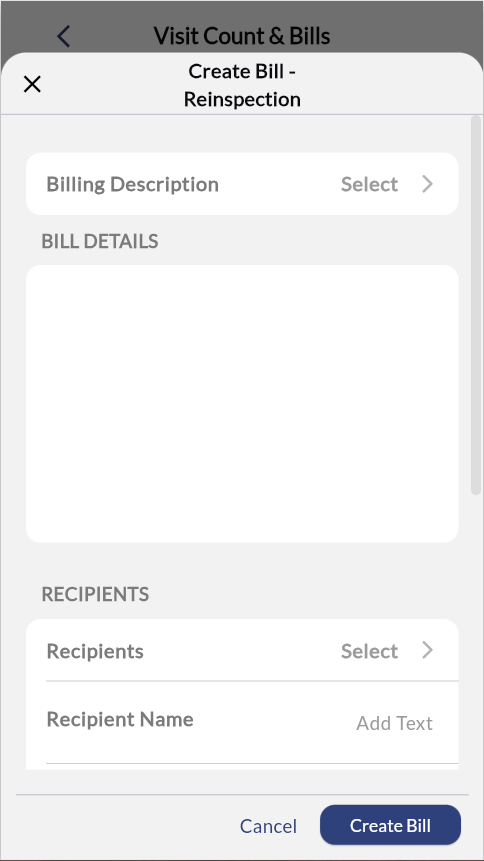
Create inspection bill. If inspection requires billing, generate bill in Billing interface (appears after inspection submission).
In Billing interface, scroll to current inspection
Tap Create Bill
Complete billing details (Amount, Payment Method, Due Date)
Optional: Add additional fees via Add Fee button at bottom
Complete fee details if adding fees
Tap Create Bill
Result: Bill was created and linked to the inspection. The property owner will receive an email notification with payment details and due date.