
Defining Filters and Lists
Overview
This guide explains how to configure filters in EPR FireWorks for hydrant testing operations to organize hydrant lists and avoid missing untested hydrants.
Using Filters
Configure filter parameters to display relevant hydrants for your operational requirements.
Click Filters at the top right corner of the Hydrants Test page.
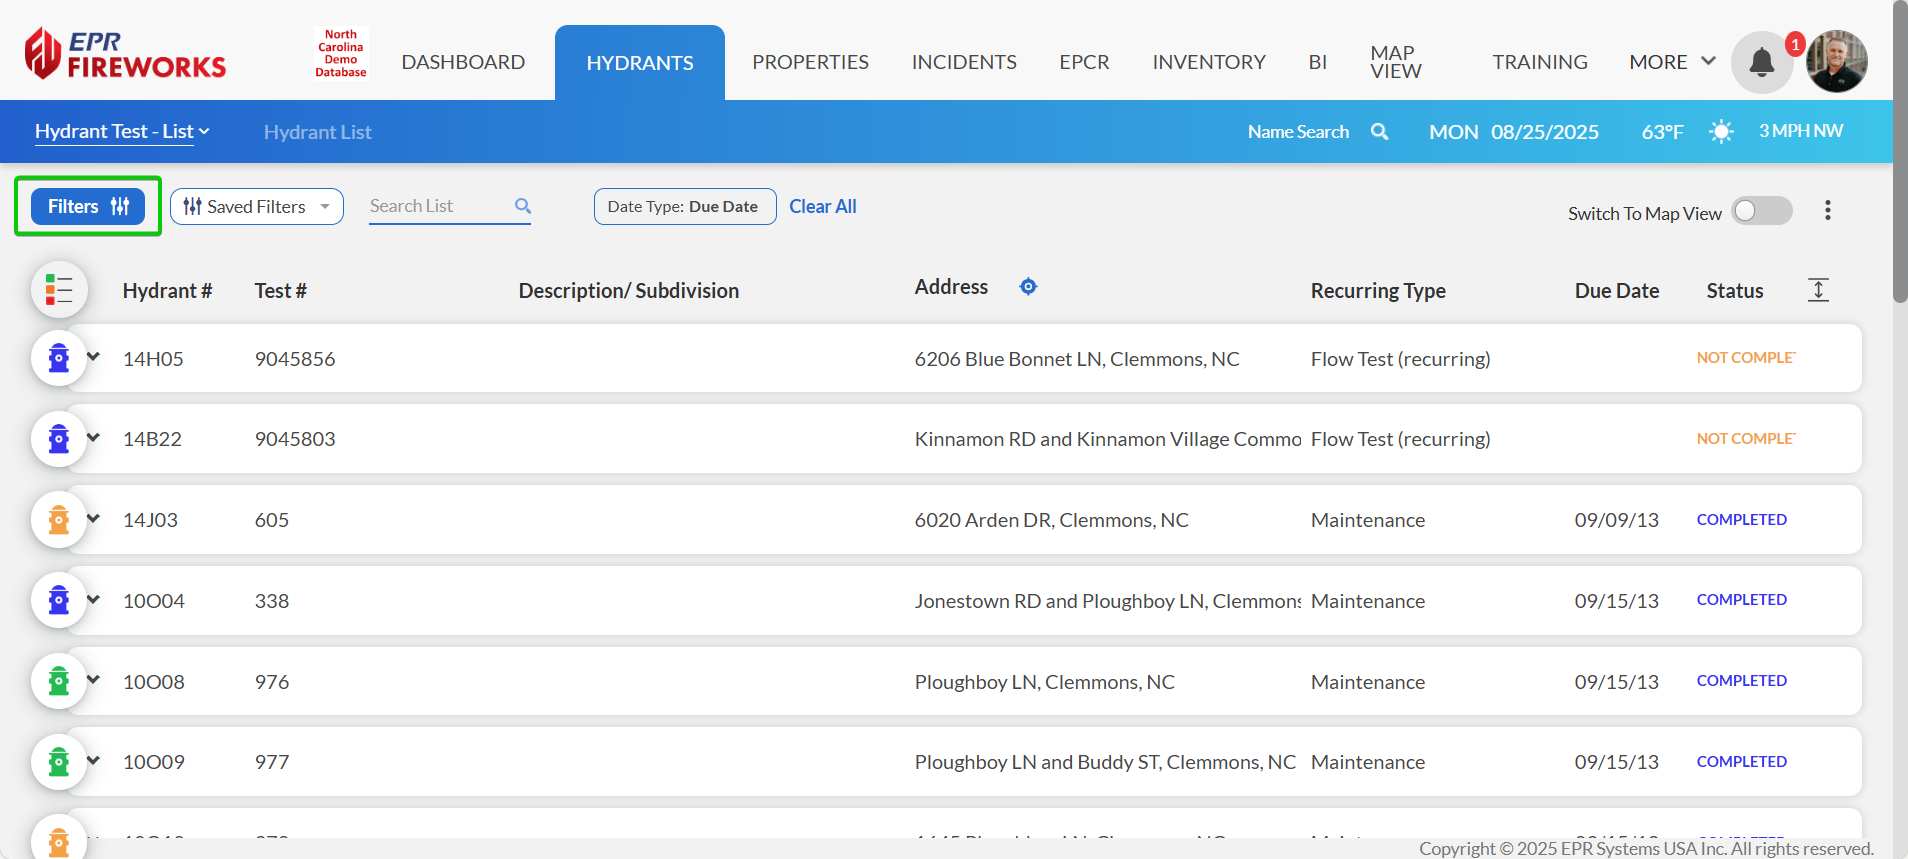
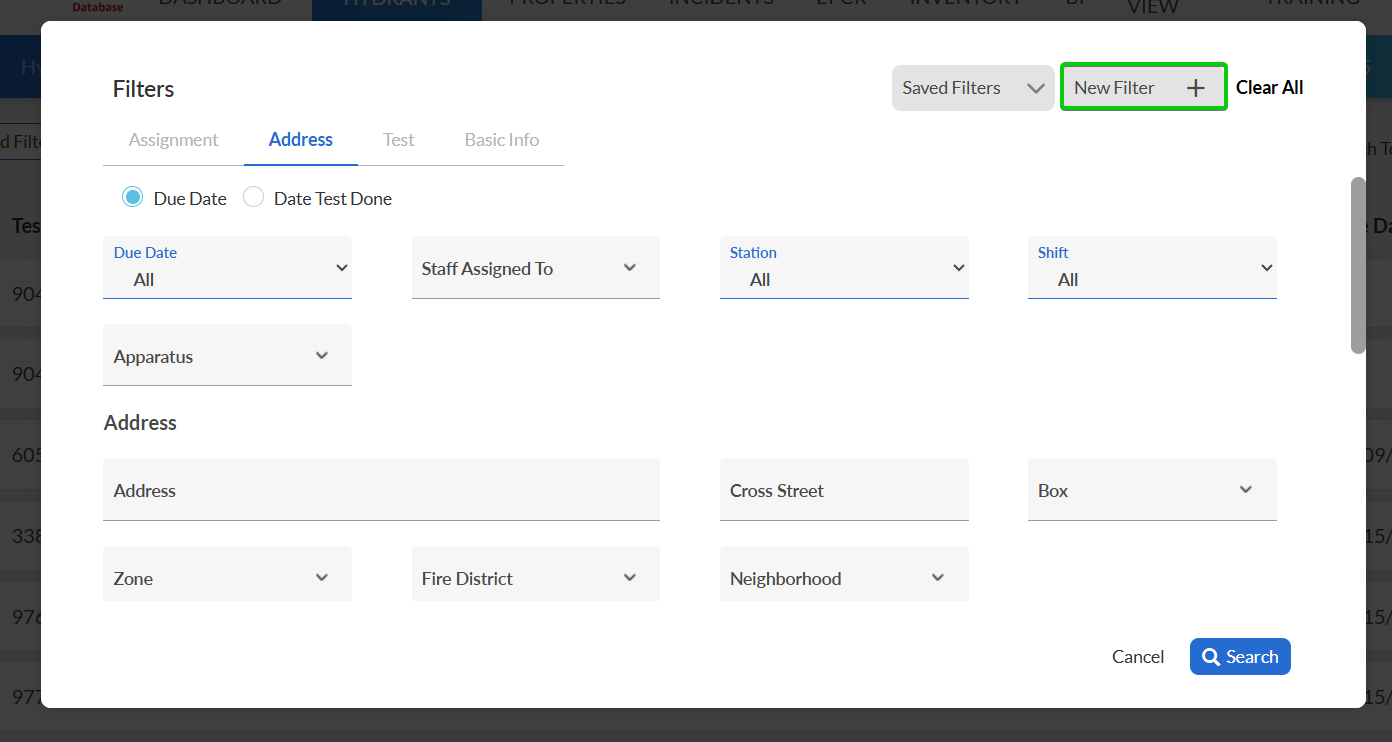
In the Filters window, define filters according to your requirements.
Assignment tab: Configure Due Date, Station, Shift, Staff Assigned To, and Apparatus.
Address tab: Set Zone, Fire District, Neighborhood, specific addresses.
Test tab: Select testing status and parameters.
Basic Info tab: Choose hydrant characteristics.
Click Search.
Creating Filters
Create saved filters to organize hydrant lists for different operational needs without reconfiguring the filters each time.
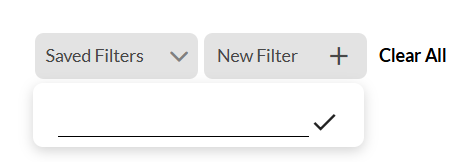
In the Filters window, click New Filter.
Name your filter for easy identification.
Select the appropriate filters from the following sections:
Assignment tab: Due Date, Station, Shift, Staff Assigned To, Apparatus
Address tab: Zone, Fire District, Neighborhood, specific addresses
Test tab: Test #, Test Type (All), Recurring Type (All)
Status (All, Not Incl. Cancelled)
Problem (All Tests)
Basic Info tab: Hydrant characteristics
If this is your default filter, select the Default checkbox on the left.
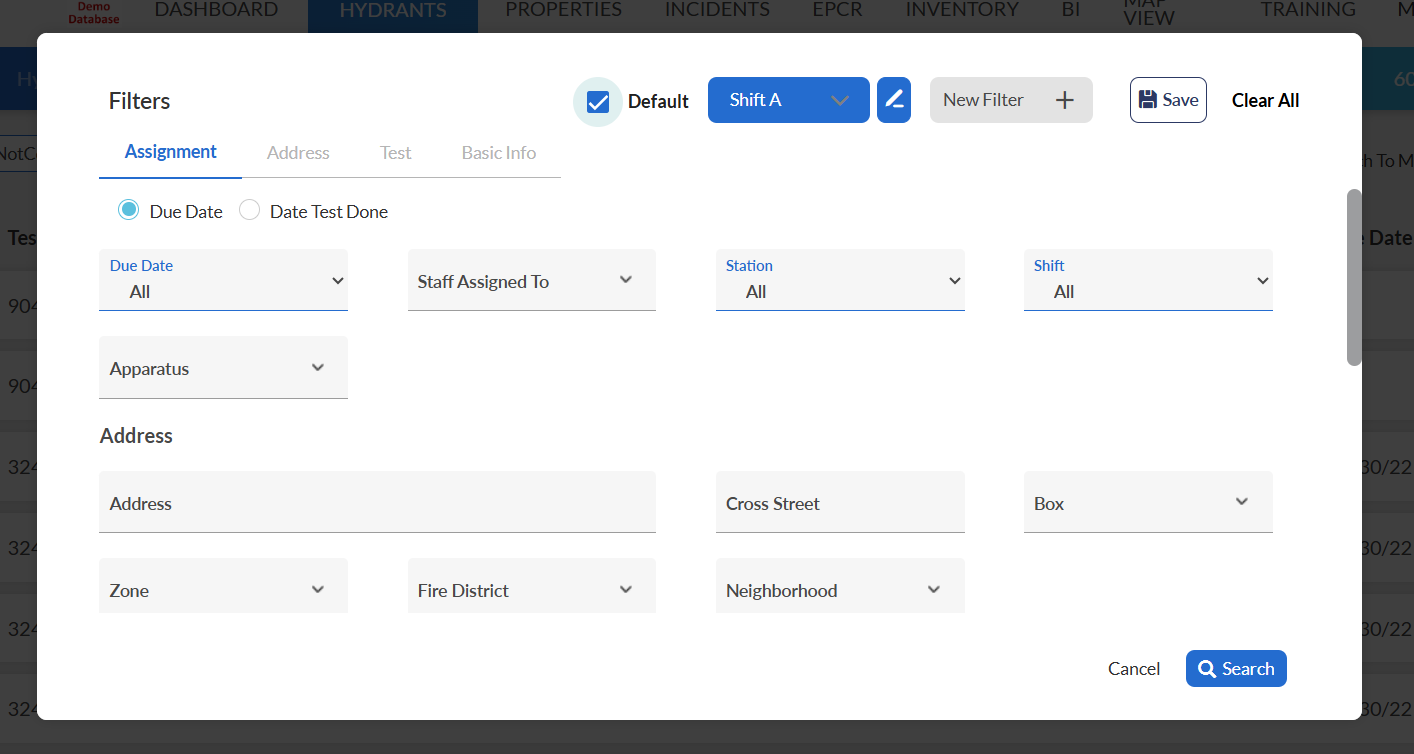
When done, click Save.
Result: Saved filter available for future use with your specified parameters.
Important: When setting up default assignment filters, the Due Date should be set to Until End of the Month to avoid missing overdue hydrants.
Configure filters for operational needs and set defaults to prevent missed hydrants during testing operations.