
Using Map View (Hydrants Module)
Using Map View for Assignment Planning
Overview
This guide explains how to use map view in EPR FireWorks for hydrant testing assignment preparation and hydrant test access. Map view helps you visualize your testing territory, plan efficient routes, and understand geographical context before conducting field operations.
EPR FireWorks provides two map view options: the Hydrants module map view for filtered assignment display, and the dedicated Map View module for comprehensive geographical analysis with ESRI ArcGIS integration.
Assignment Preparation Workflow
Step 1: Configure Your Filters
Before using map view, configure your assignment filters (Defining Filters and Lists) to display the appropriate hydrants for your testing session.
Step 2: Switch to Map View for Route Planning
On the Hydrants list page, locate the Switch Back To List View toggle in the upper right.
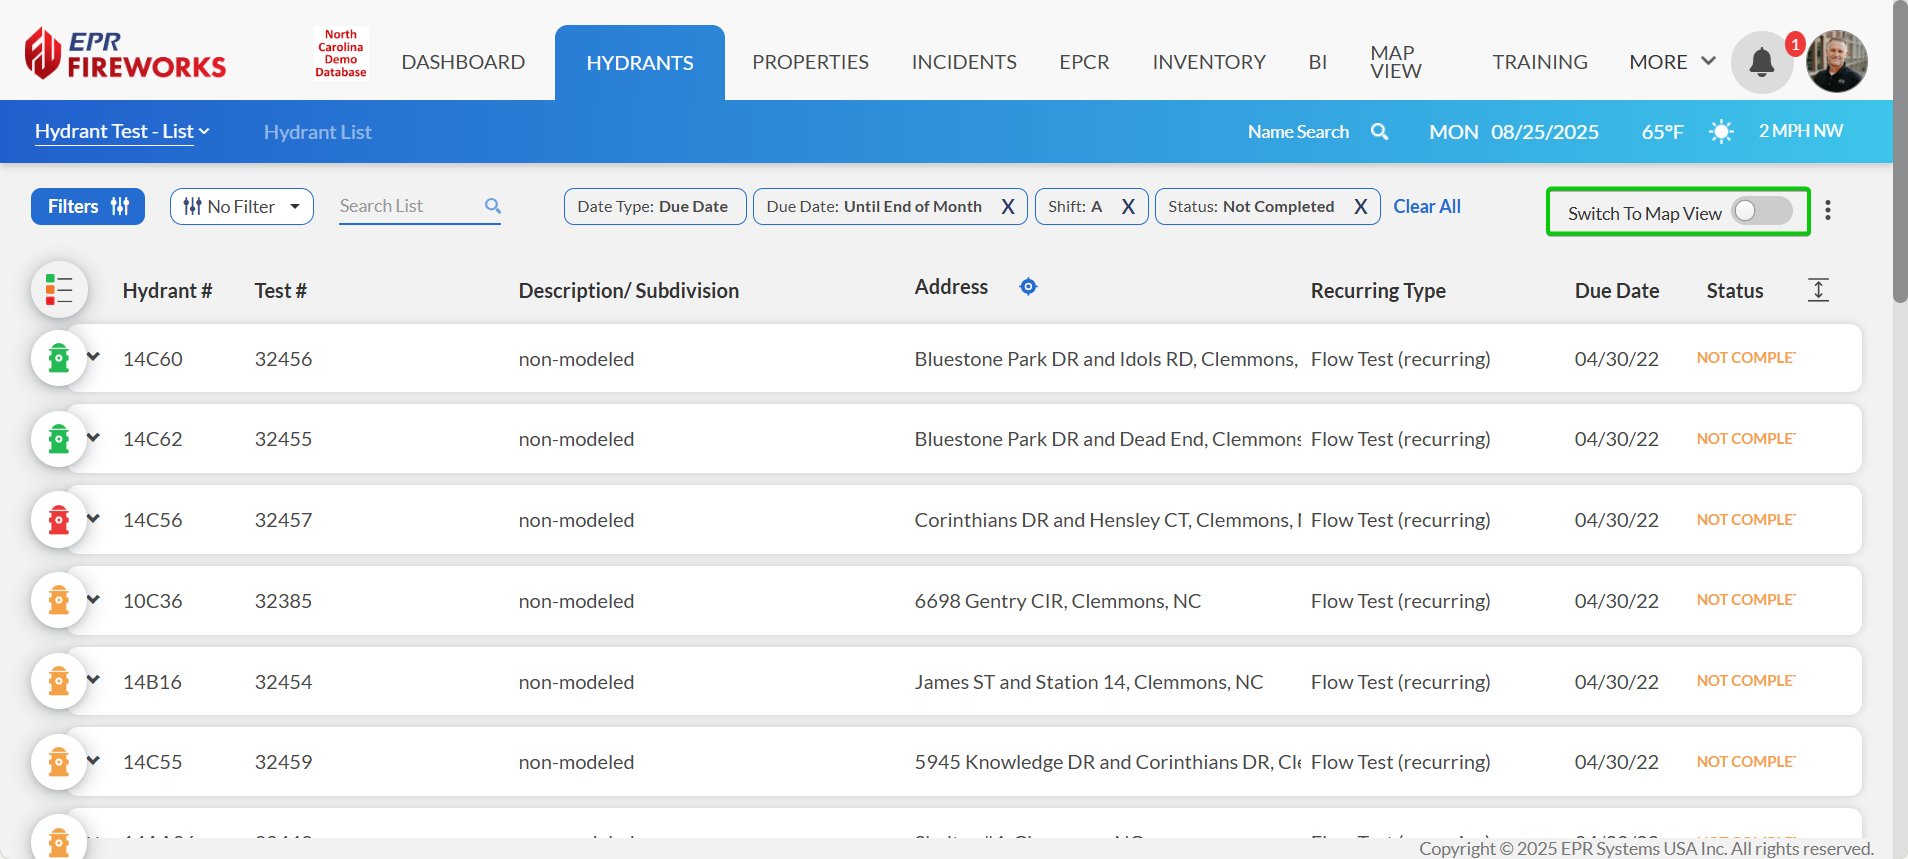
Click the toggle to Switch to Map View.
Plan your route by examining hydrant locations and accessibility.
Use the toggle to switch back to List View when ready to begin testing.
Advanced Assignment Planning with MAP VIEW Module
Using MAP VIEW Module for Enhanced Planning
Click MAP VIEW in the main EPR FireWorks navigation bar
Select Google Map or ESRI ArcGIS from the map type options
Use the Map Layers panel to enable additional geographical data
Check Hydrants layer to display hydrant markers
Apply additional layers (CAD data, parcels, boundaries) for operational context
Plan routes considering traffic patterns, access restrictions, and geographical features
Identify potential staging areas and resource locations
Result: Comprehensive geographical interface with extensive map layers for strategic assignment planning and operational preparation.
Route Planning Best Practices
Efficient Testing Routes
Plan logical progression: Start with geographically grouped hydrants
Consider access patterns: Plan routes avoiding heavy traffic times when possible
Identify staging areas: Locate convenient areas for equipment setup
Note special access: Mark hydrants requiring special access or coordination
Operational Context Planning
Review CAD layers: Identify any special hazards or access restrictions
Check parcel boundaries: Understand property access requirements
Examine infrastructure: Note road conditions and equipment accessibility
Plan coordination: Identify hydrants requiring multi-crew coordination
Geographic Analysis Features
Map Layer Options
Base Maps: Google Maps or ESRI ArcGIS with satellite imagery
Infrastructure: Roads, bridges, and access routes
Property Data: Parcels, boundaries, and ownership information
Operational Data: CAD zones, response districts, and station areas
Hazard Information: Special risks or access considerations
Hydrant Context Information
Flow Capacity: NFPA 291 color coding visible on map markers
Testing Status: Current testing requirements and due dates
Historical Data: Previous test results and identified issues
Access Notes: Special requirements or restrictions
Assignment Preparation Checklist
Before Starting Field Operations:
- Filters configured for appropriate hydrant assignment
- Route planned using map view for efficiency
- Special access requirements identified
- Equipment needs assessed based on hydrant locations
- Coordination requirements noted for multi-hydrant tests
- Staging areas identified for equipment and vehicles
Integration with Testing Procedures
After Assignment Preparation:
Return to List View for detailed hydrant information
Access Testing Interface using planned route sequence
Navigate to Individual Tests following your prepared route
Use Mobile Interface for efficient field documentation
During Field Operations:
Reference planned route for logical progression
Access individual hydrant tests via Go to Test functionality
Document any access issues or route modifications for future planning
Note: Use map view for assignment preparation and route planning. For actual testing procedures, follow the Hydrant Testing Complete Guide workflows.