MIH Field Guide
Overview
Disclaimer: You should perform visits according to the client’s condition and medical priority. Adjust the procedure accordingly.
The following sections explain how to complete visits according to the FireWorks MIH Visits setup. A routine visit should run as follows:
Start the visit by verifying details and determining the client’s current medical status, as described in Setup and Checklists.
Perform necessary treatments.
Document vitals, medical status, and visit outcomes, as described in Documenting the Visit.
Summarize and sign, as described in Concluding the Visit.
Setup and Checklists
Verify Visit Details. If the visit is associated with an incident, select the incident using Incident Lookup.

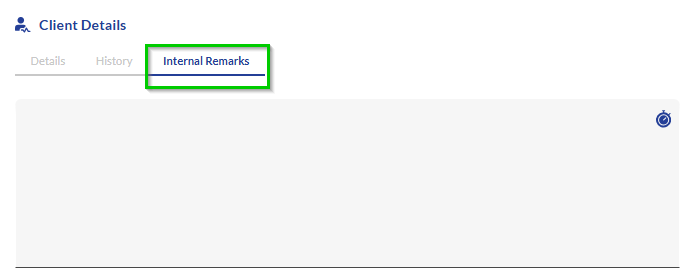
Verify Client Details. If needed, add additional remarks under the Internal Remarks tab.
Collect preliminary information on the client’s current medical condition by completing the relevant Checklists, as follows:
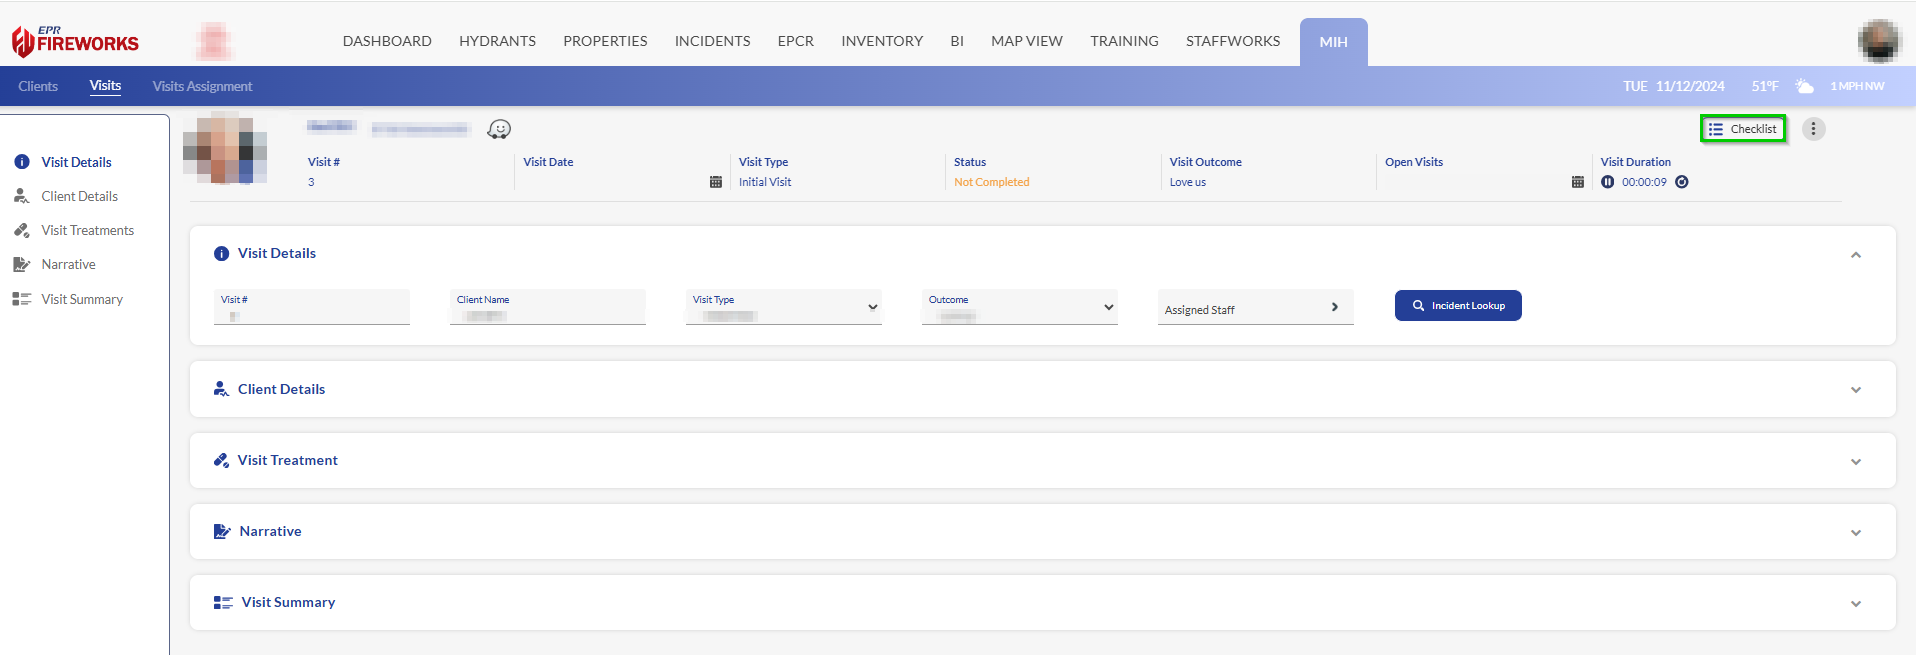
Click the Checklists button at the top right corner of the visit page.
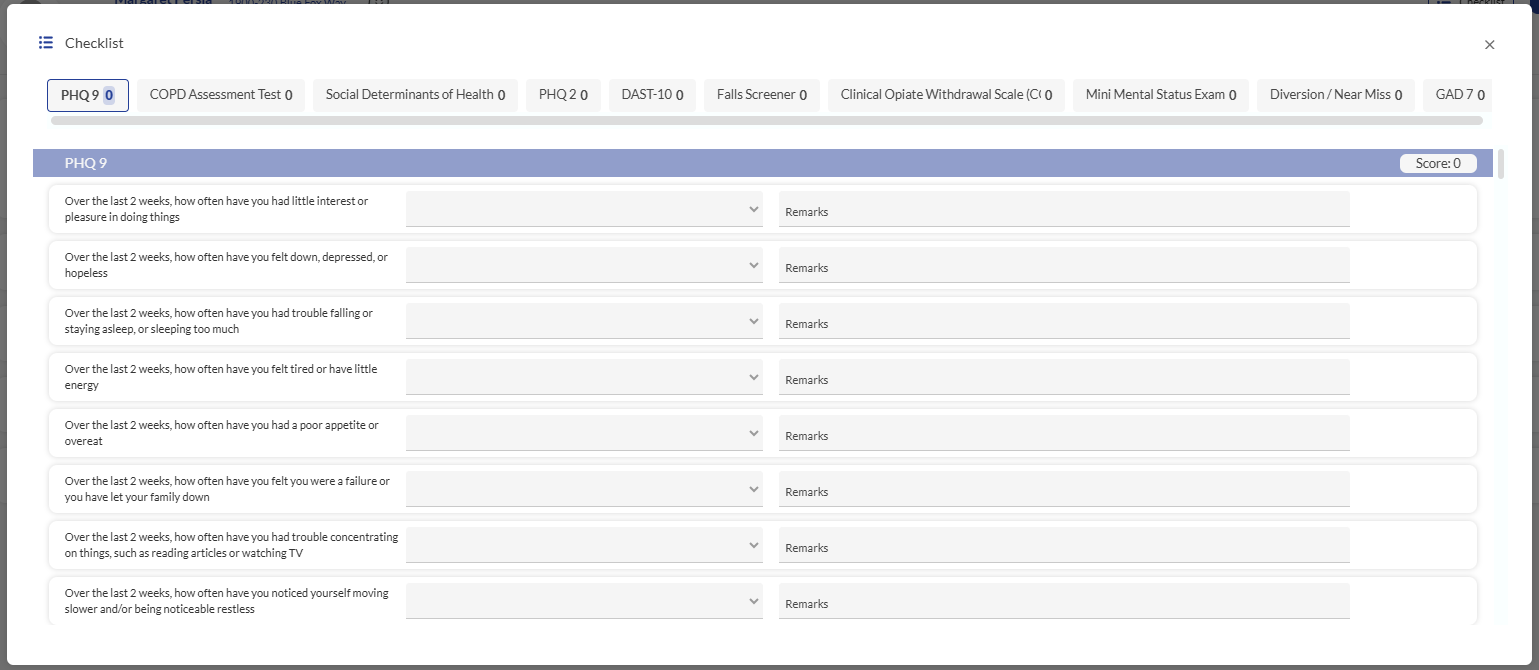
Use the checklists to assess the client;s current medical condition. Document the answers in the empty fields. If scores are activated for the checklists, the score will appear in the top-right corner.
Documenting the visit
Use the Visit Treatment tabs to document the visit details and outcomes. To begin, follow these steps:
Add vitals. In the Vitals tab, click Add Vitals. Complete the empty fields.

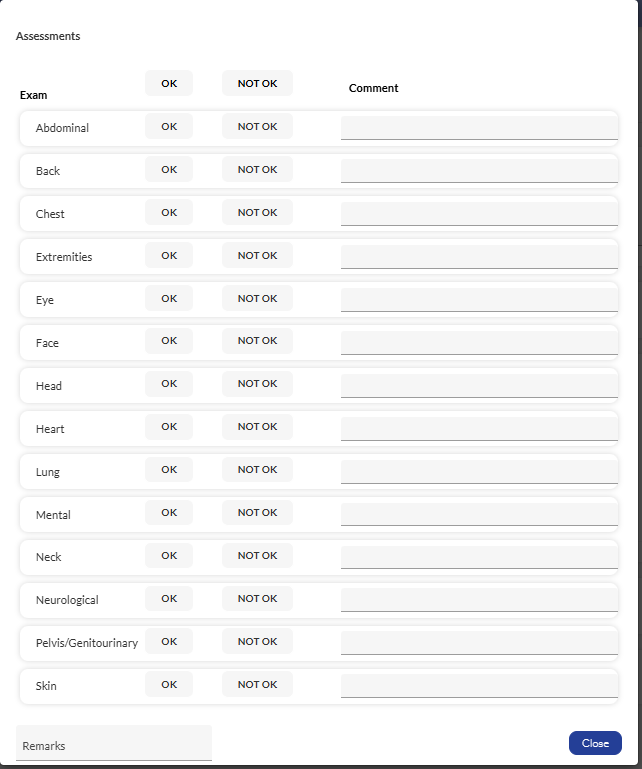
Add an assessment of the client as follows:
In the Assessments tab, click Add Assessment.

Mark up the list of assessment exams (OK/Not OK). Add comments where necessary.
If the client requires medications, prescribe medications, as described in the following steps. If the client does not require new medications, skip this step.
In the Medications tab, click Add Medications, and then complete the empty fields as follows:
In the Medication Given field, select the medication from the list.
In the Dosage Units field, select the dosage units from the list.
In the Dosage field, enter the dose you want to prescribe for the client.
In the Staff field, select your name from the list.

If the client requires a medical procedure, add procedures to the Visit Treatments section as described in the following steps. If the client does not require new procedures, skip this step.
In the Procedure field, select the procedure from the list.
In the Response field, document the client’s response to the procedure. The options are Improved, Unchanged, Worse.
In the Staff field, select your name from the list.

If the client needs to undergo medical protocols, add protocols to the Visit Treatment section, as described in the following steps. If the client does not require new protocols, skip this step.
In the Protocol field, select the protocol from the list.
In the Staff field, select your name from the list.

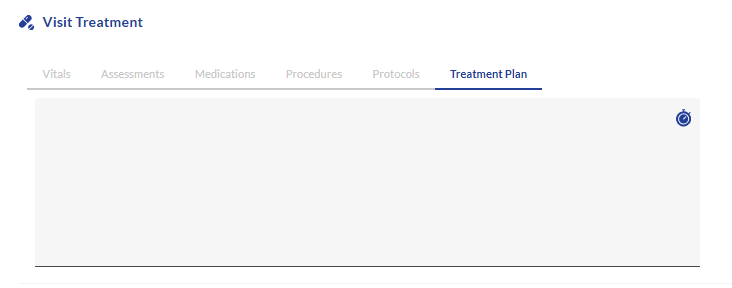
In the Treatment Plan, write up the client’s future treatment plan.
Concluding the visit
In the Narrative section, summarize the visit.

In the Visit Summary section, wrap up the visit as follows:
Verify the visit duration.
Click Add Signature, and then add your details and signatures

When the visit is over, click Complete (top-right corner).

You can always edit a completed visit by reopening the visit. To reopen a completed visit, click Reopen (top-right corner).

Adding attachments
You can add relevant attachments to the visit and the client. Click the three dots at the top-right corner of the page, and then select Attachments or Client Attachments appropriately.

Add files according to the instructions in the Attachments window.
Note: Attachments can be added to open visits only. If the visit was previously marked as completed, reopen it as described above.
Additional actions
Visit Report
You can download a printable PDF version of the visit. To do so, click the three dots at the top-right corner of the page and then select “Visit Report.” The file will begin downloading automatically.
Note: You can download the PDF directly from the main Visits page. Click the three dots to the right of the visit, and then select Visit Report.
Cancelling a visit
To cancel a visit, click the three dots at the top-right corner of the page and then select Cancel Visit.

