
Performing Pre-Plans
Overview
This document describes how to perform pre-plans using EPR FireWorks.
Adding Markers
After verifying the property info, mark the property for fire safety. Markers include icons, pictures of the property, and rulers for measuring the property, NFF, and additional polygons.
To add markers, follow the next steps:
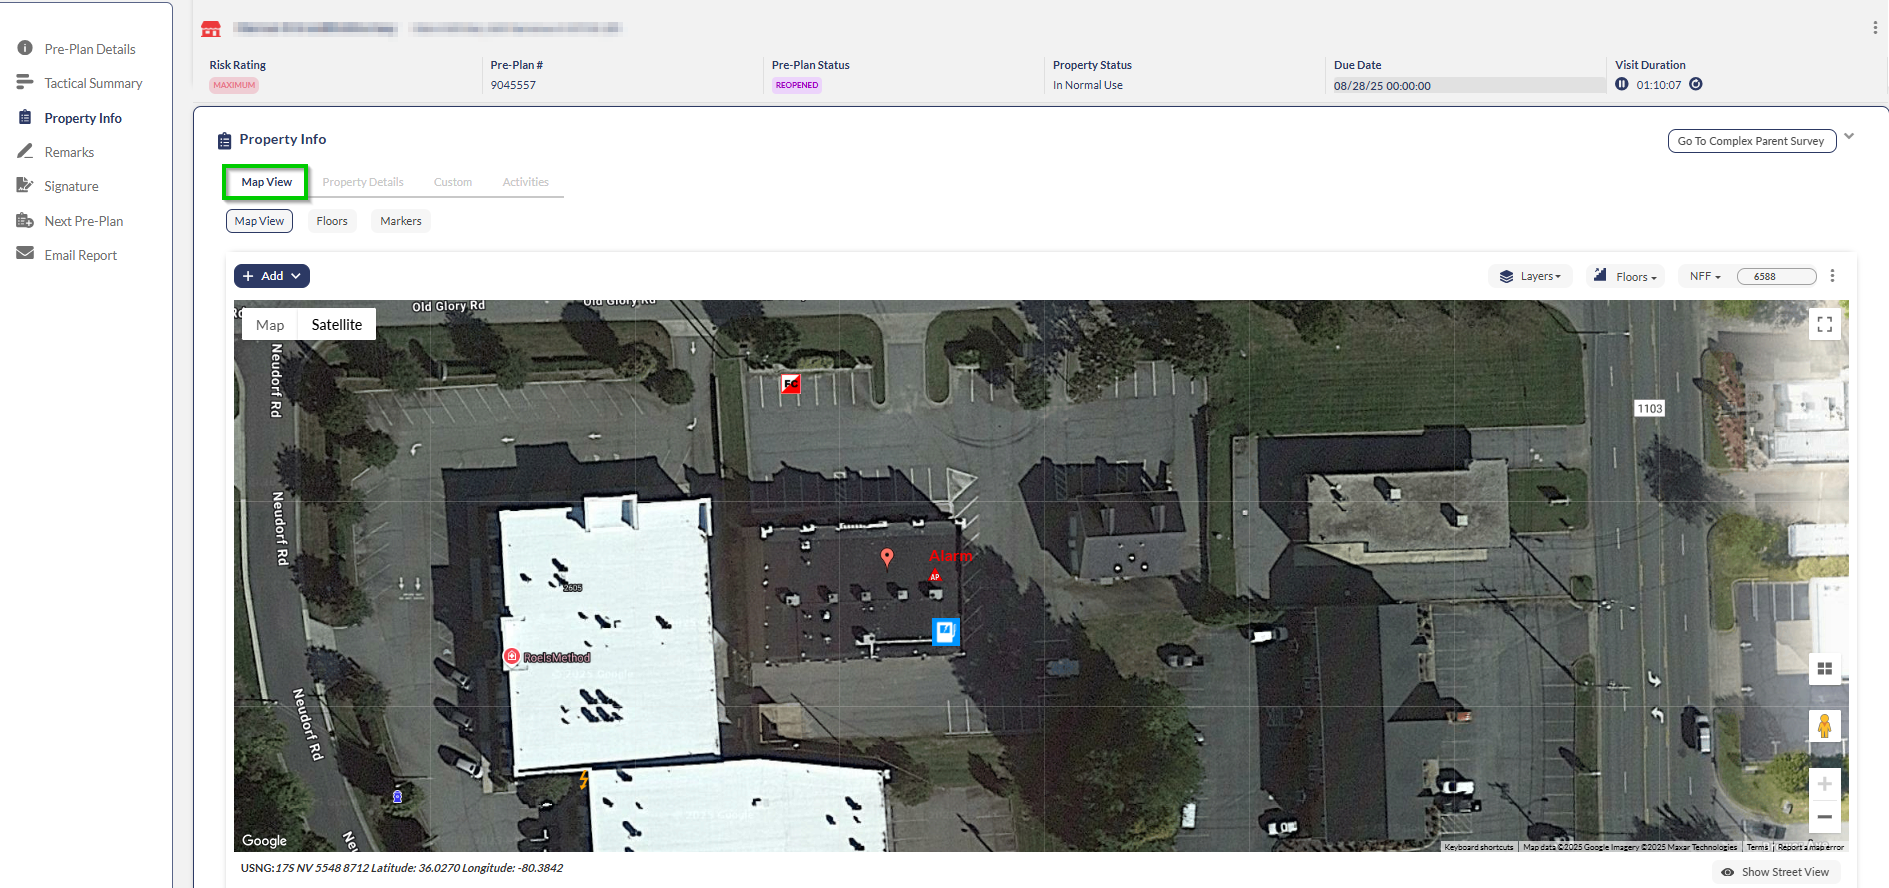
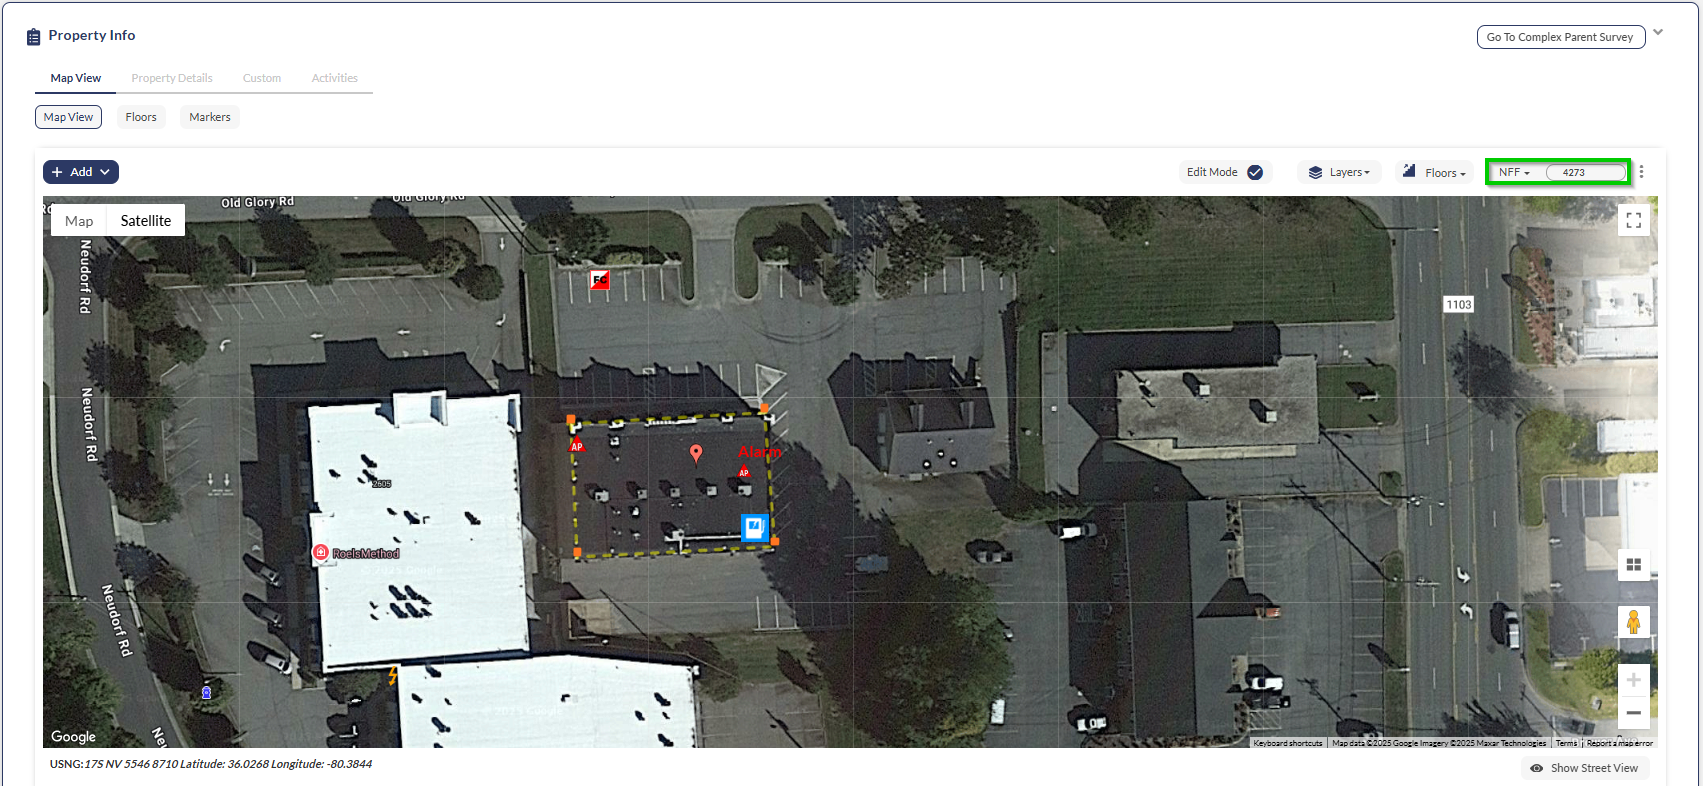
Navigate to Property Info > Map View.
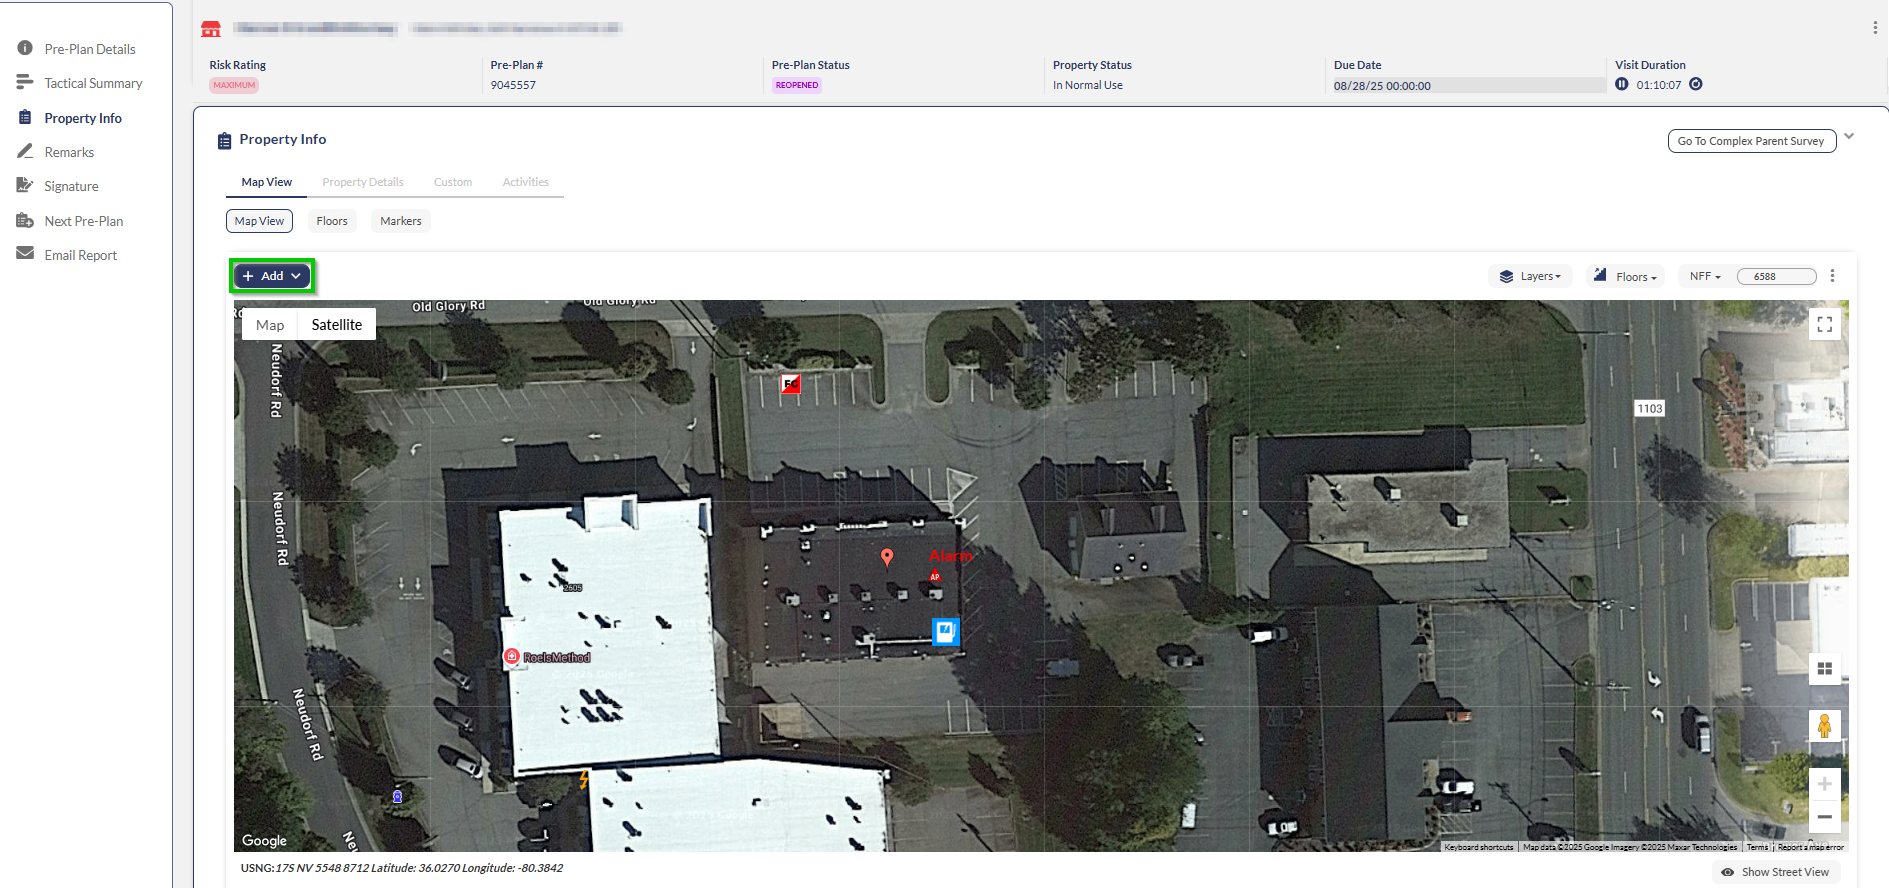
Click Add.
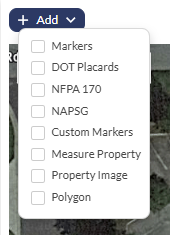
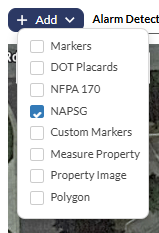
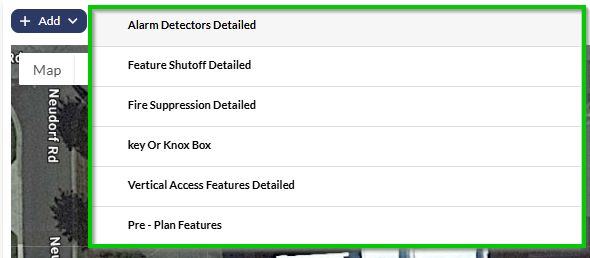
Select your desired marker category from the dropdown menu.
Note: You can add markers directly from the property and inspection pages. We recommend adding markers using the pre-plan screen as part of completing the report.
Adding Icons
Select a marker category from the dropdown list.
Select the desired icon from the list on the right.
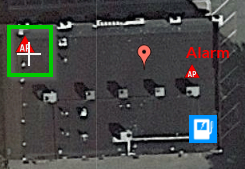
Position the marker on the map using your cursor.
Set icon properties:
Size
Description
Wording on Icon (optional)
Color of Wording
Floor number
Add files using +.
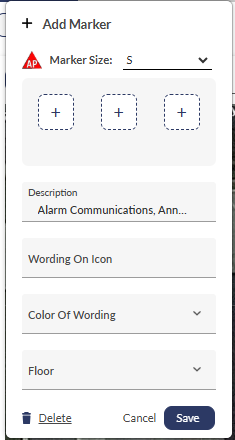
When done, click Save.
Using Rulers
Map View includes options to measure NFF and Polygons.
Measuring Needed Fire Flow (NFF)
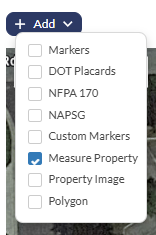
Select Measure Property from the Add dropdown.
Mark property boundaries. Click to create boundary points (shown as red squares).
Note: Double-click any red square to restart if needed.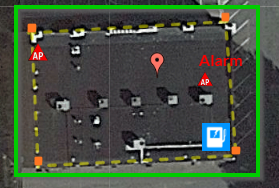
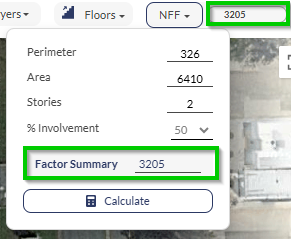
Click NFF in the top right corner.
Select the involvement level.
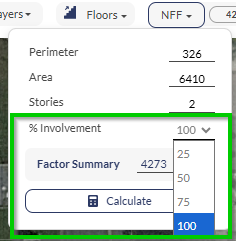
Click Calculate.
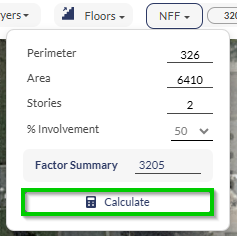
Results appear under Factor Summary and next to the NFF icon.
Measuring Polygons
To measure a separate polygon, follow the next steps:
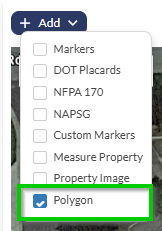
Select Polygon from the Add dropdown.
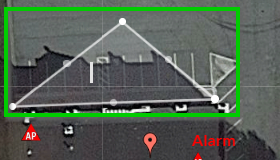
Draw the polygon on the map using the cursor.
Set polygon details:
Description
Wording on text
Color
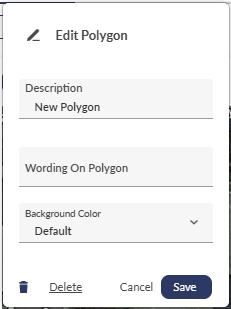
Click Save.
Adding Pictures of the Property
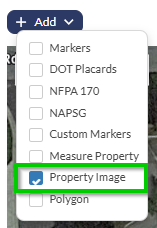
Use the Property Image option in the markers list to add images of the property to the map, as follows:
Select Property Image from the Add dropdown.
Click the desired image location on the map.
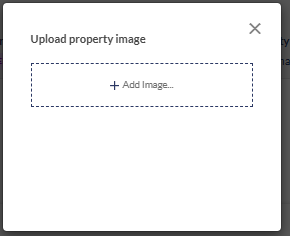
Upload image from device storage.
Note: Property images must be pre-stored on your device. Direct camera uploads are not supported.
Conclusion
End the pre-plan survey as follows:
In the Remarks - Not for Violations section, add Internal Remarks.
To add a timestamp, click the watch icon on the right.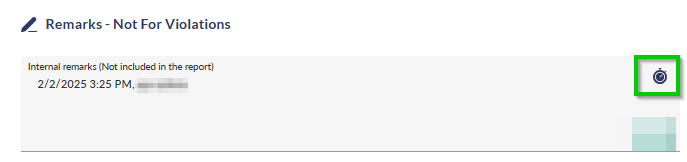
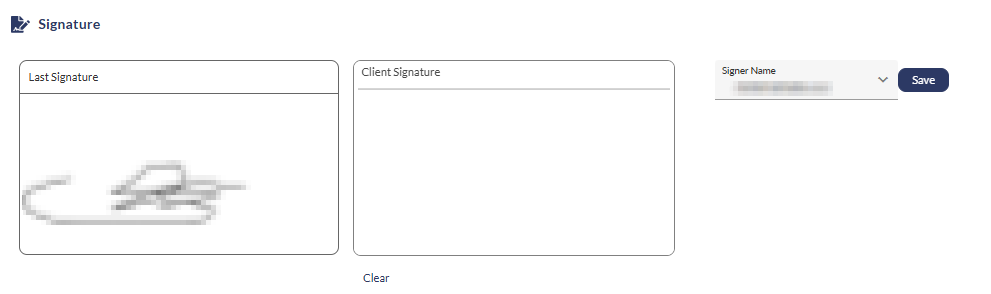
In the Signatures section, add the client’s signature. Select the signer’s name from the dropdown list, and then have the signer sign the document.
In the Next Pre-Plan section, set a date and duration for the next pre-plan. In most cases, the next pre-plan date will be calculated automatically.

In the Email Report section, configure email distribution if needed. Add required email addresses and mailing lists.

When finished, carefully review the report, and then click Submit.

Additional Actions
Access the following additional actions through the three-dots menu at the top of the page:
Attachments: You can add attachments from your device storage, pictures from your camera, and links.
Email Report: Skip to the Email Report section at the bottom of the page.
Cancel Pre-Plan: Cancel the pre-plan.
