
ePCR Incident Filters
Overview
This guide explains how to configure filters in EPR FireWorks for patient care documentation to organize ePCR lists and locate specific records efficiently during QC review, billing processes, and operational reporting.
Using Filters
Configure filter parameters to display relevant ePCRs for your operational requirements.
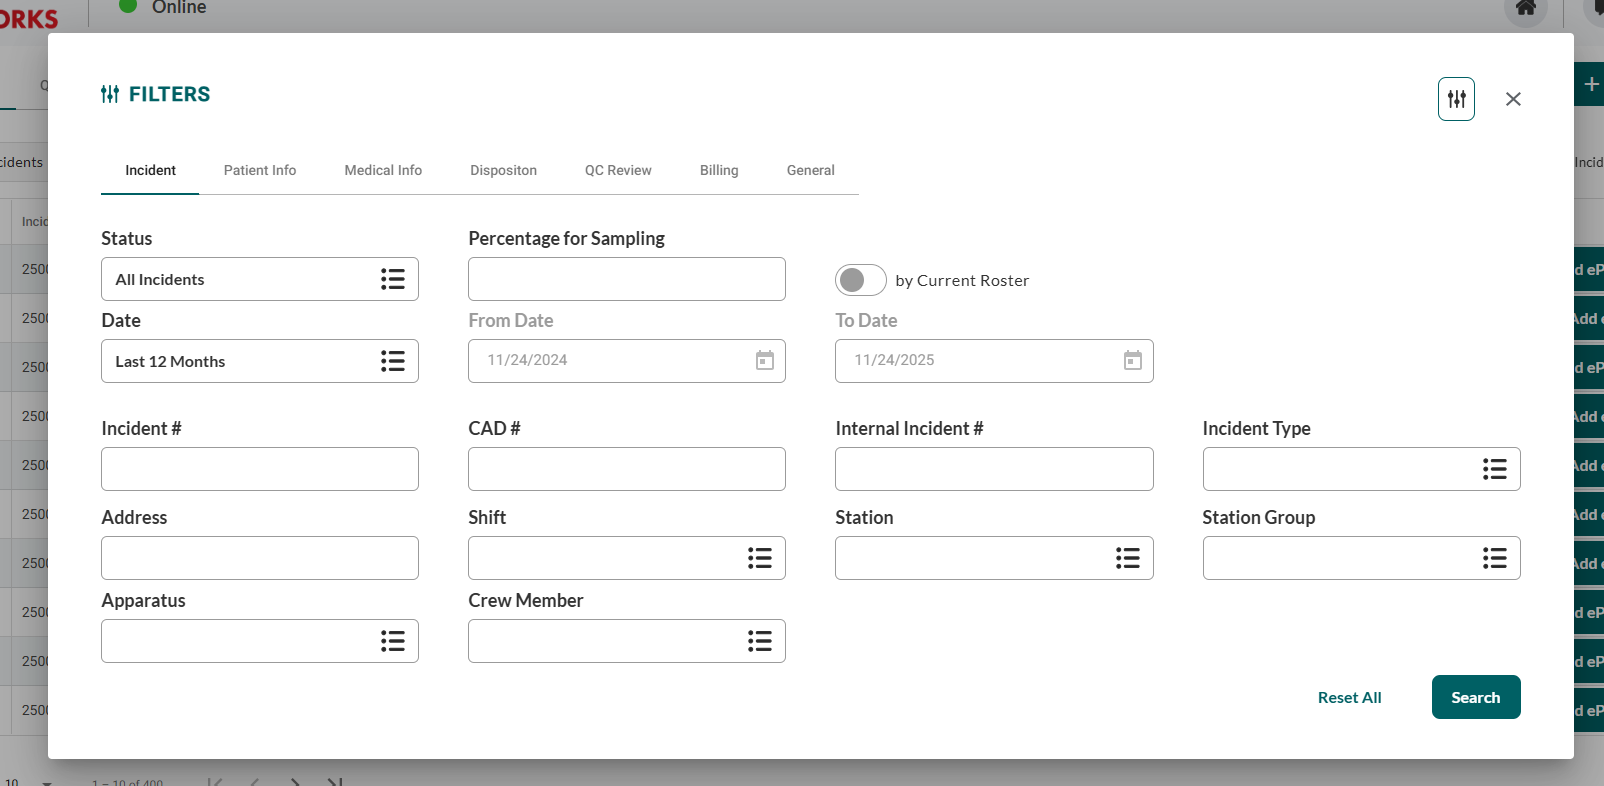
Click Filters at the top right corner of the Patient List or QC Review page.

In the Filters window, define filters according to your requirements.
Incident tab: Configure incident details, including dates, status, station assignments, and crew members.
Patient Info tab: Set patient demographics, including name, address, age group, and date of birth.
Medical Info tab: Select clinical criteria, including dispatch reason, symptoms, procedures, and protocols.
Disposition tab: Choose outcome information, including transport status and destination.
QC Review tab: Filter by review status and billing transmission.
Billing tab: Configure billing-specific criteria.
General tab: Select documentation characteristics, including call type and narrative content.
Click Search.
Result: List displays ePCRs matching your filter criteria.
Creating Saved Filters
Create saved filters to organize ePCR lists for different operational needs without reconfiguring the filters each time.
In the Filters window, click New Filter.
Name your filter for easy identification.
Select the appropriate filters from the following sections:
Incident tab: Date ranges, incident numbers, status, station assignments, crew members
Patient Info tab: Patient name, address, age group, date of birth
Medical Info tab: Dispatch reason, symptoms, procedures performed, protocols used
Disposition tab: Transport status, patient destination, outcome information
QC Review tab: Review status, transmission status, billing status
Billing tab: Billing review and processing status
General tab: Call type, priority, narrative search, completion information
If this is your default filter, select the Default checkbox on the left.
When done, click Save.
[Screenshot: EPR FireWorks Filters dialog with Medical Info tab active, showing clinical filter fields including Dispatch Reason dropdown, Possible Injury selector, Cardiac Arrest Yes/No toggle, Symptoms multi-select, Medications Given multi-select, Procedures Performed multi-select, and Protocols Used multi-select. New Filter button visible at top, Filter Name text field and Default checkbox on left side for saving filters.]
Result: Saved filter available for future use with your specified parameters.
Filter Performance Tips
Use specific date ranges instead of "All" for faster results.
Combine station and shift filters to narrow large datasets.
Save frequently used filter combinations for quick access.
Set meaningful default filters to streamline daily workflow.
Related Documentation
Patient List Display Reference - Patient List columns and actions
QC Review Display Reference - QC-specific display features
Quality Control Procedures - ePCR review workflows
NEMSIS Validation - Understanding validation requirements