
Exam
Overview
The Exam section under the Assessment tab provides structured documentation for physical examination findings across thirteen body systems. This section supports NEMSIS compliant documentation of patient assessment data collected during field examinations.
Before You Start
Complete patient demographics in Patient tab
Document chief complaint in Complaint section
Record initial vital signs
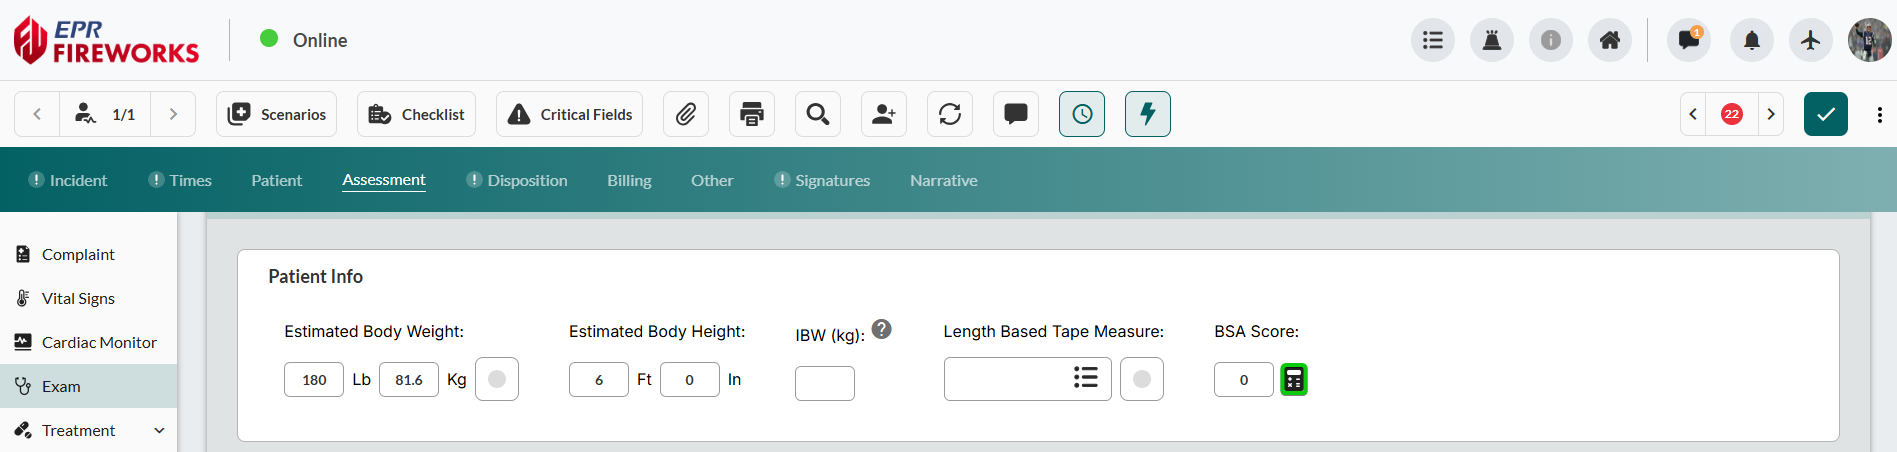
Patient Info
Record patient measurements and access clinical calculators. Patient Info fields populate from Medical History data in the Patient tab. Changes to these fields update Medical History automatically.

BSA Calculator
Calculate body surface area for burn assessments.
Click the Calculator icon next to BSA Score.
Select patient age group: Adult | Child | Infant.
Click body regions on front/back diagrams to mark burned areas.
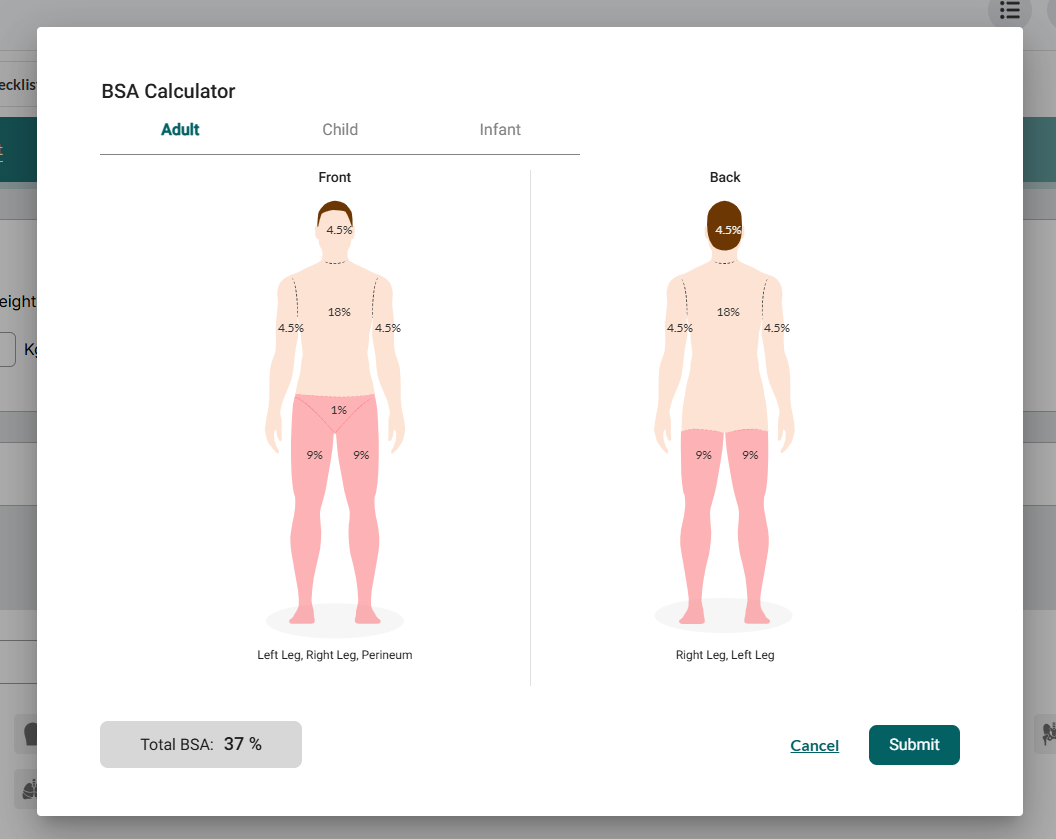
Review the Total BSA percentage
Click Submit. The BSA Score appears as part of the Patient Info section.

Exams
Document examination date, time, and access body system examinations.
Creating Examination Entry
Create new examination entries to document physical findings.
Click +.
Enter the examination Date and Time.

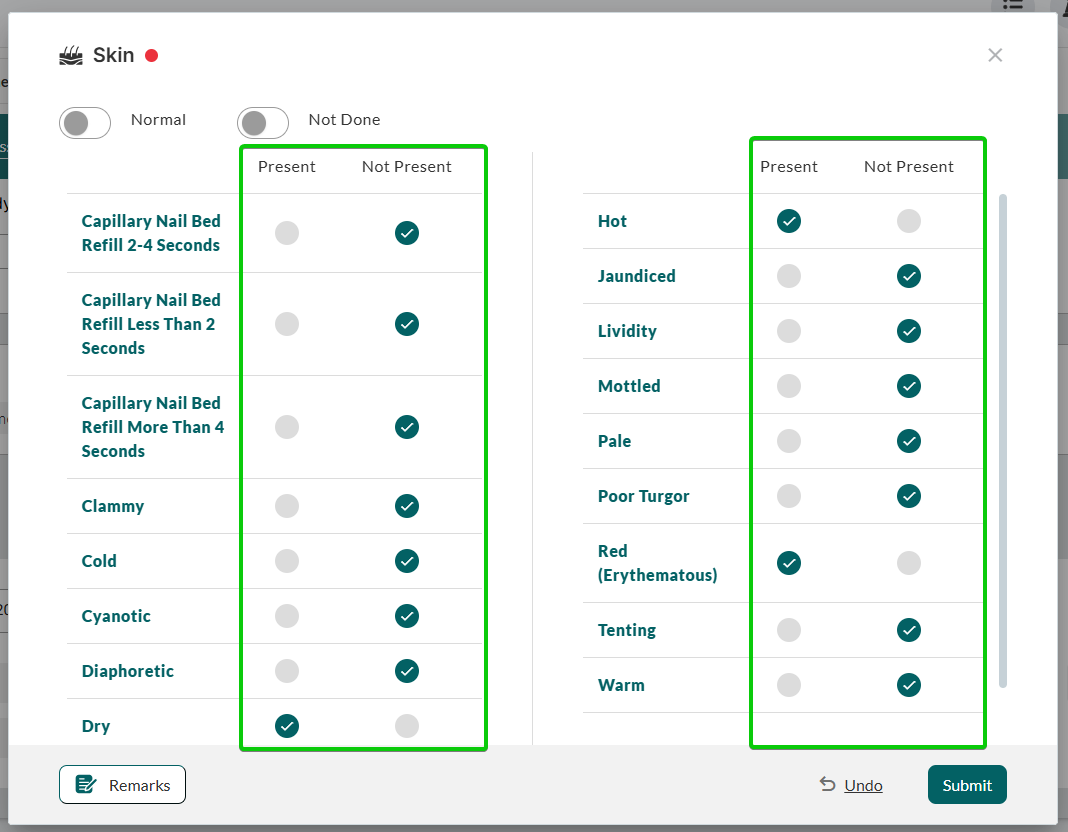
Documenting Exam Findings
Document physical examination findings.
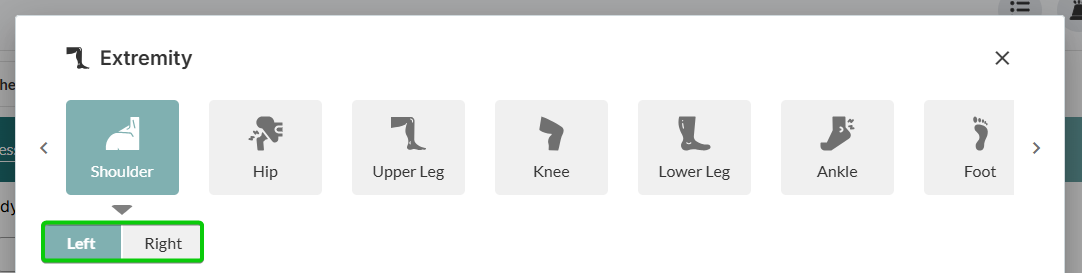
Click the body part you are examining.

For body systems with multiple examination locations (e.g., Lung, Chest, Eye, Extremity, Back & Spine), select a sub-location.

Note: When selecting Extremities, select both the extremity location and the side.
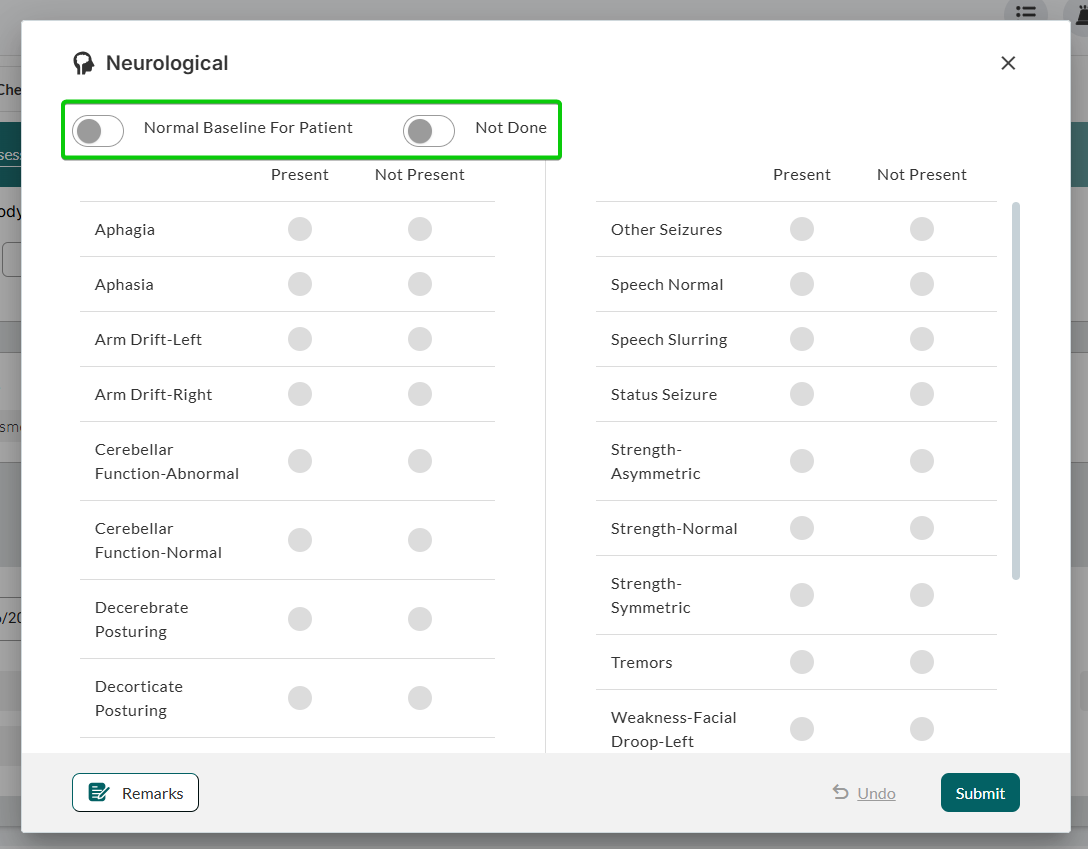
Select examination baseline: toggle Normal/Normal Baseline for Patient or Not Done if exam was skipped.
Note: For Eye examinations, select PERRL to mark the eye as normal.

Document findings. Click Present or Not Present for each condition.
Leave clinical remarks, as described in the next procedure.
To finish the exam without leaving remarks, click Submit.
Adding Clinical Remarks
Provide narrative clinical context for examination findings.
Within any exam modal window, click Remarks.
Enter clinical observations in the text editor.
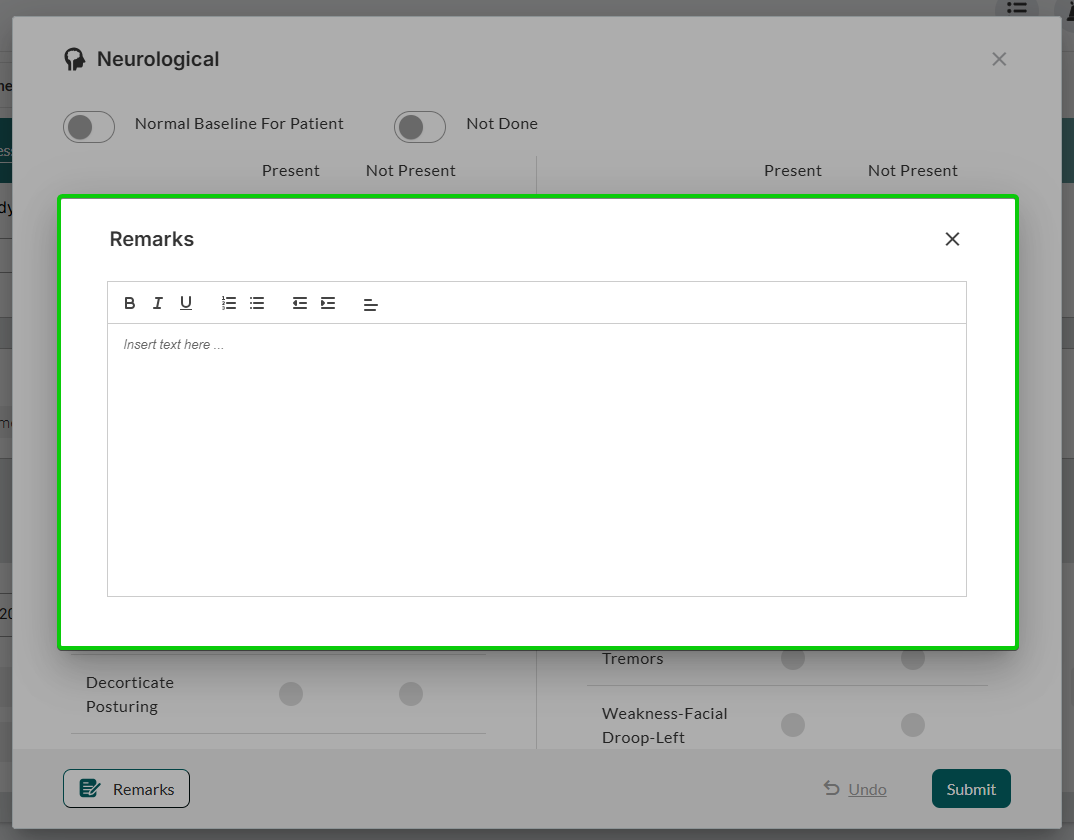
Use the formatting toolbar for emphasis (Bold, Italic, Underline) or lists as needed.
Close the Remarks modal window to save changes.
Click Submit to save both findings and remarks.