
Times
Overview
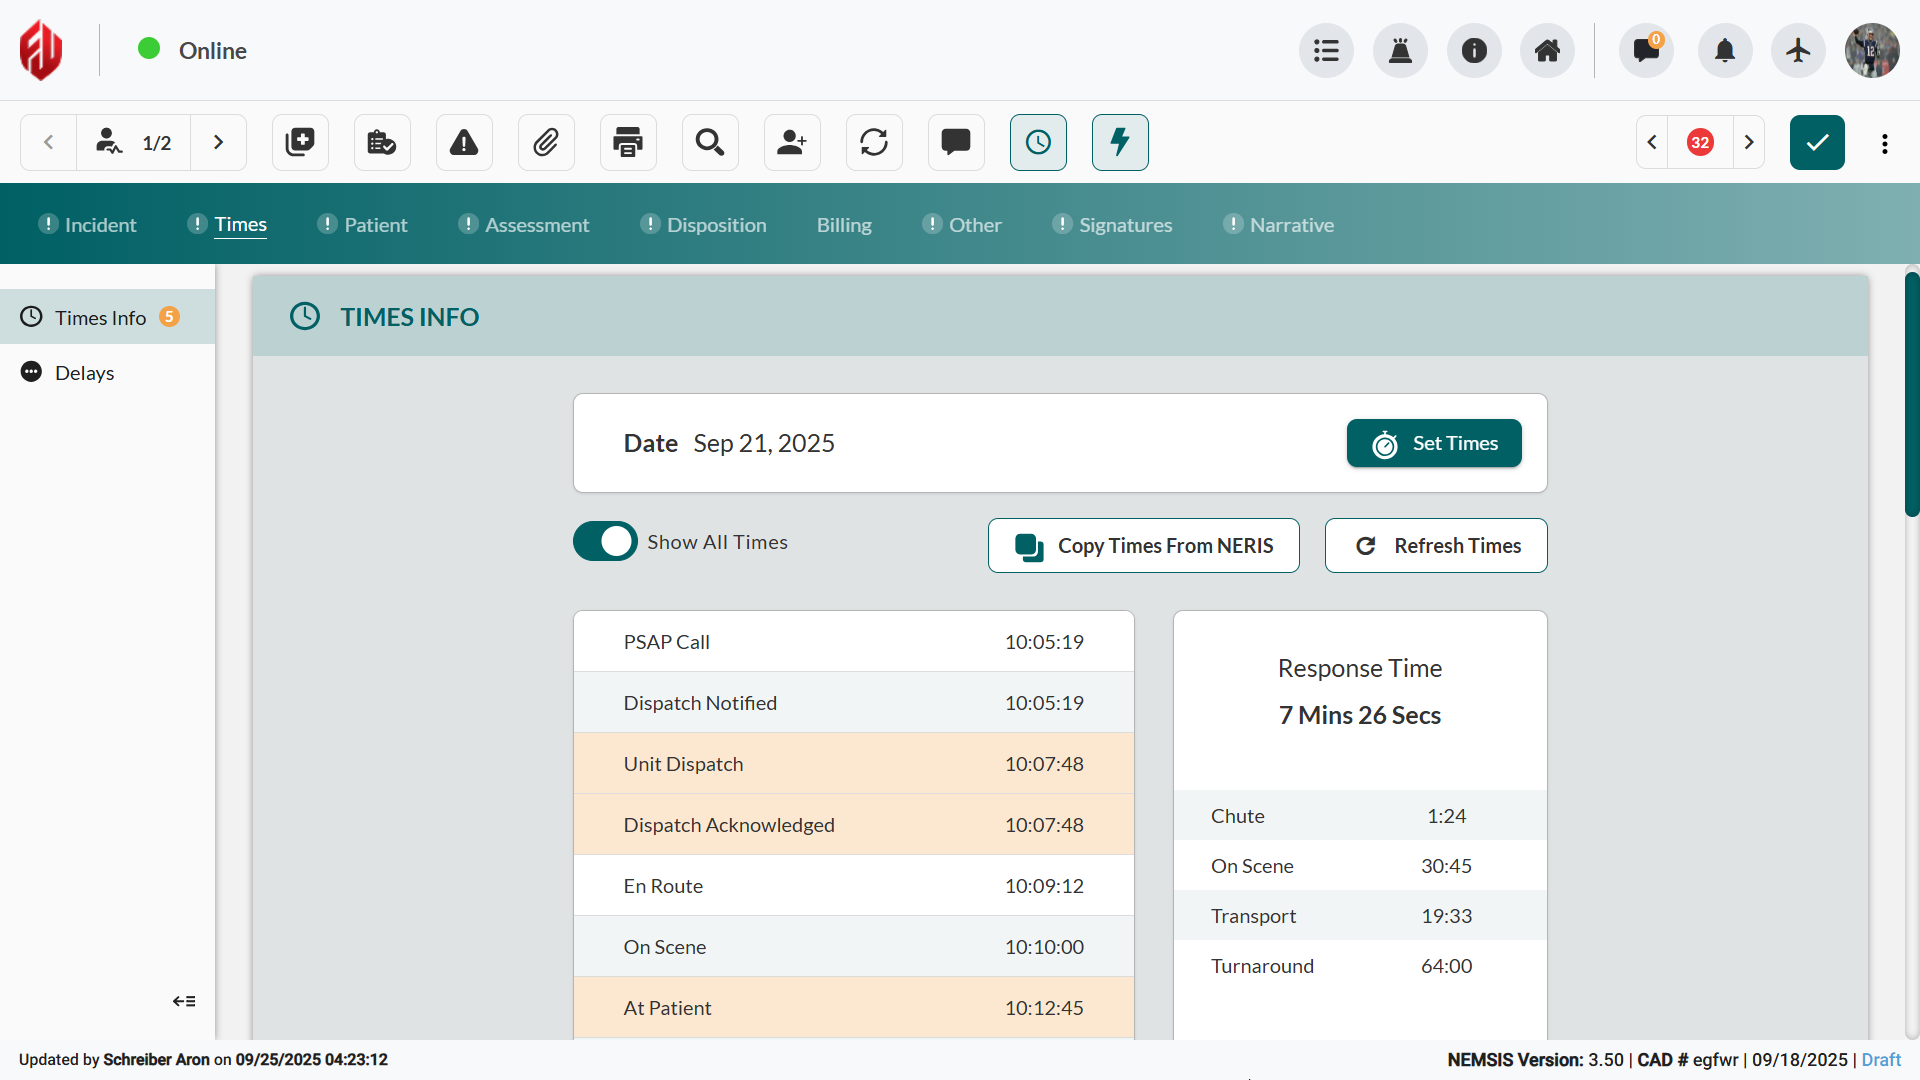
The Times module captures and manages incident timeline data through CAD integration and manual entry options. This module ensures accurate documentation of response timestamps and any delays encountered during emergency operations.
Before You Start
CAD integration automatically populates incident timestamps, including dispatch, en route, scene, and transport times.
System Features
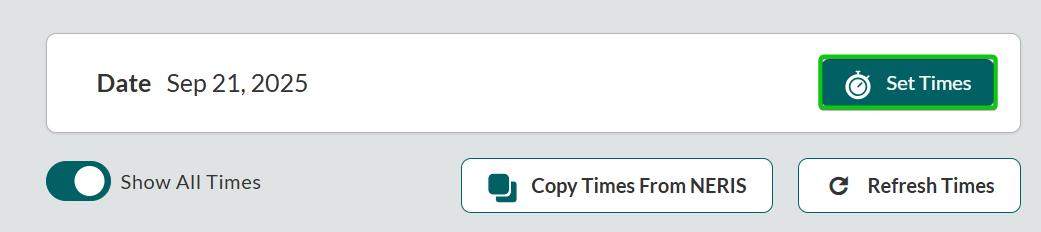
Show All Times: Toggle for complete timeline or abbreviated view of essential timestamps
NERIS Integration: Click Copy Times From NERIS to import synchronized timeline data from associated fire incident records
Data Refresh: Click Refresh Times to update the timeline with current CAD system information.
Entering Manual Times
Enter timestamps manually when CAD data is incomplete, unavailable, or requires correction. Two methods are available for editing times.
Method 1: Editing Individual Time Entries
Make quick corrections to individual timestamps without leaving the main Times interface.
You can edit each time entry directly from the Times interface, without the need to open the Set Times sidebar:
Click the time entry you want to update.
In the pop-up window, fix the time.
Note: Use the Now button to enter the current time.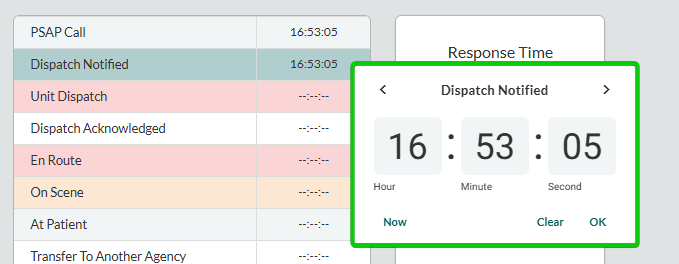
Method 2: Using the Set Times Sidebar
Access all timestamp fields in one location for comprehensive timeline updates or major corrections.
Use the Set Times sidebar editor to edit all the time entries in a single workflow:
Click Set Times to open the sidebar editor.
Use date/time pickers to correct timestamps.
Note: Scroll down to view all times.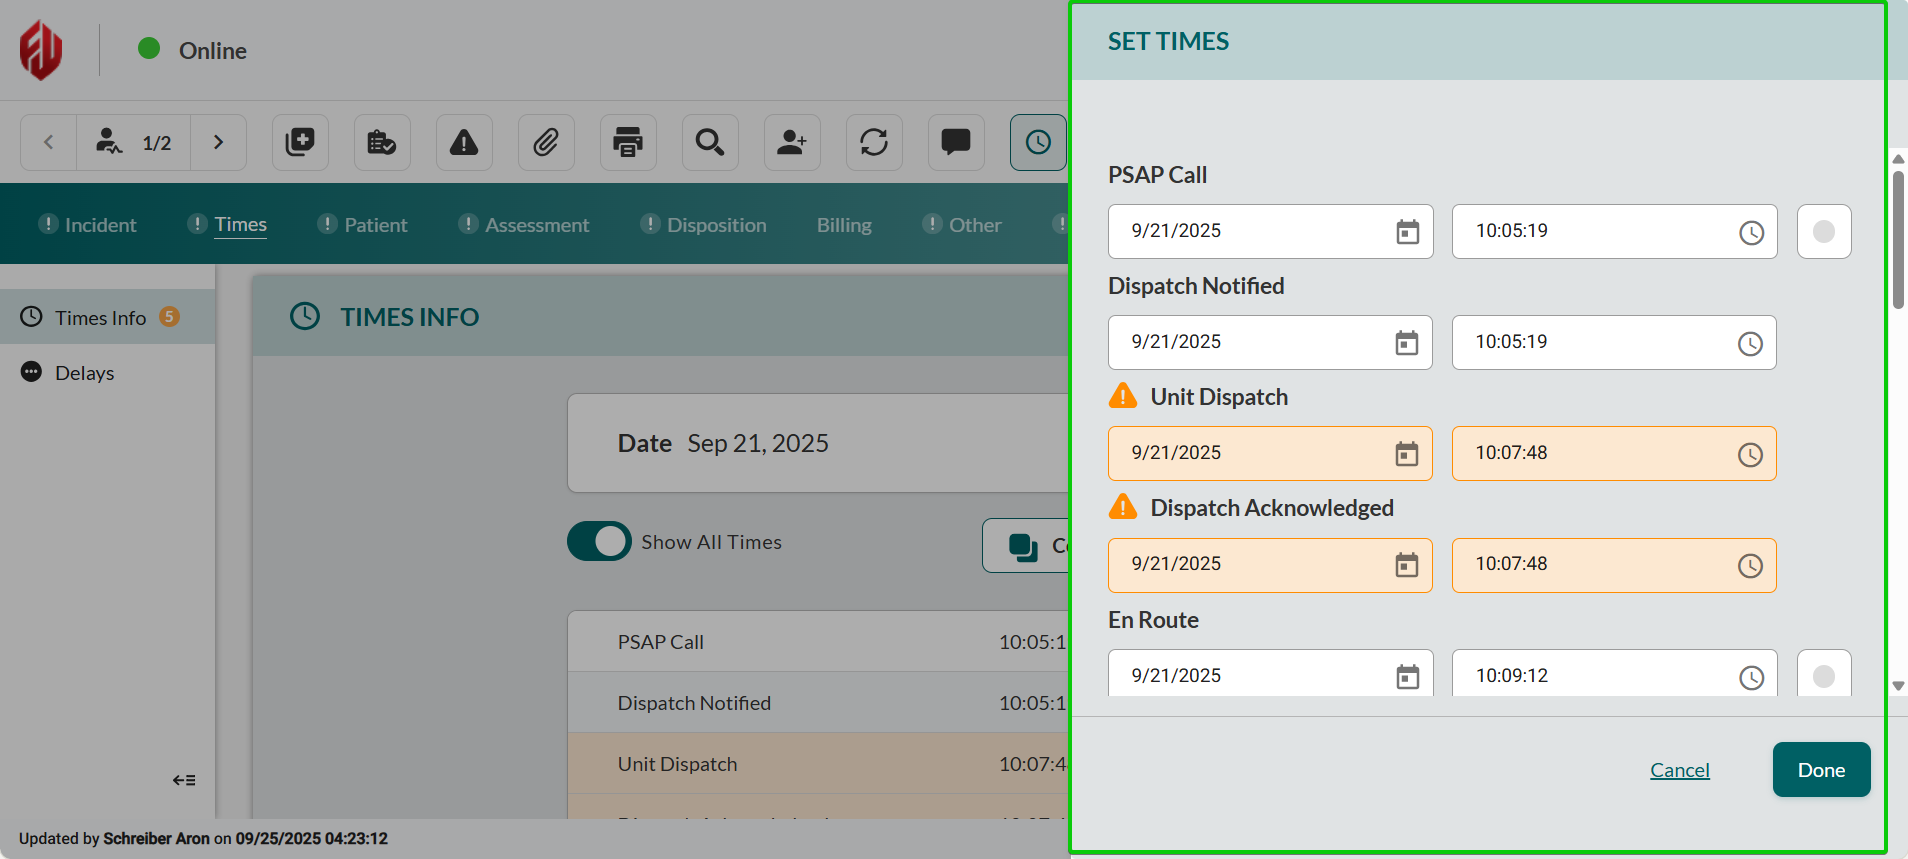
Click Done to save changes.
Note: Warning indicators highlight fields requiring attention.
Recording Response Delays
Document factors that affected response times when incidents involve response complications requiring delay documentation.
Scroll down to Delays.
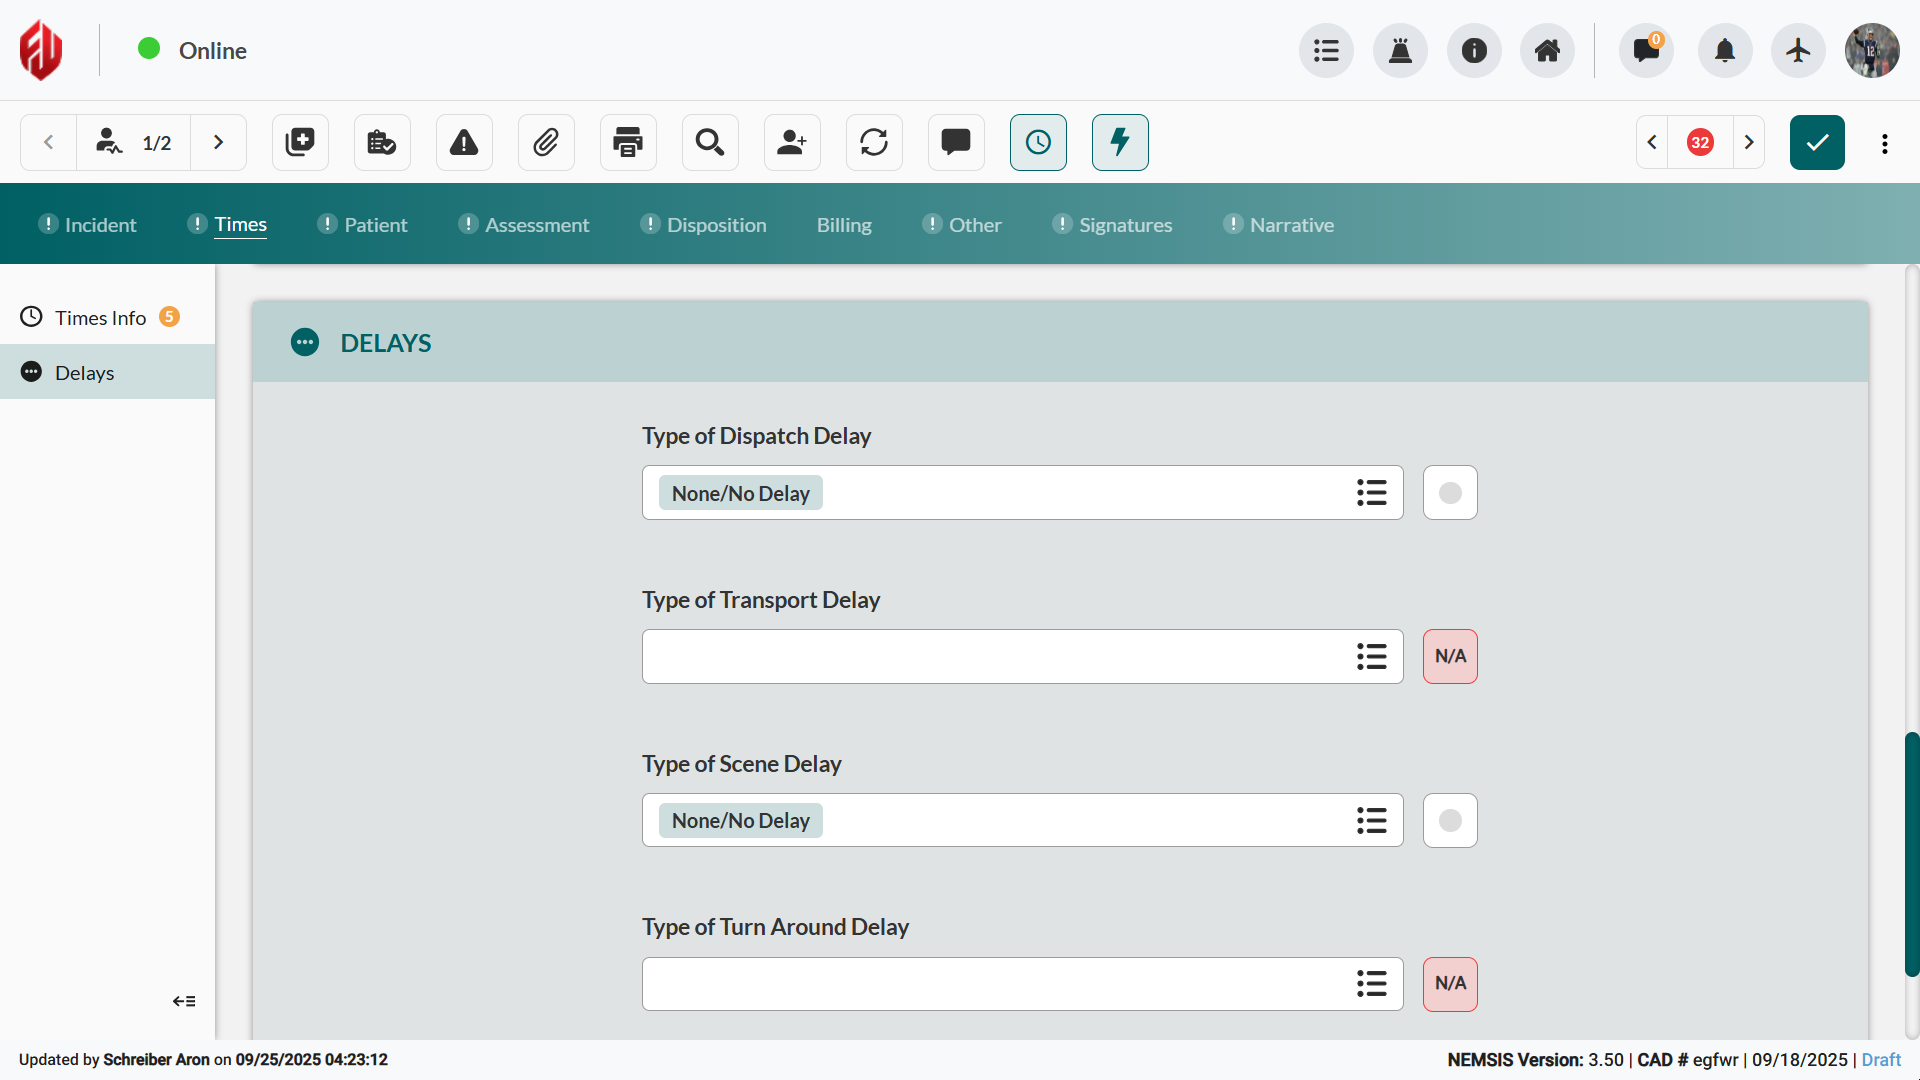
Click the specific delay category (Dispatch, Transport, Scene, Turn Around, or Response).
Select appropriate delay types from the selection sidebar.

Click Apply to save delay selections.
Repeat for additional delay categories as needed.
Note: Use N/A for non-applicable categories.
Next Steps
Continue documenting the incident by proceeding to these related modules: