
Patient Info
Overview
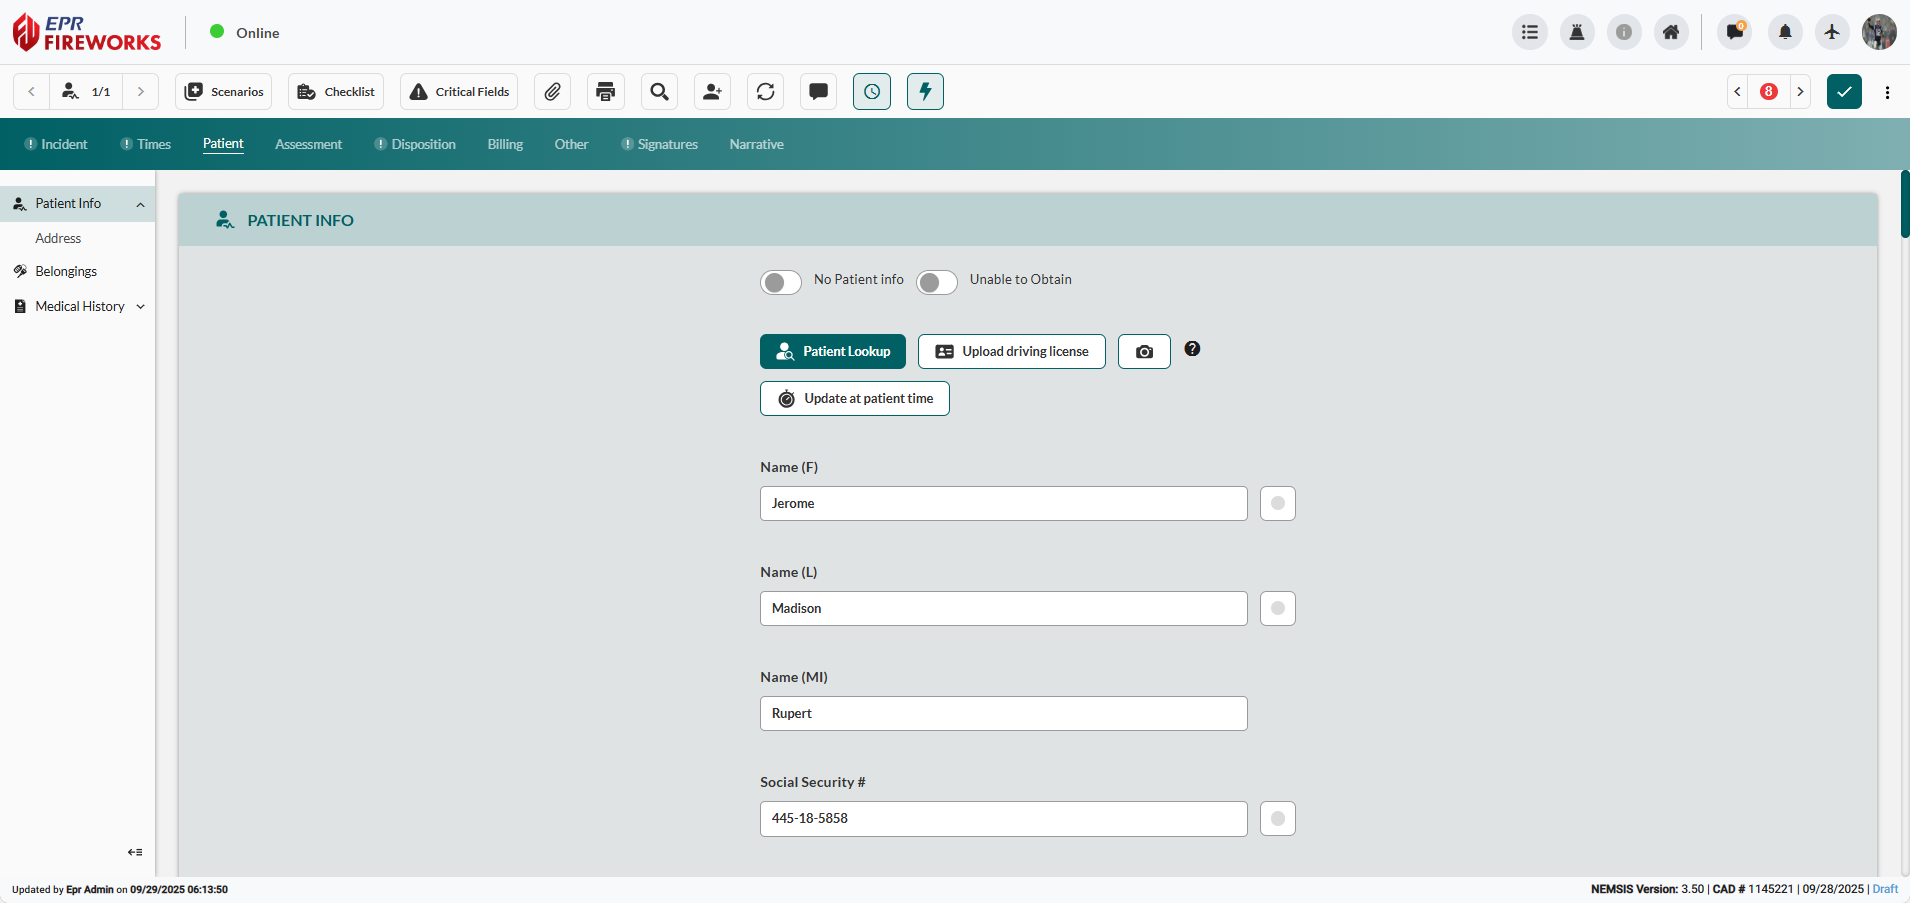
Document essential patient identification and contact information using the EPR FireWorks ePCR Patient Info and Address sections for efficient demographic data collection.
Before You Start
Use the features below to search existing records, upload driver's license data, or bypass data entry when patient information is unavailable.

IMPORTANT: When patient information is unavailable, use the No Patient Info or Unable to Obtain toggles to bypass data entry.
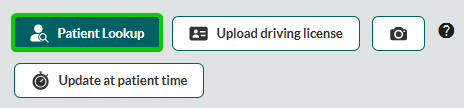
Patient Lookup
Search existing ePCR patient records and load data into the current ePCR:
Select the Patient Lookup button.
In the Patient Lookup pop-up window, enter search criteria: Name (F), Name (L), or D.O.B.
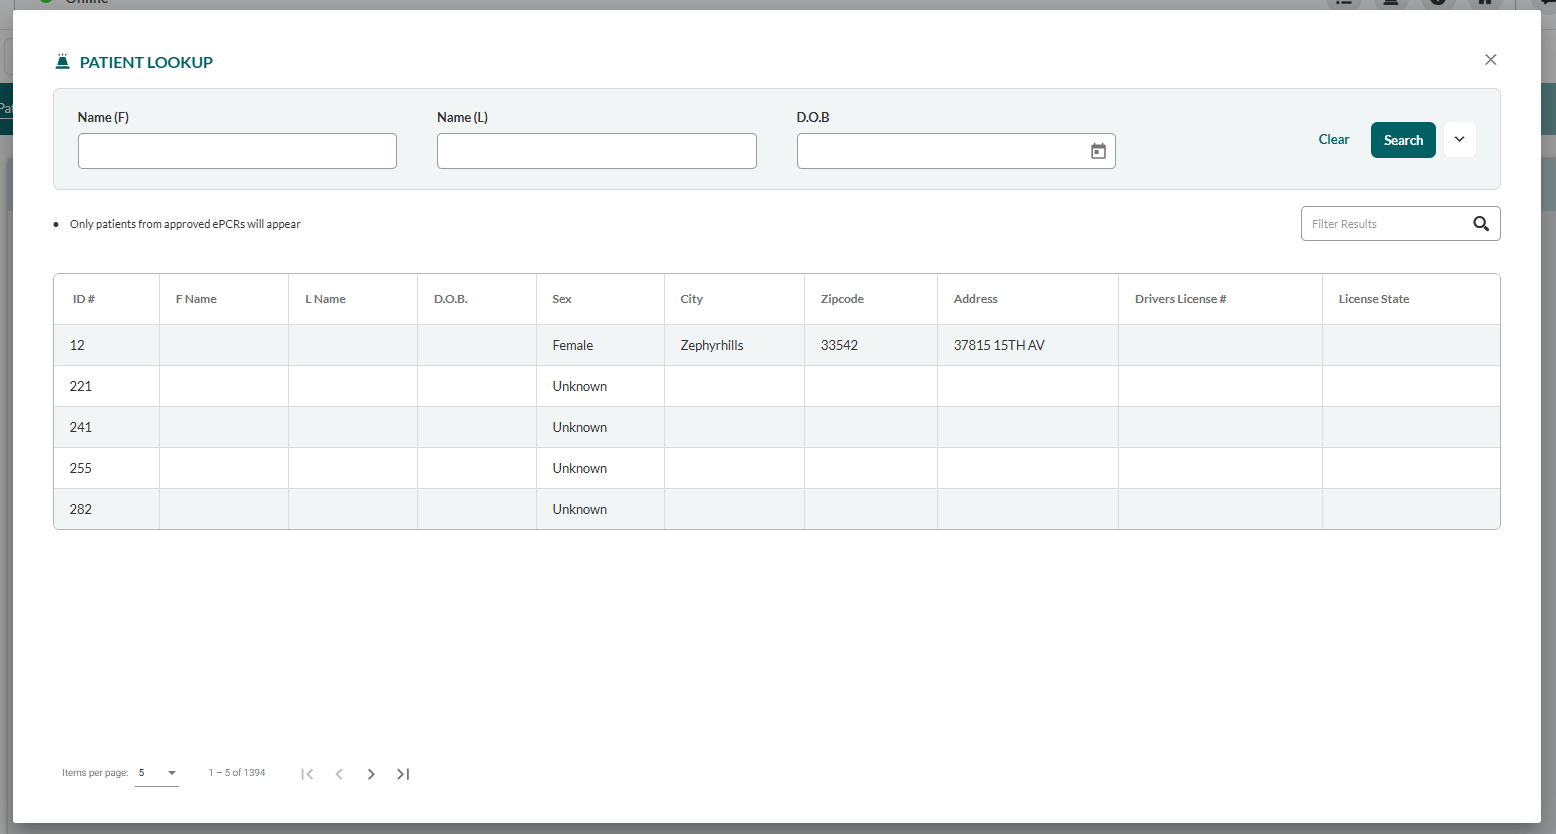
Select a patient from the results table.
Choose data import option: Load Data, Load Data & Med. History, or Load Data & Med. History & Billing.

When done, click Apply.
Result: The system populates the Patient Info section with selected data. Load Data & Med. History imports patient demographics plus clinical history. Load Data & Med. History & Billing additionally imports insurance and billing information.
Driver's License Upload
Capture patient demographic data automatically from the driver's license barcode.
Upload driving license: Upload a pre-existing license photo or PDF file.
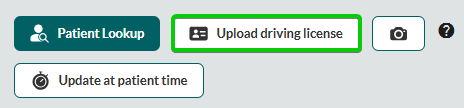
Camera (icon): Photograph the driver's license barcode in real-time.
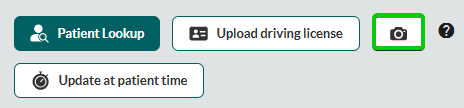
Result: The system automatically populates patient identification and demographic fields from the scanned license data.
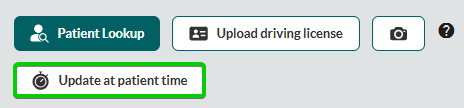
Update “At Patient” Timestamp
Select Update at patient time to set the current timestamp in the Times tab.
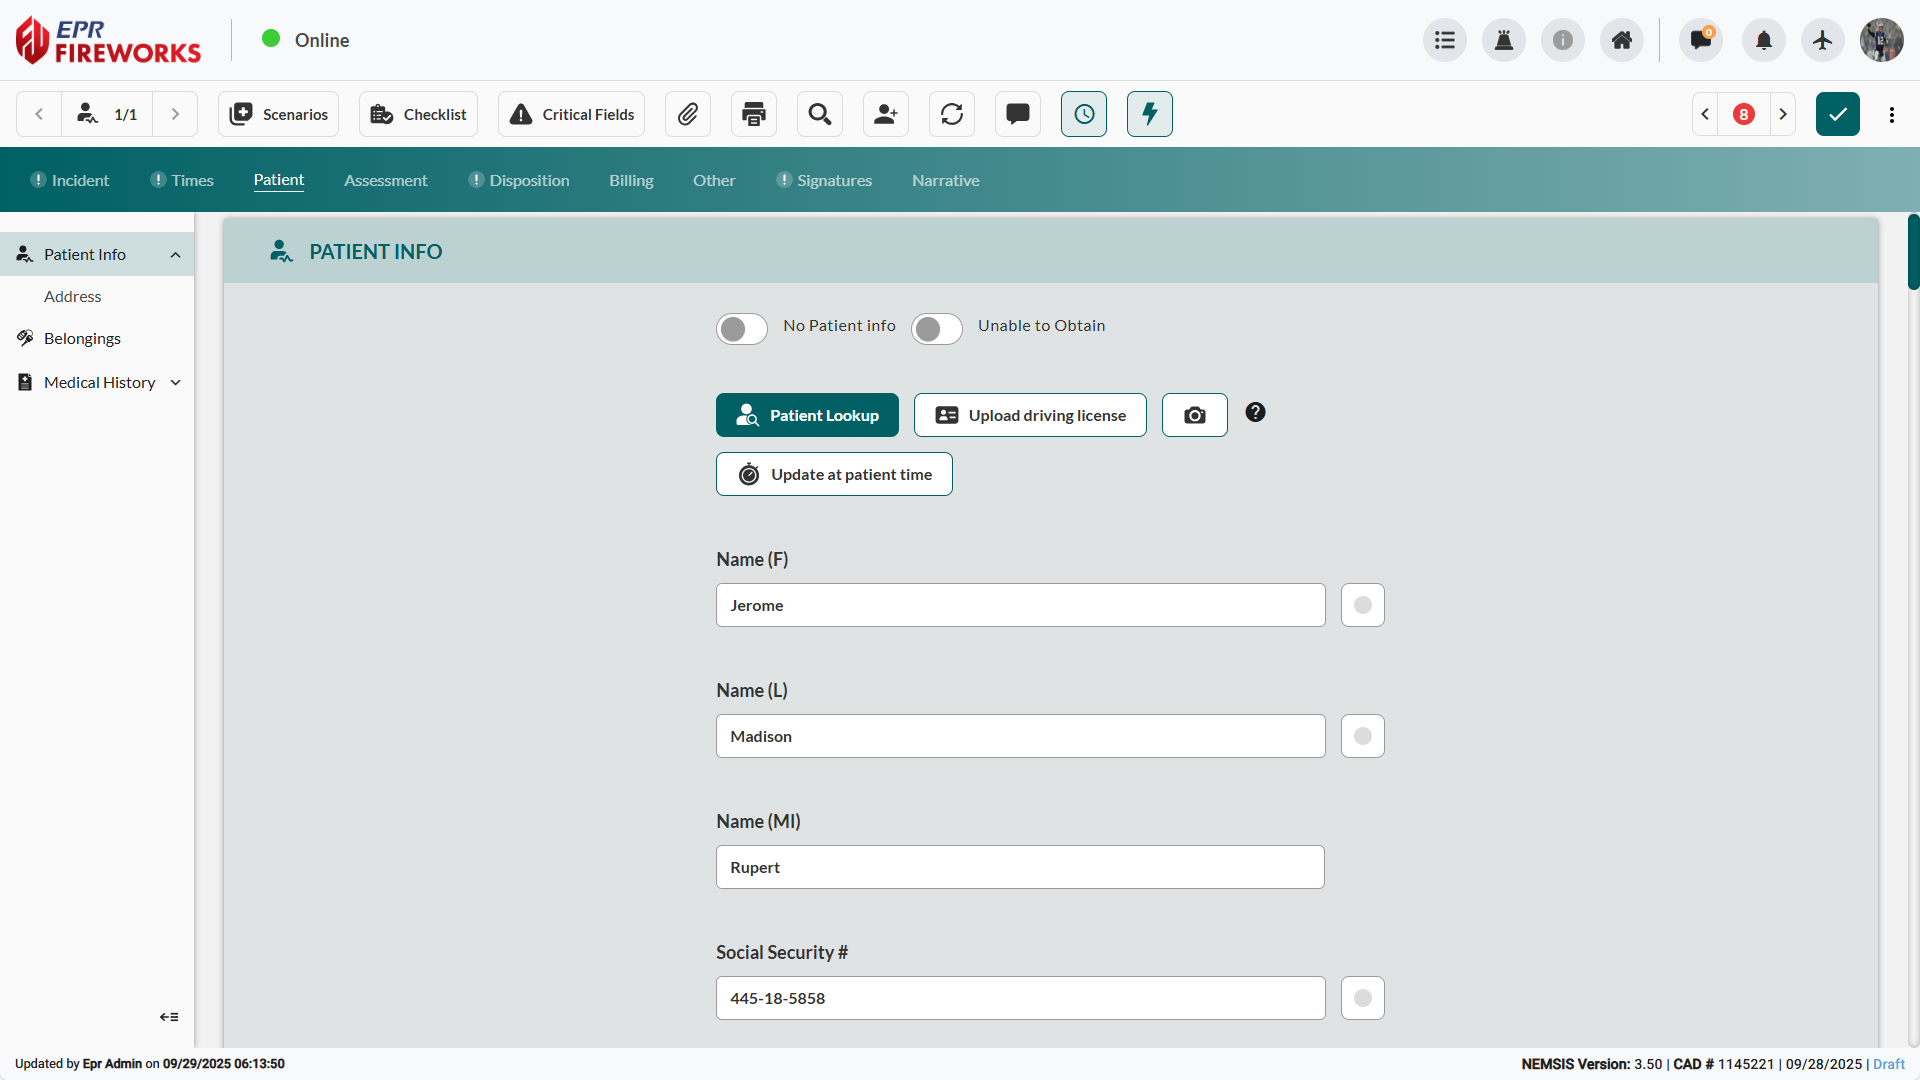
Recording Patient Information
Complete patient identification fields in the Patient Info section.
Complete the Name (F), Name (L), and Name (MI) fields.
Enter Social Security # if provided.
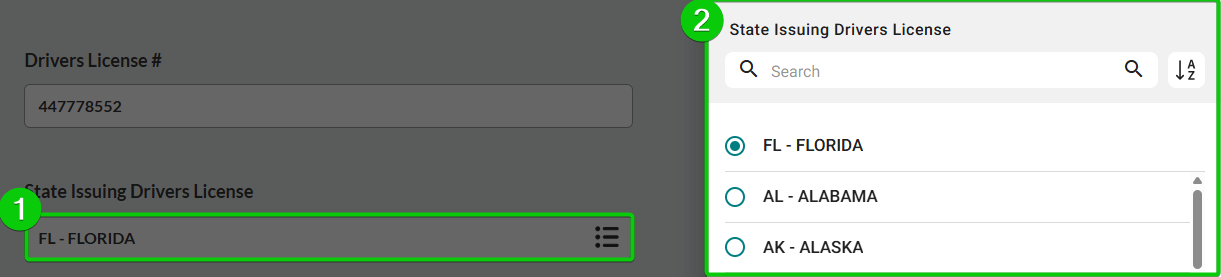
Record Driver's License #, and then select the State Issuing Driver's License.
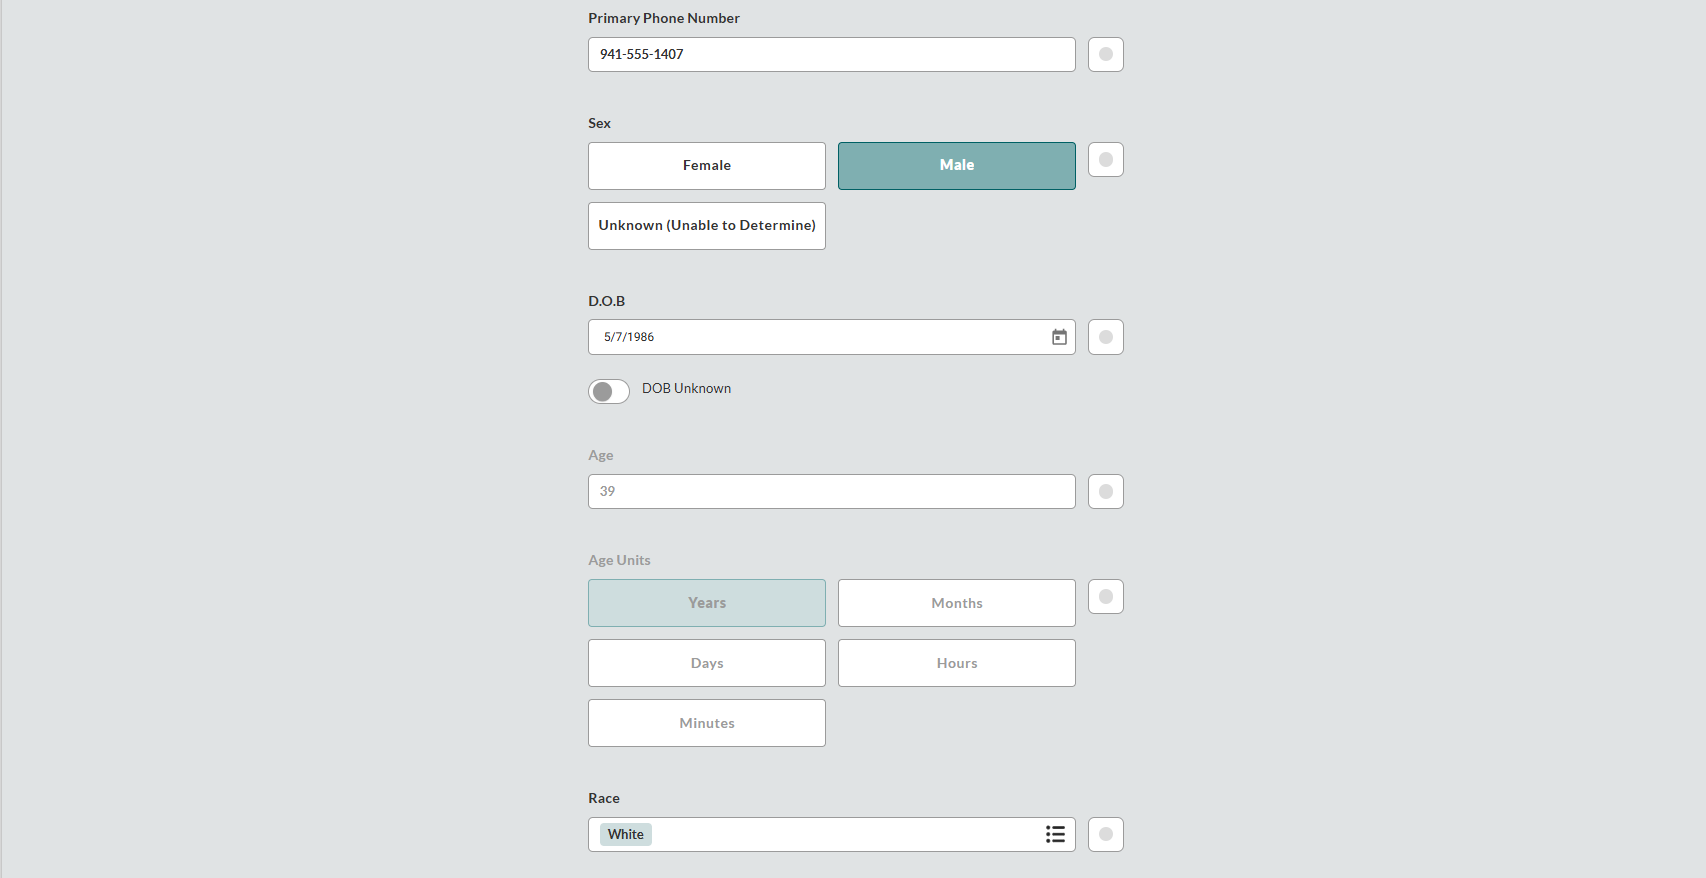
Record Primary Phone Number.
Select the patient’s Sex (e.g., Female, Male, or Unknown (Unable to Determine)).
In the D.O.B. field, use the date picker on the right to select the patient’s date of birth.
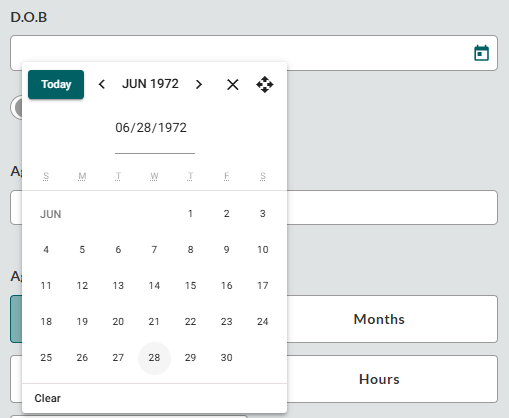
Note: If DOB is unavailable, toggle DOB Unknown, and then complete the Age and Age Units fields.

Choose Race from the dropdown.
Documenting Patient Address
Record complete patient address information, including international and census data.
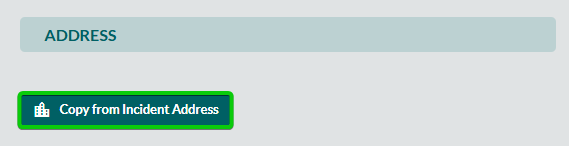
Tip: Use Copy from Incident Address when the patient's address matches the incident location.
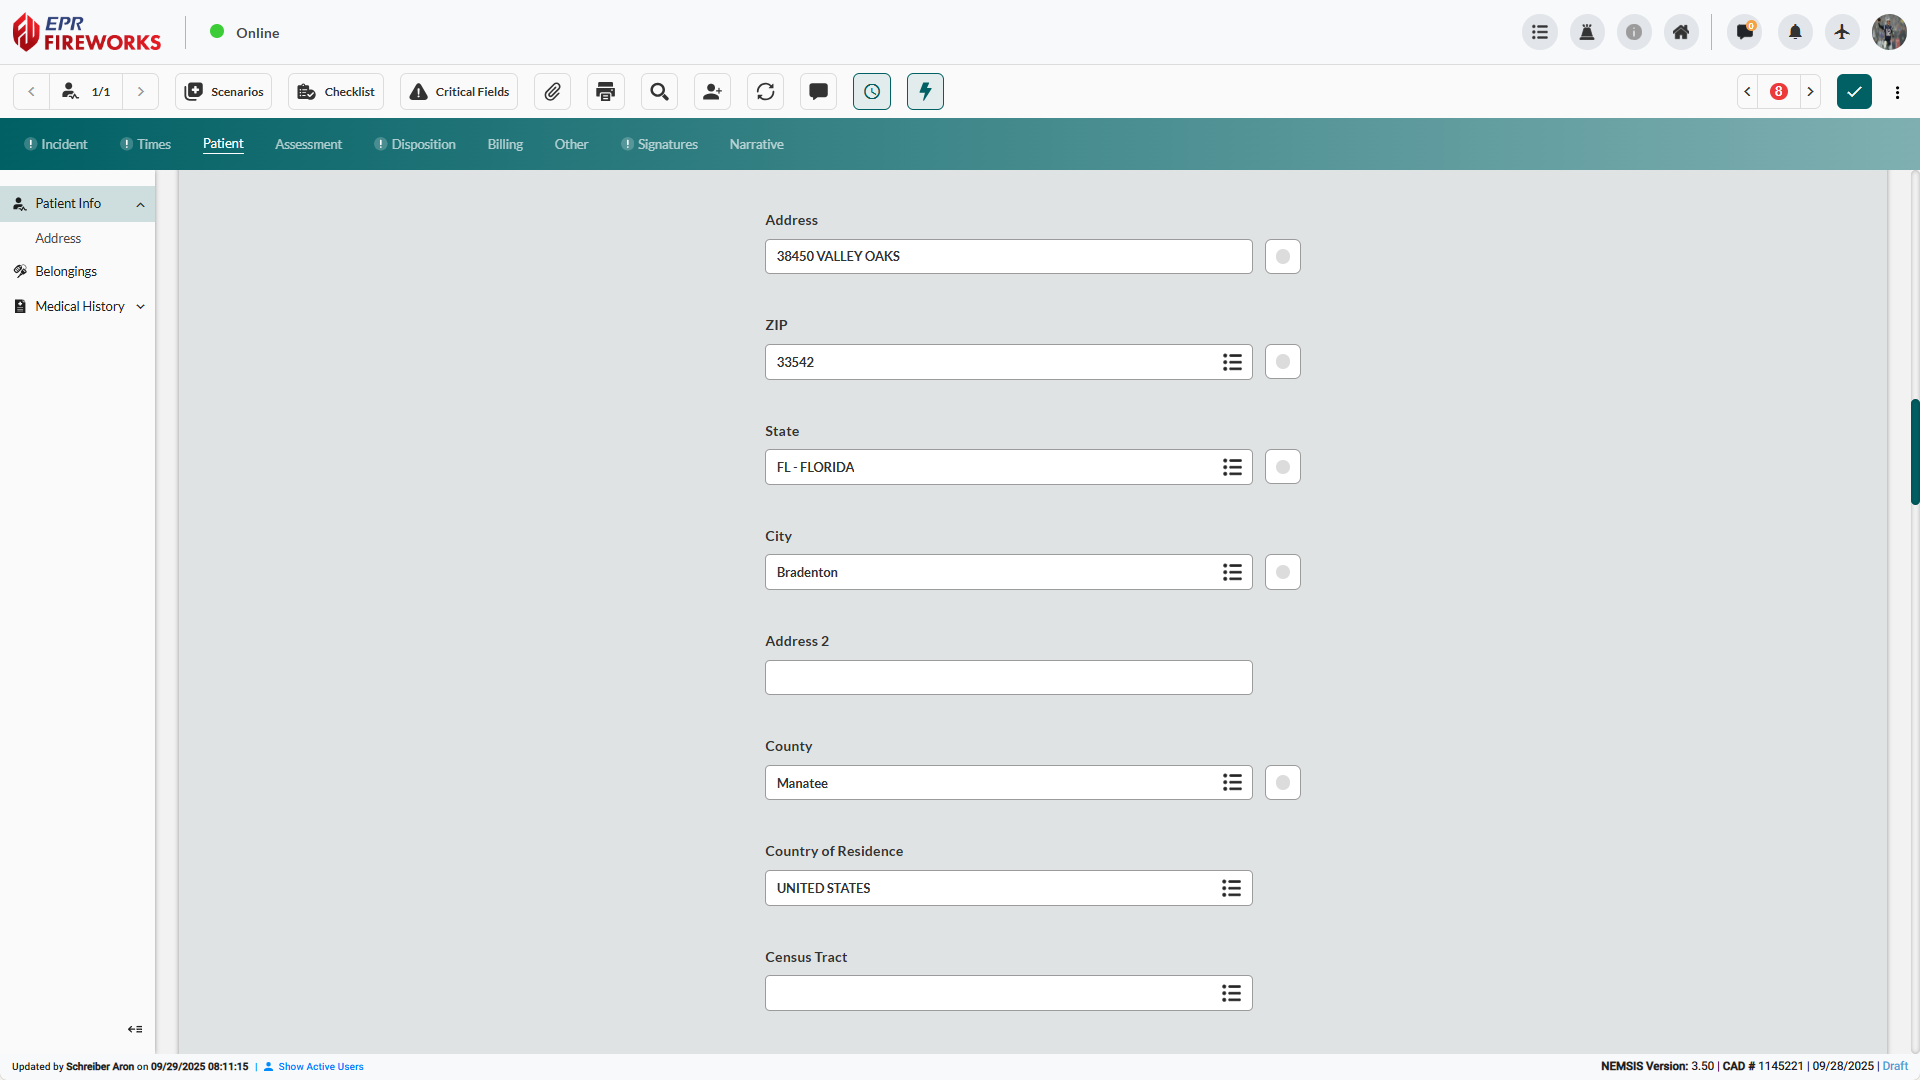
Scroll to the Address section.
Complete the following fields:
Address
ZIP
State
City
Address 2
County
Country of Residence
Census Tract
Select the Alternate Home Residence classification if applicable (e.g., Homeless, Migrant Worker, or Foreign Visitor).

Recording Patient Contact Information
Add patient phone numbers and email addresses with classification types.

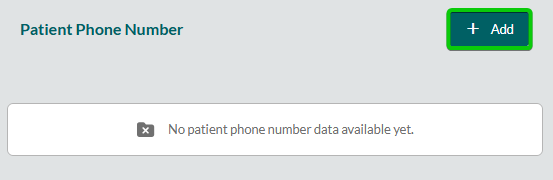
Adding Phone Numbers
In the Patient Phone Number section, click Add.
Complete the Phone Number Type sidebar:
Select the Phone Number Type.
In the Value field, enter the patient’s phone number.
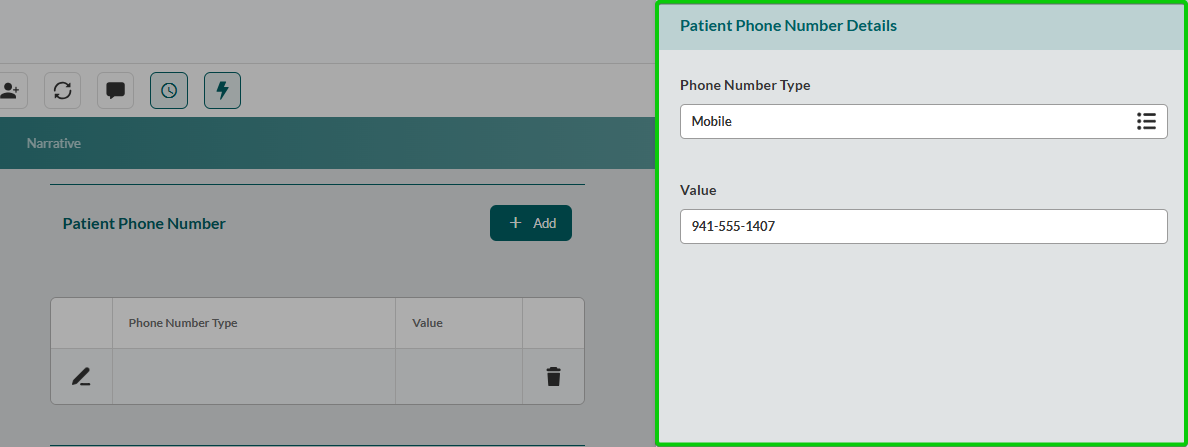
Close the sidebar to save changes.
Repeat steps 1-3 for all relevant phone numbers.
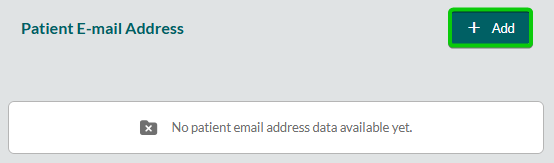
Adding Email Addresses
In the Patient E-mail Address section, click Add.
Complete the Phone Number Type sidebar:
Select the Email Address Type (e.g., Work/Personal)
In the Value field, enter the email address.
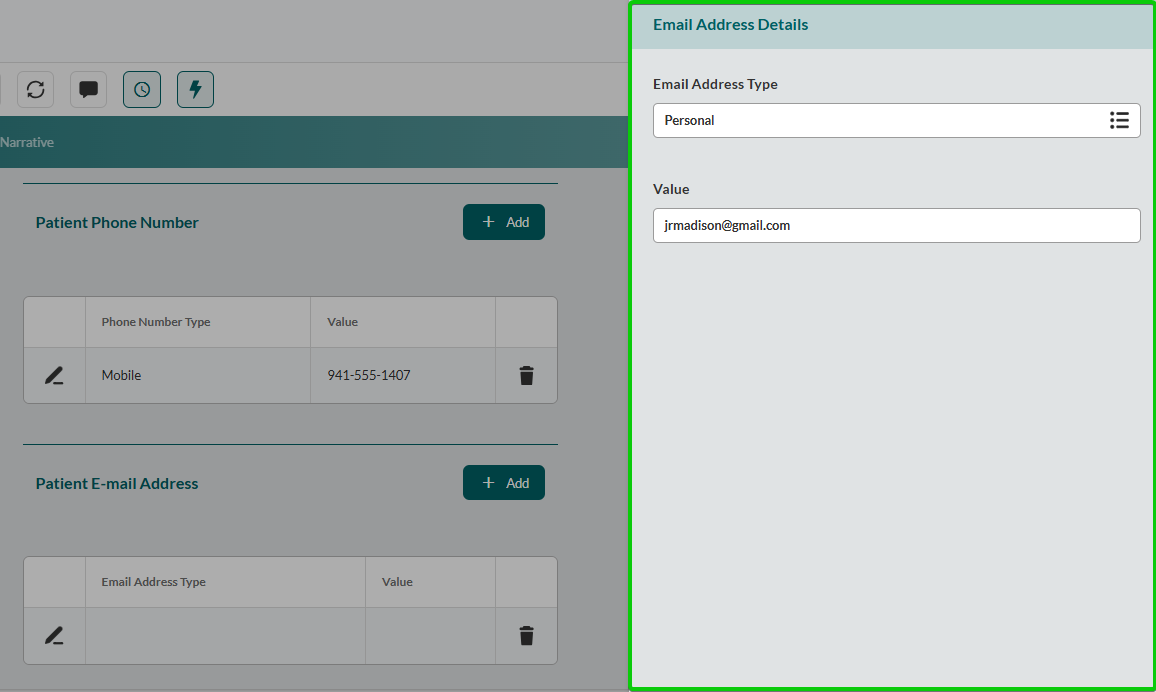
Close the sidebar to save changes.
Repeat steps 1-3 for all relevant email addresses.
Recording Patient Belongings
Document the patient’s personal items secured during care and transport.

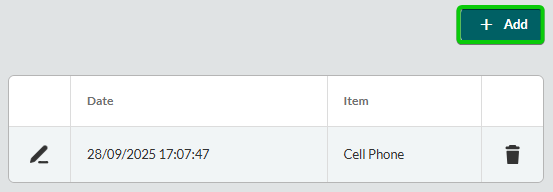
Scroll to the Belongings section.
Click Add.
Complete the Belongings Details sidebar:
Enter the Date and Time the item was secured.
Click the Item field, and them select the belonging type from the sidebar (e.g, Keys, Medications, Jewelry, Watch, Purse/Wallet, Cell Phone, or Other).
Complete the Given To field if the item was transferred to another person.
In the Notes field, add additional details regarding the item.
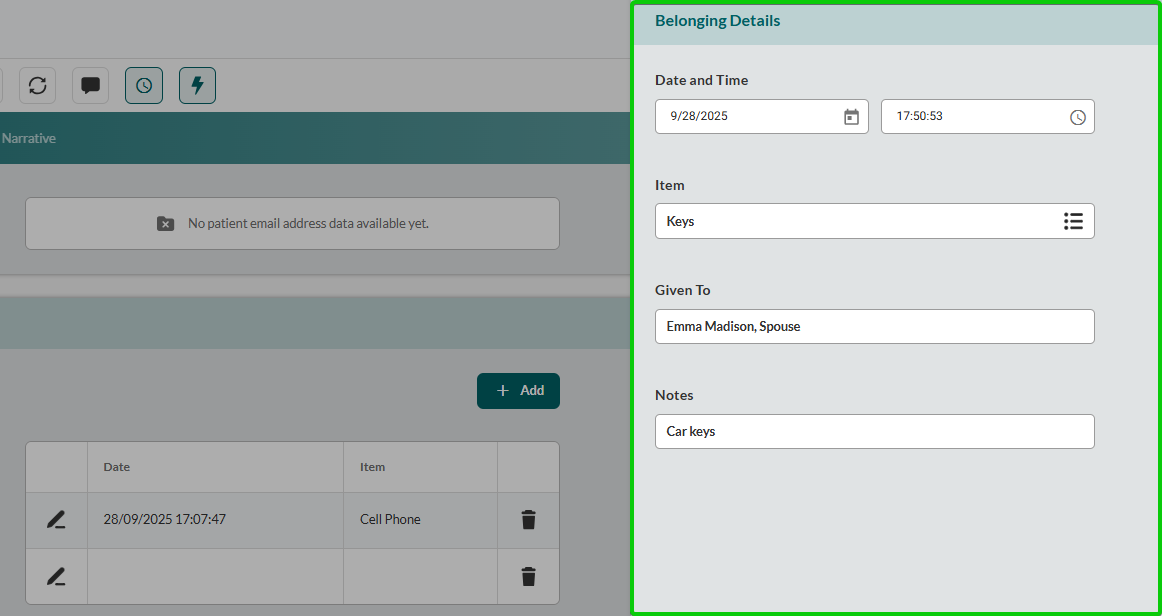
Close the sidebar to save changes.
Repeat steps 1-3 for all of the patient’s items.
Next Steps
Proceed to Medical History to record the patient’s’s medical history for clinical information