
Signatures
Overview
Capture patient and witness signatures for treatment consent, transport authorization, refusal documentation, and controlled substance waste verification in the EPR FireWorks ePCR Signatures tab. The Signatures tab supports agency-configured consent workflows including combined Quick Signatures for streamlined multi-requirement documentation.
Before You Start
Ensure you have:
Agency-configured signature disclaimers and Quick Signatures established in Back-Office.
State-specific consent requirements configured per agency protocols.
Patient or authorized representative available for signature capture.
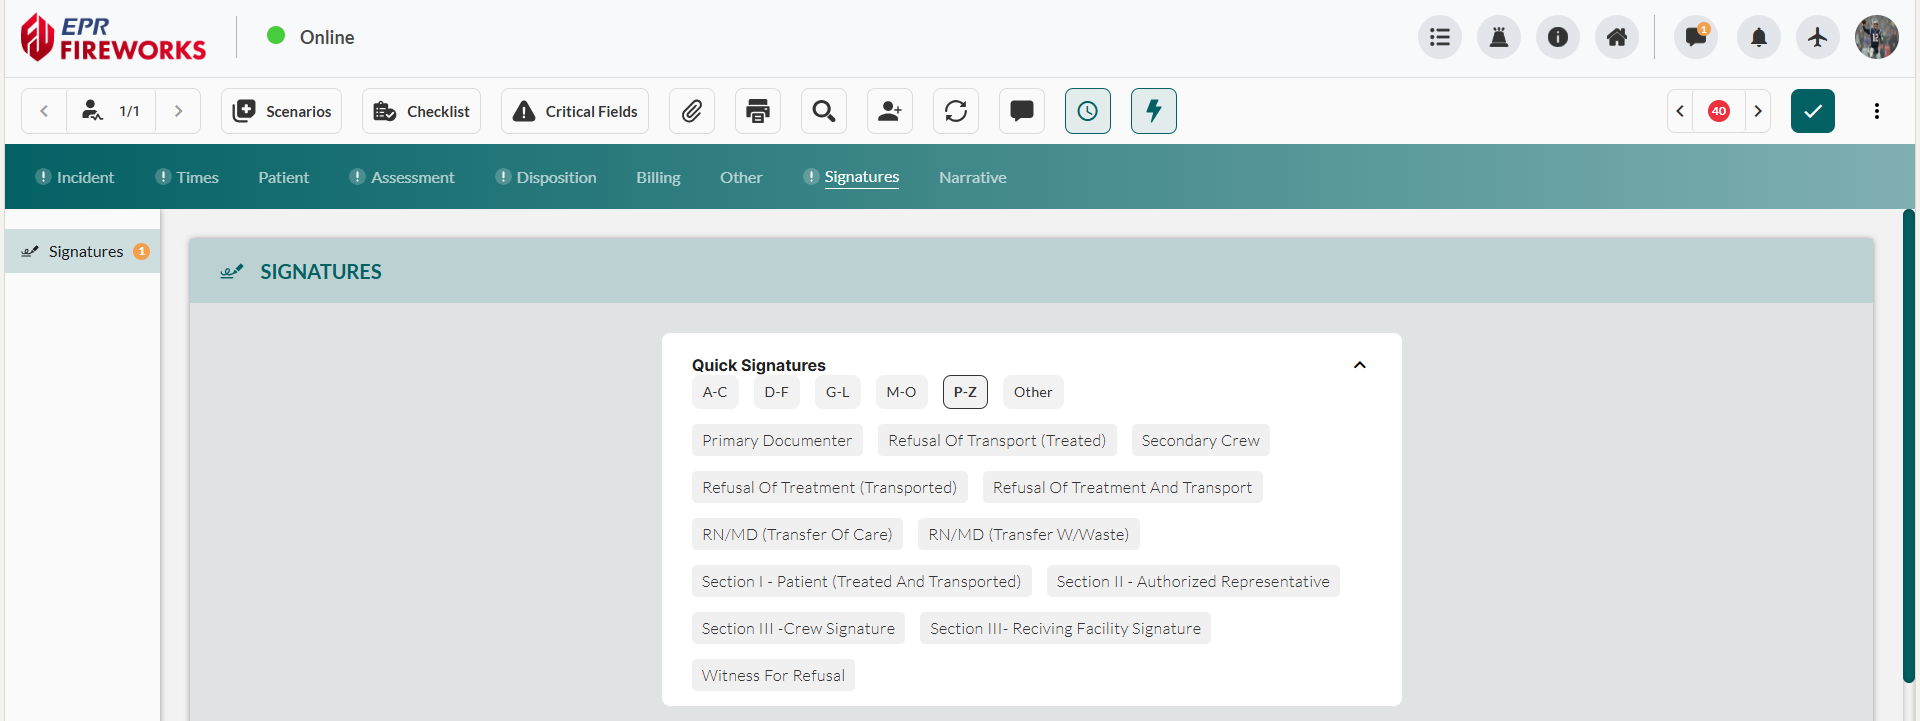
Using Presets and Quick Signatures
Apply pre-configured Quick Signatures that bundle multiple consent requirements into a single signature workflow. Quick Signatures function as presets configured in Back-Office by administrators and automatically populate all signature fields except the signature capture itself.
Navigate to the Signatures tab.
Locate the configured presets using alphabetical filters.
Click the desired preset. The preset opens a new signature row below.
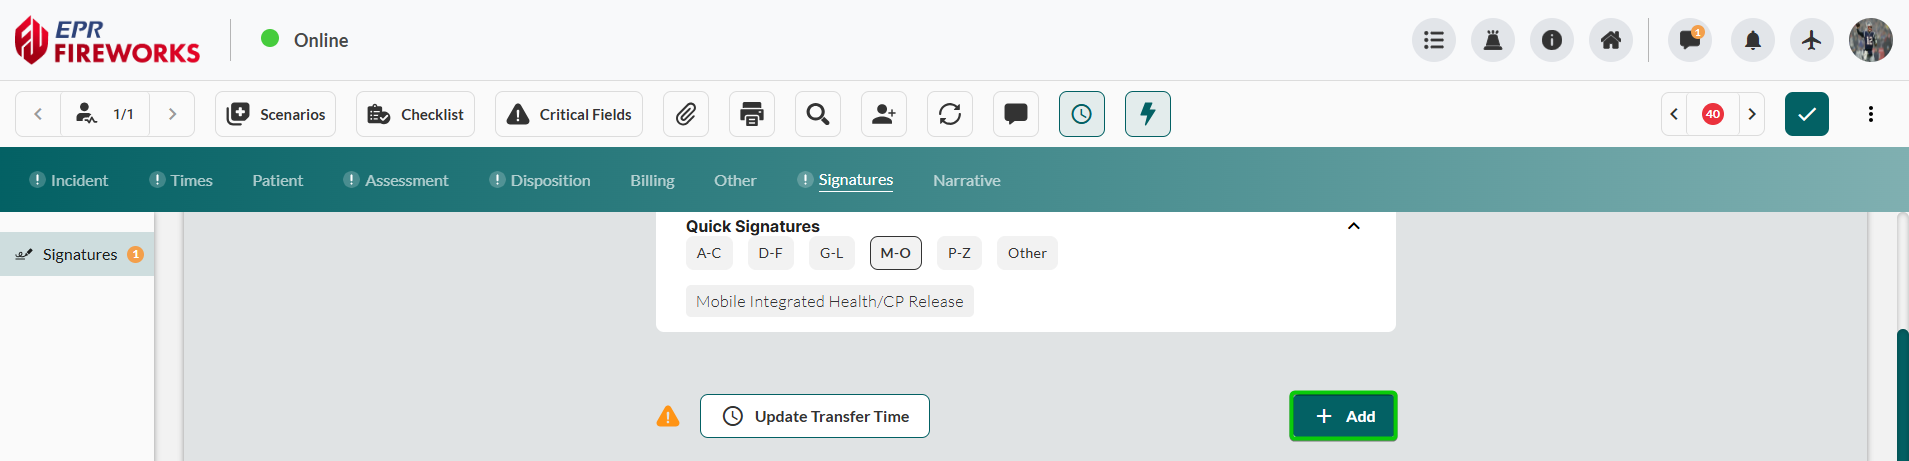
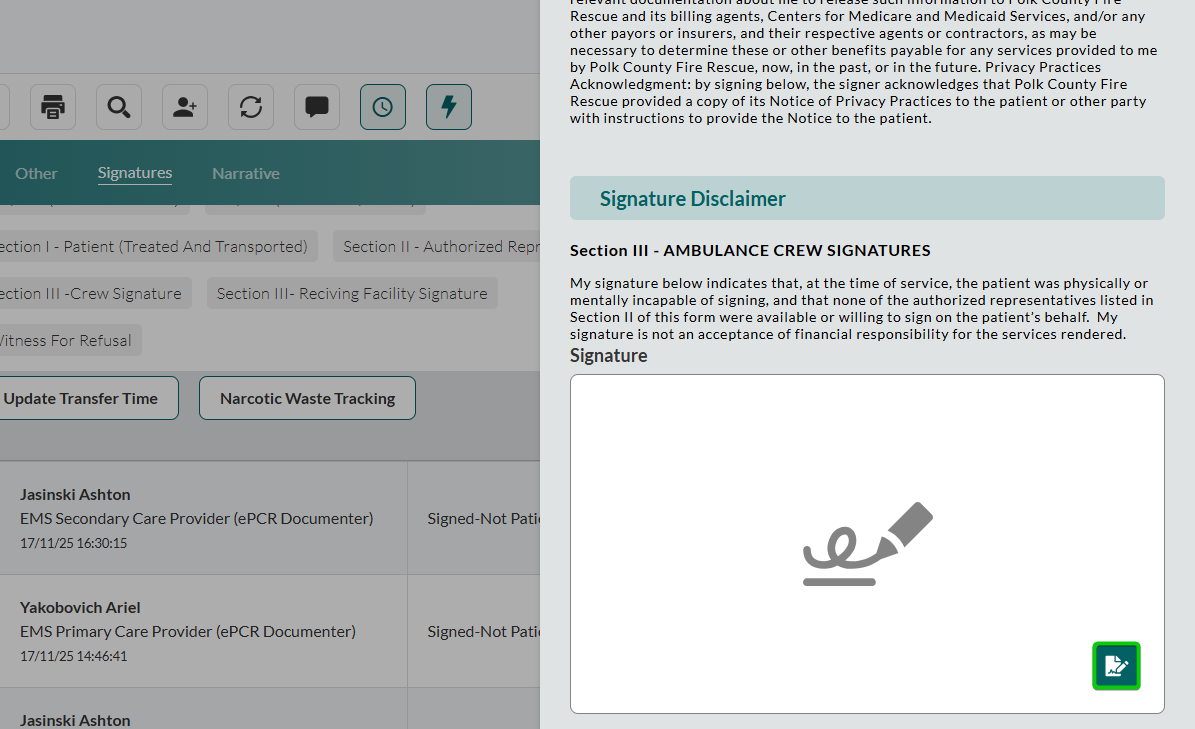
Note:If the signature icon displays in color, proceed to step 4 to capture the signature directly.
If the signature icon displays in grey, the preset requires additional details. Click the pencil icon to open full signature details and complete required fields
Add the signature:
Click the signature icon to the right of the signee’s name.

Complete signature details (where applicable).
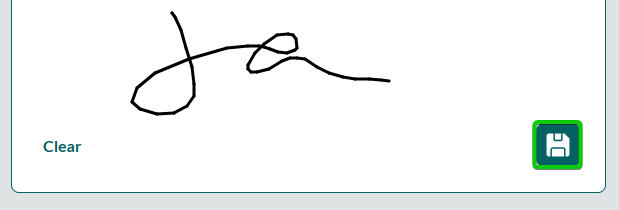
In the Quick Signature modal, capture the signature using the Signature icon at the bottom-left corner of the field.
When finished, click the Save icon at the bottom-left corner of the field, and then click Save.
Note: Certain presets will not allow Quick Signatures due to additional requirements. In such a case, the signature icon will display in grey. To approve the disclaimer and add the signature, click the pencil icon to the left of the row.

Adding a Standard Signature
Capture individual consent signatures for treatment authorization, transport permission, or refusal acknowledgment.
Navigate to the Signatures tab in the ePCR. Click Add.
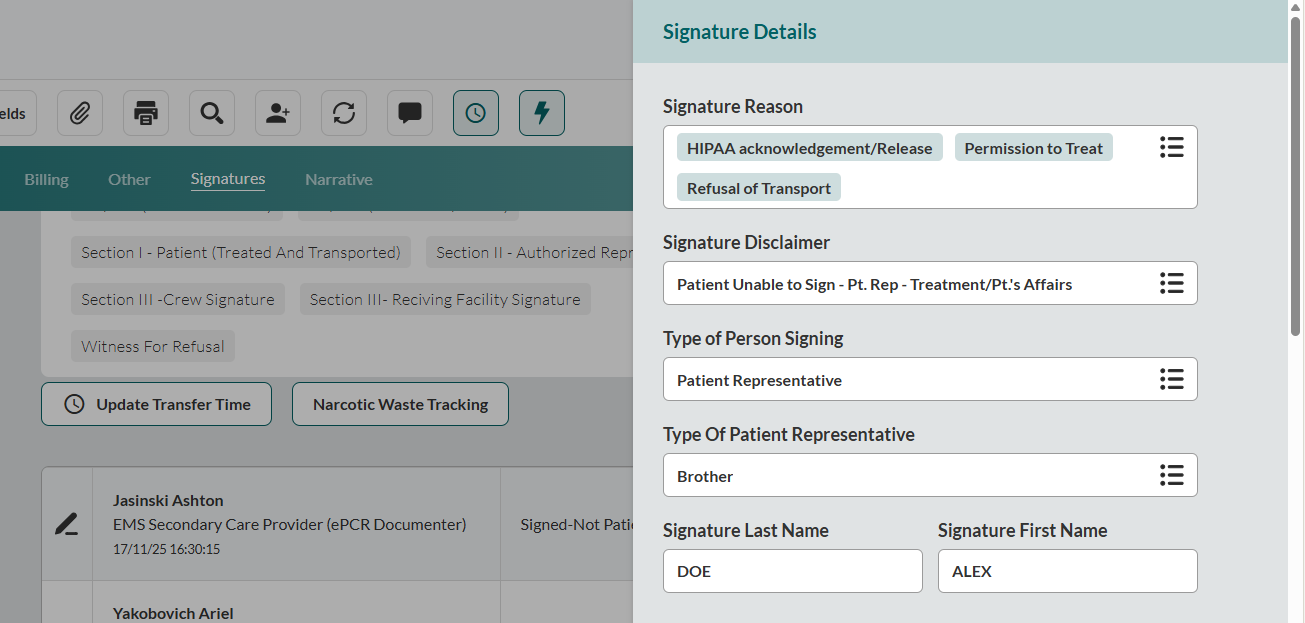
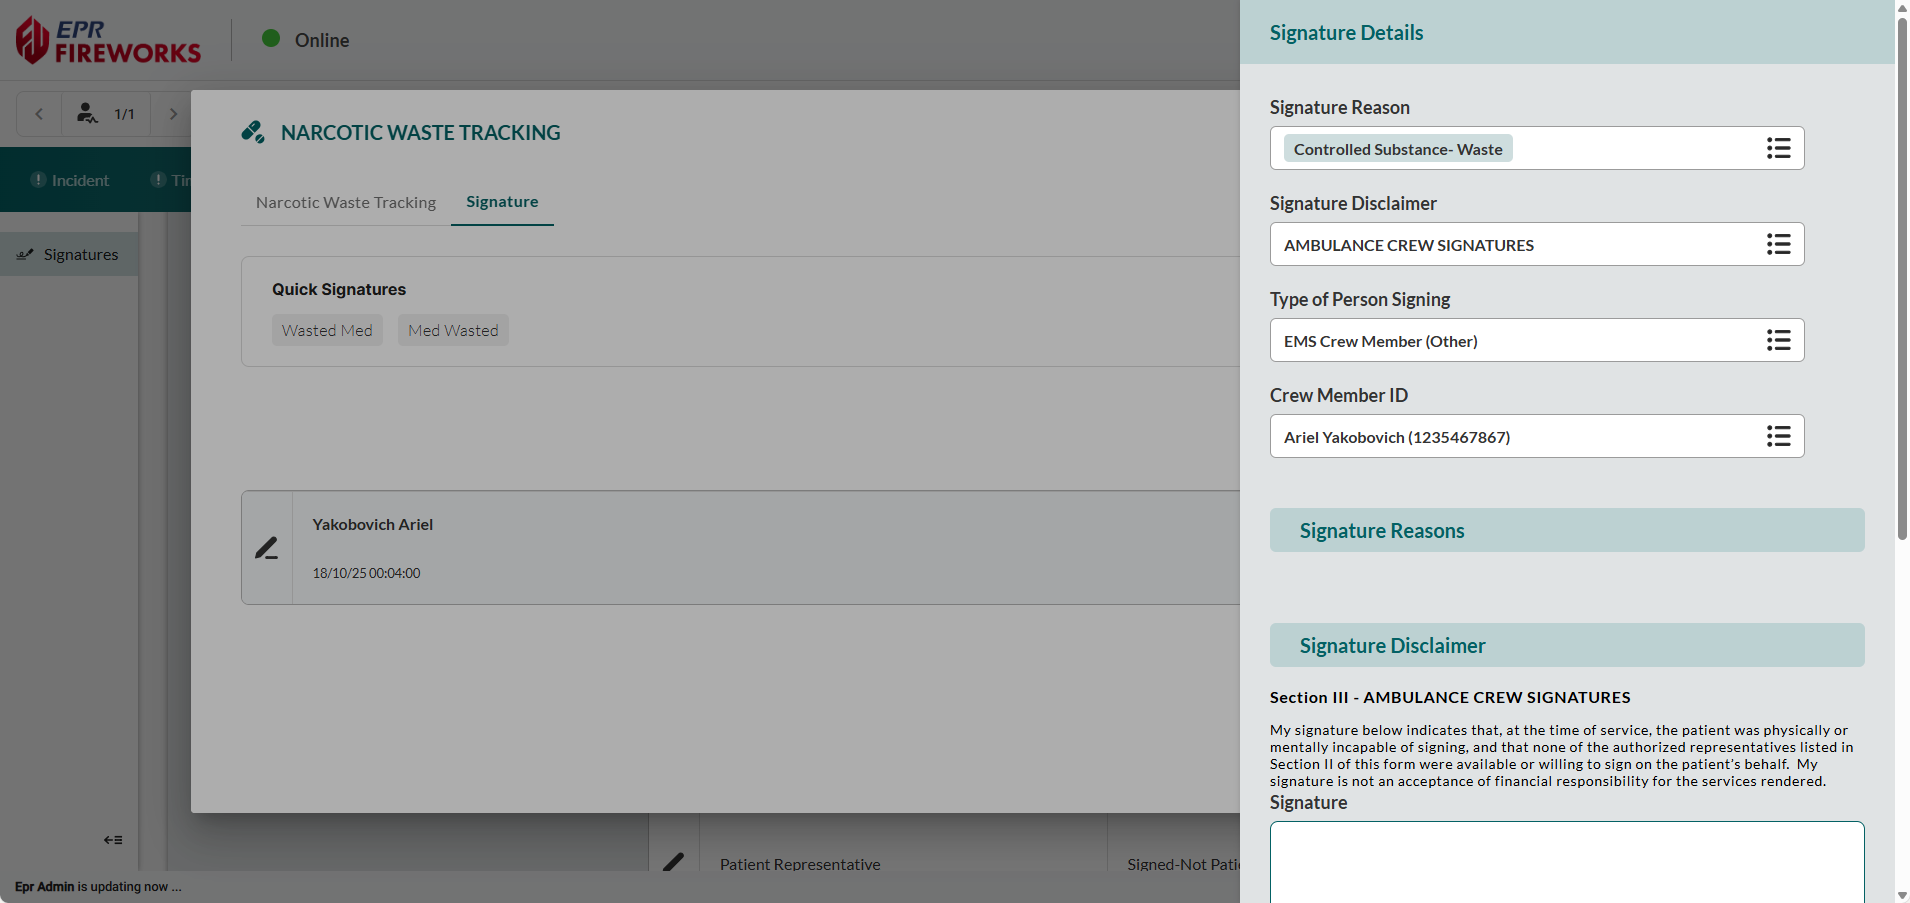
Document consent context. In the Signature Reason field, select all applicable Signature Reasons.
Note: Certain Signature Reasons will automatically generate a consent statement and mandatory acknowledgment in the Signature Reasons subsection below.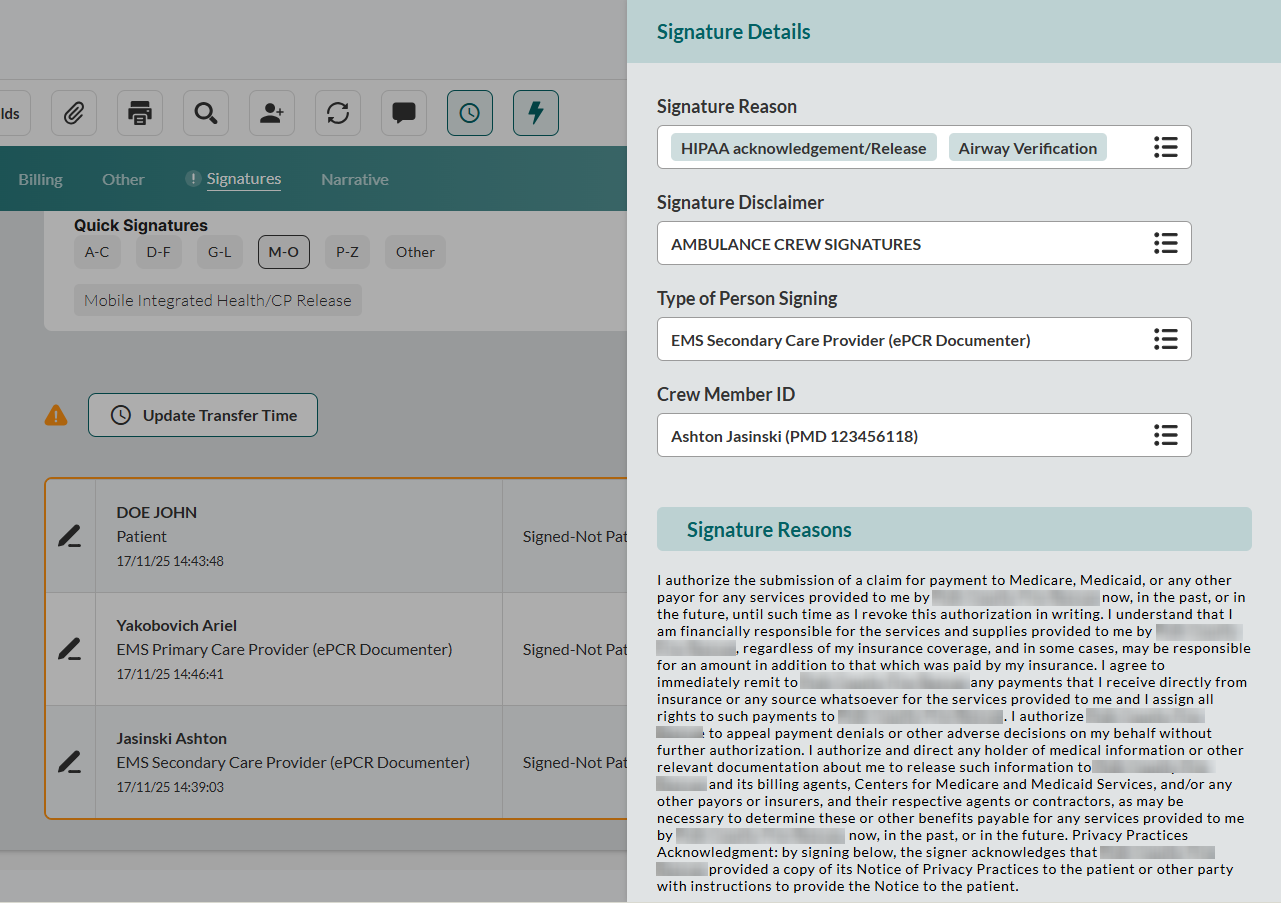
If an additional disclaimer is needed, select Signature Disclaimer. The disclaimers will appear in the Signature Disclaimer subsection below.
Identify signatory. Select the Type of Person Signing and enter the Signature Last Name and Signature First Name.
Note: If this signature is for a crew member, complete Crew Member ID instead.
Capture the signature in the Signature field:
Click the signature icon at the bottom right corner of the field.
Add the signature.
Click the Save icon.
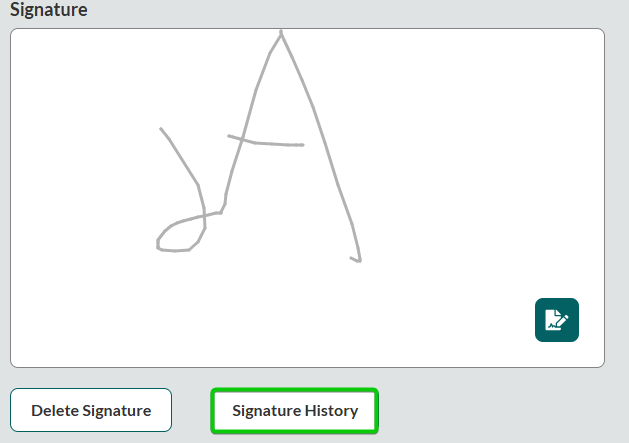
Note: If you or the patient are required to sign multiple times, use the Signature History feature to select previous signatures used in this ePCR.
Complete the signature Date and Time fields.
Select Signature Status.
Add comments (where applicable).
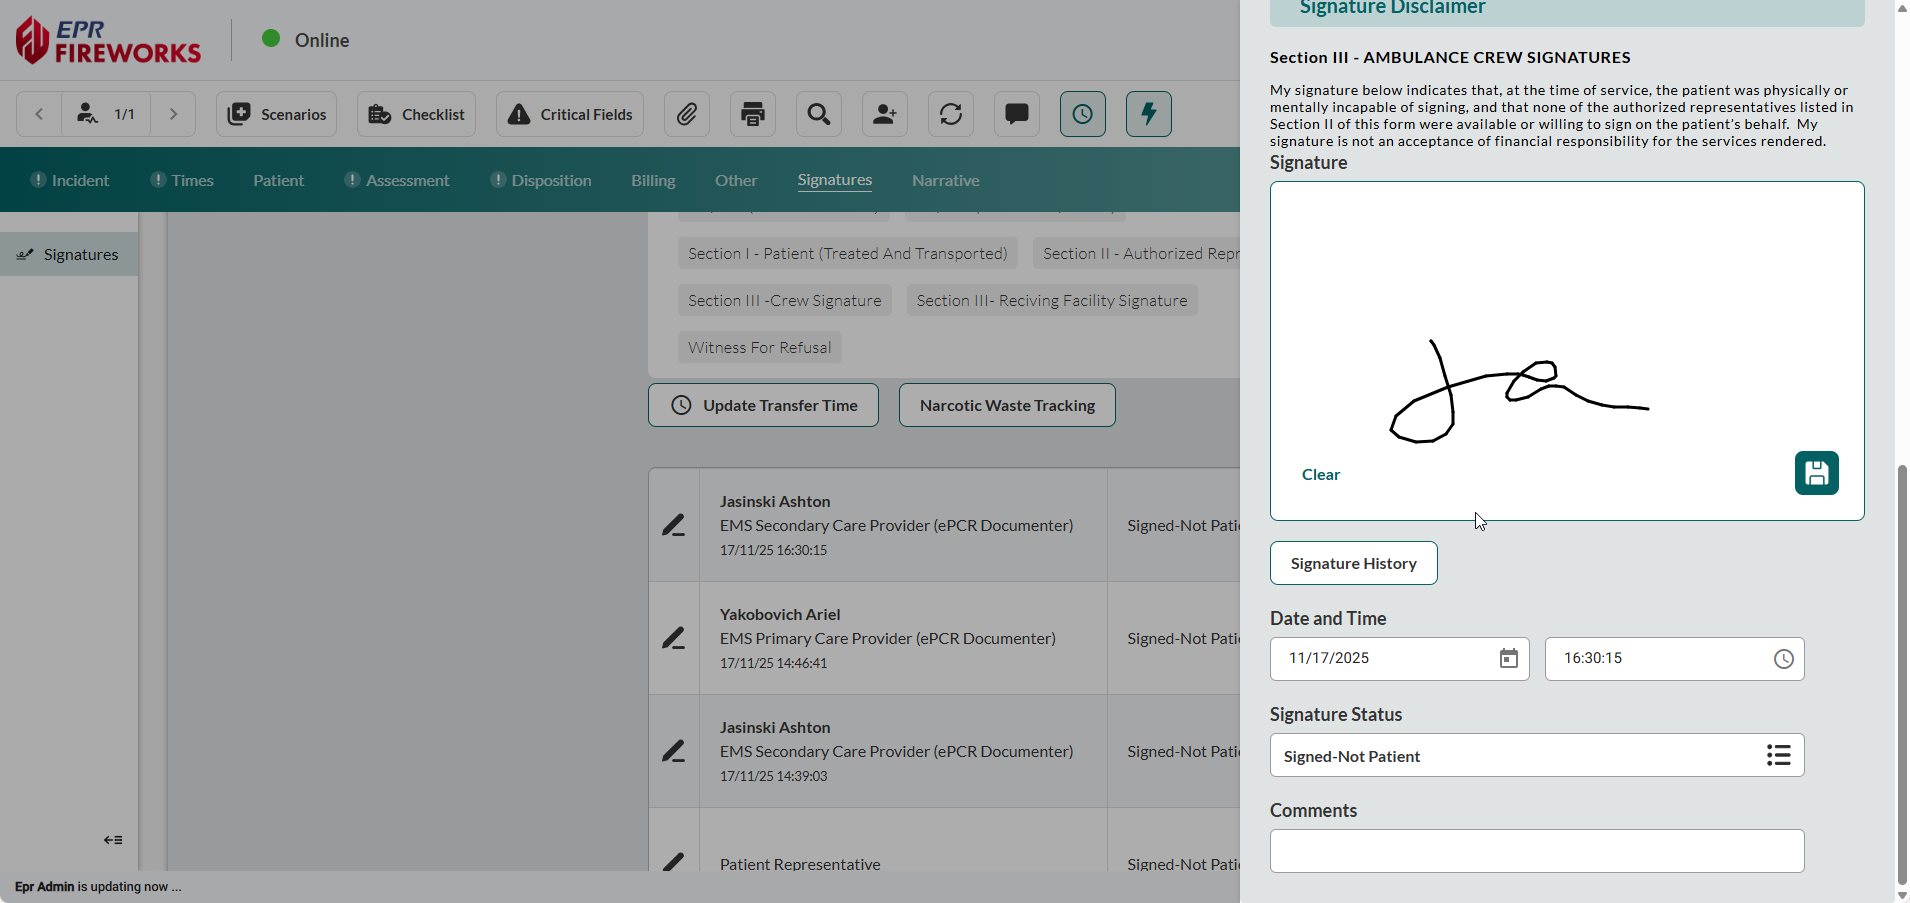
Close the sidebar to save changes.
Documenting Narcotic Waste with Witness Signature
Record controlled substance waste with witness verification for regulatory compliance and controlled substance accountability.
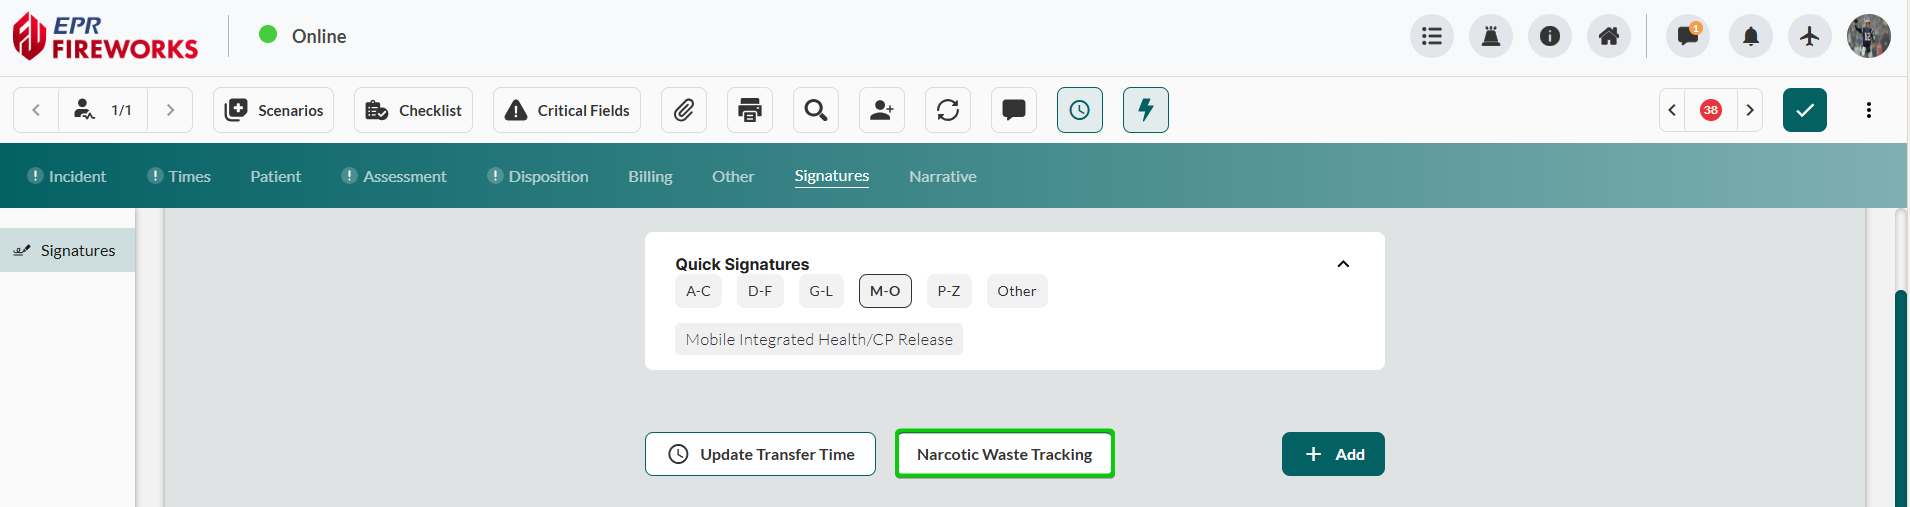
The Narcotic Waste Tracking button appears only when controlled substances are documented in the Medications subsection of the Treatment section in the Assessment tab.
In the Signatures tab, click Narcotic Waste Tracking.
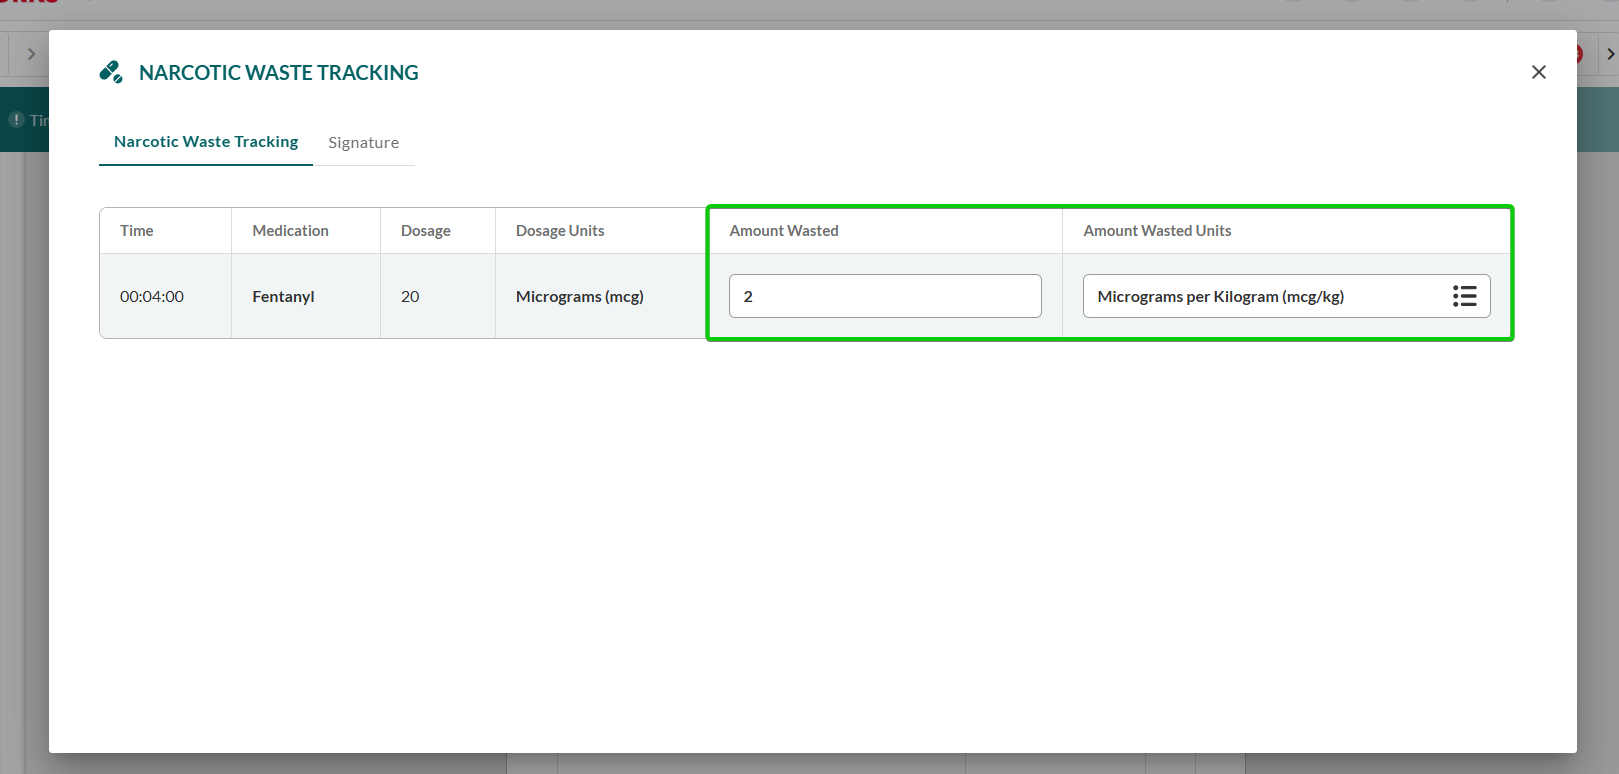
Verify medication details. Review Time, Medication, Dosage, and Dosage Units pre-populated from Treatment tab documentation.
Document waste quantity. Enter Amount Wasted and select Amount Wasted Units.
Click the Signature tab within the Narcotic Waste Tracking modal.
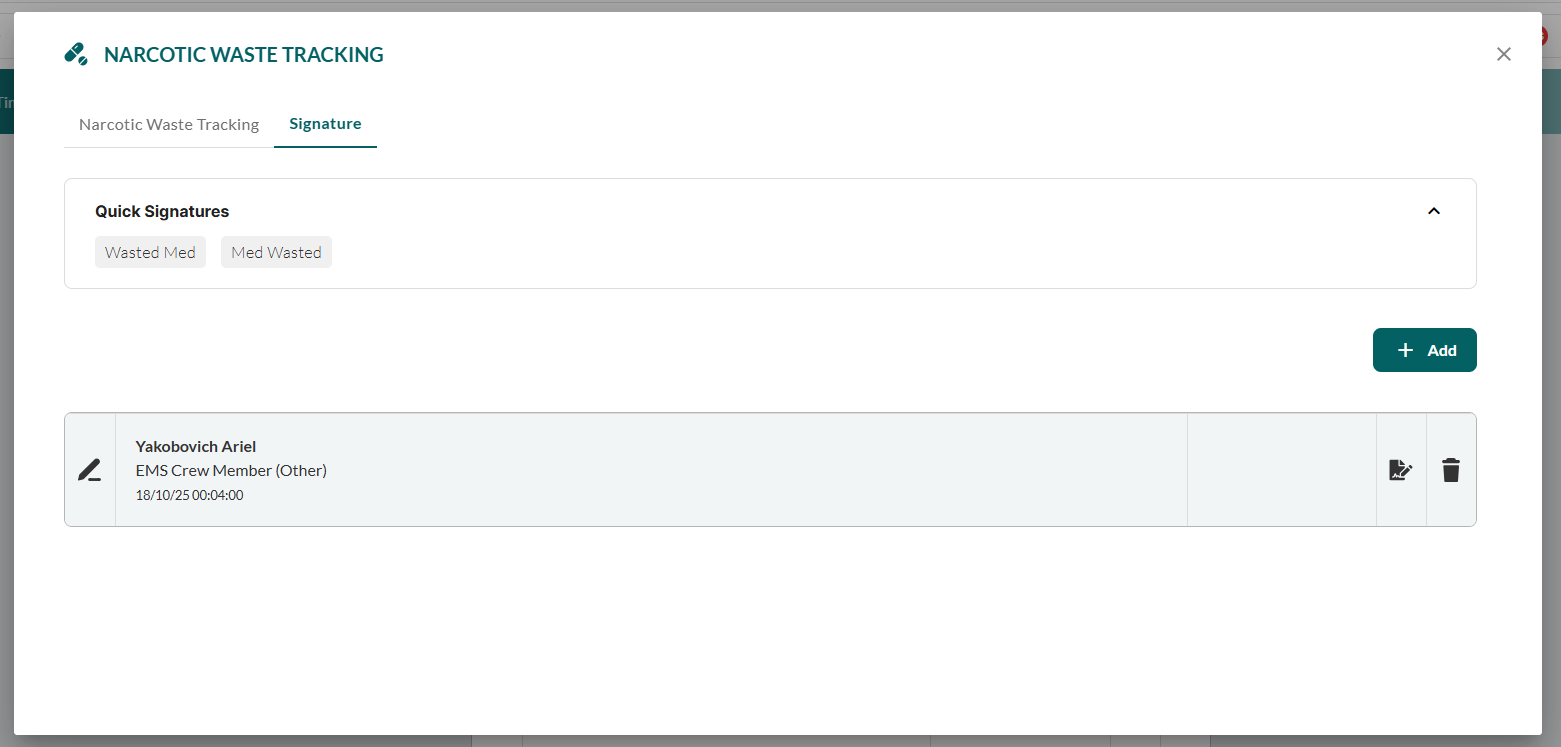
Capture witness signature following standard signature procedure:
For presets:
Select the preset from the Quick Signatures subsection.
Add signature and/or missing details, as described in Using Presets and Quick Signatures.
For manual signatures:
Click Add.
Complete signature details, as described in Adding a Standard Signature.
Next Steps
Proceed to Narrative for summarizing the event.