
NERIS Incident Reporting Quick Start Guide
NERIS Incident Reporting Quick Start Guide
Overview
Disclaimer
NERIS is currently under development by the Fire Safety Research Institute (FSRI). This guide reflects the system as implemented in EPR FireWorks. Functionality may evolve as NERIS continues development toward full national implementation by January 2026.
This quick-start guide walks you through completing a NERIS incident report from start to finish. You'll learn to convert incidents to NERIS format, classify incident types, document response activities, and complete specialized requirements.
- Part 1: Opening a NERIS Incident
- Part 2: Documenting Core Incident Information
- Part 3: Recording Response Details
- Part 4: Completing Specialized Documentation
- Part 5: Finalizing Your Report
NERIS Prerequisites
Before running this quickstart, ensure the following prerequisites:
Access to EPR FireWorks system with NERIS enabled.
Incident information available (times, apparatus, personnel, actions taken).
Any associated ePCR documentation completed (for medical incidents).
Part 1: Opening a NERIS Incident
Convert your incident from NFIRS to NERIS format to access specialized documentation features.
Step 1: Access and Convert Your Incident
Navigate to the Incidents module.
Create a new incident or select an existing one.

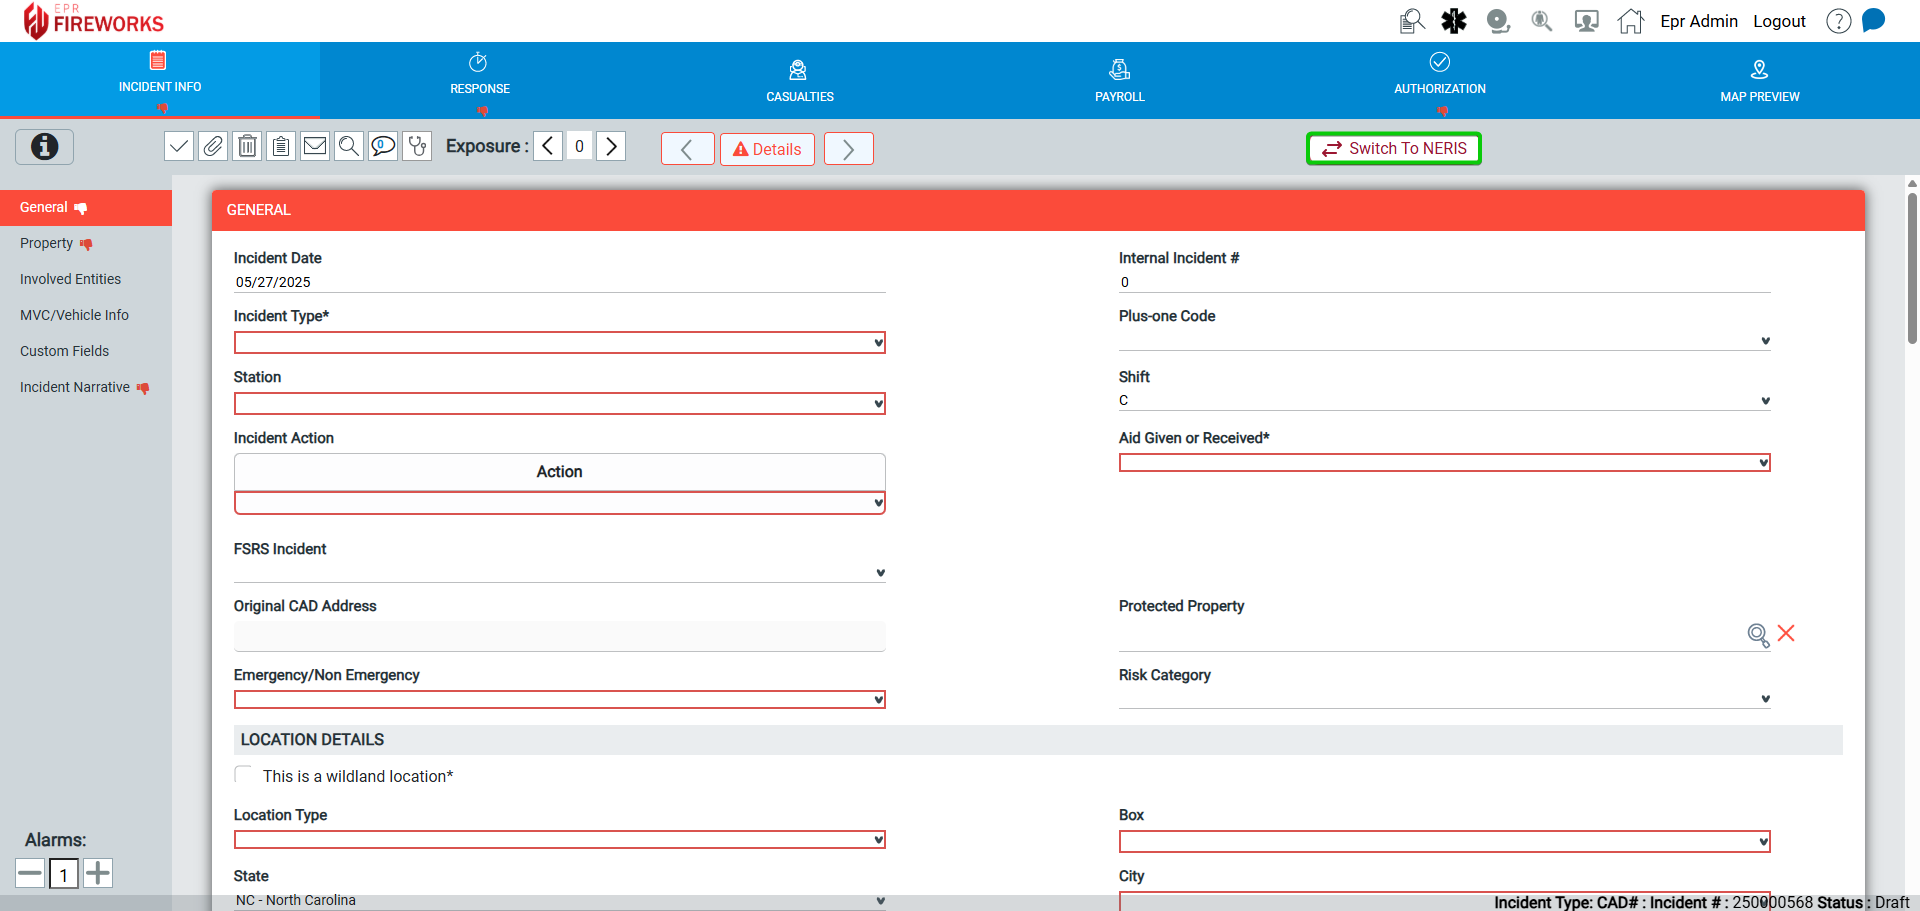
The incident opens in NFIRS format. Click Switch to NERIS to convert to NERIS.
Part 2: Documenting Core Incident Information
This section covers the essential information that forms the foundation of your NERIS report.
Step 1: Classify Your Incident
The incident type classification determines which specialized tabs will appear and what additional information must be collected.
Select up to three incident types from the available categories.
Choose specific subtypes for each selected type.
Designate one as the primary incident type.
Answer these critical questions. The answers will trigger additional reporting requirements:
Did firefighter casualties or rescues occur?
Did civilian casualties or rescues occur?
Were emerging hazards involved?
Select applicable incident modifiers.
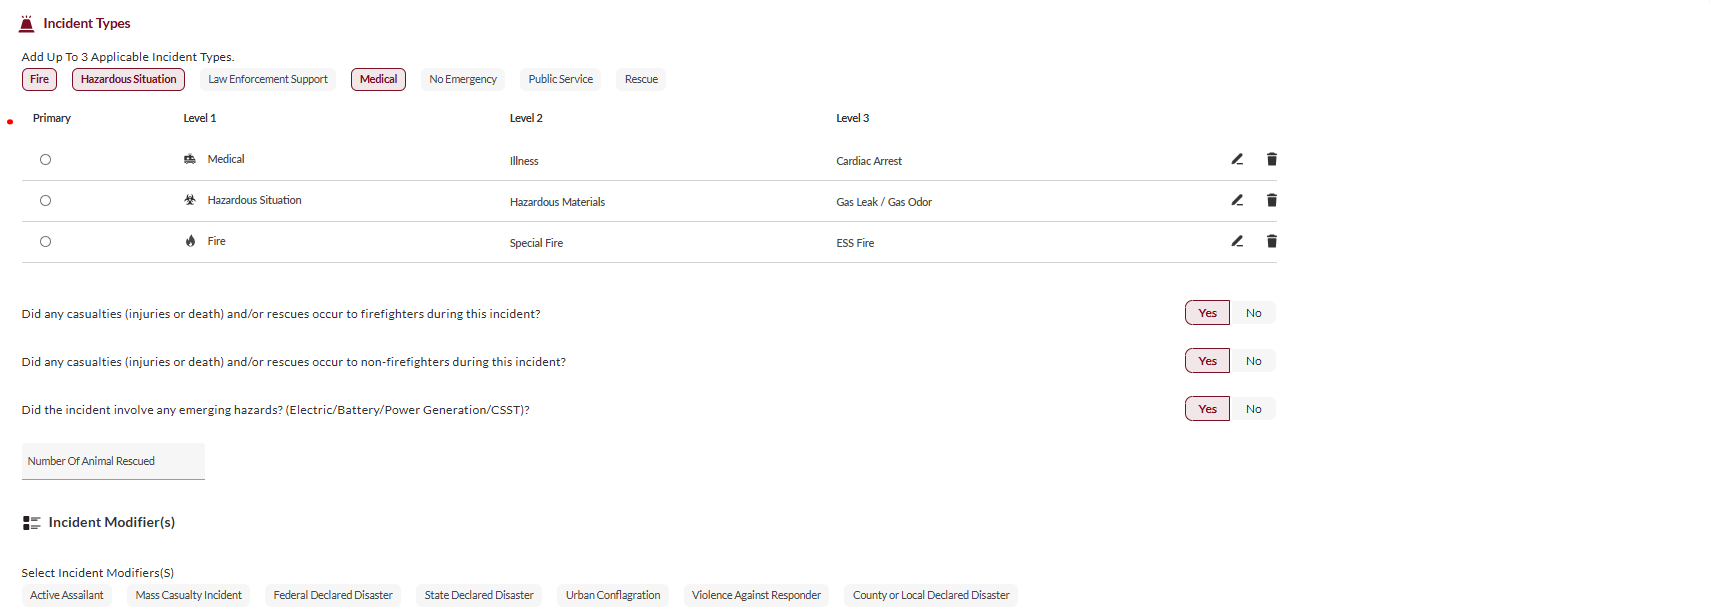
📖 Detailed guide: Incident Types
Step 2: Document Operational Activities
In Actions & Tactics, select applicable tactic categories (Command & Control, Suppression, Emergency Medical Care, etc.).
Within each selected category, mark the specific actions taken.
Complete all relevant tactical activities performed during the incident.
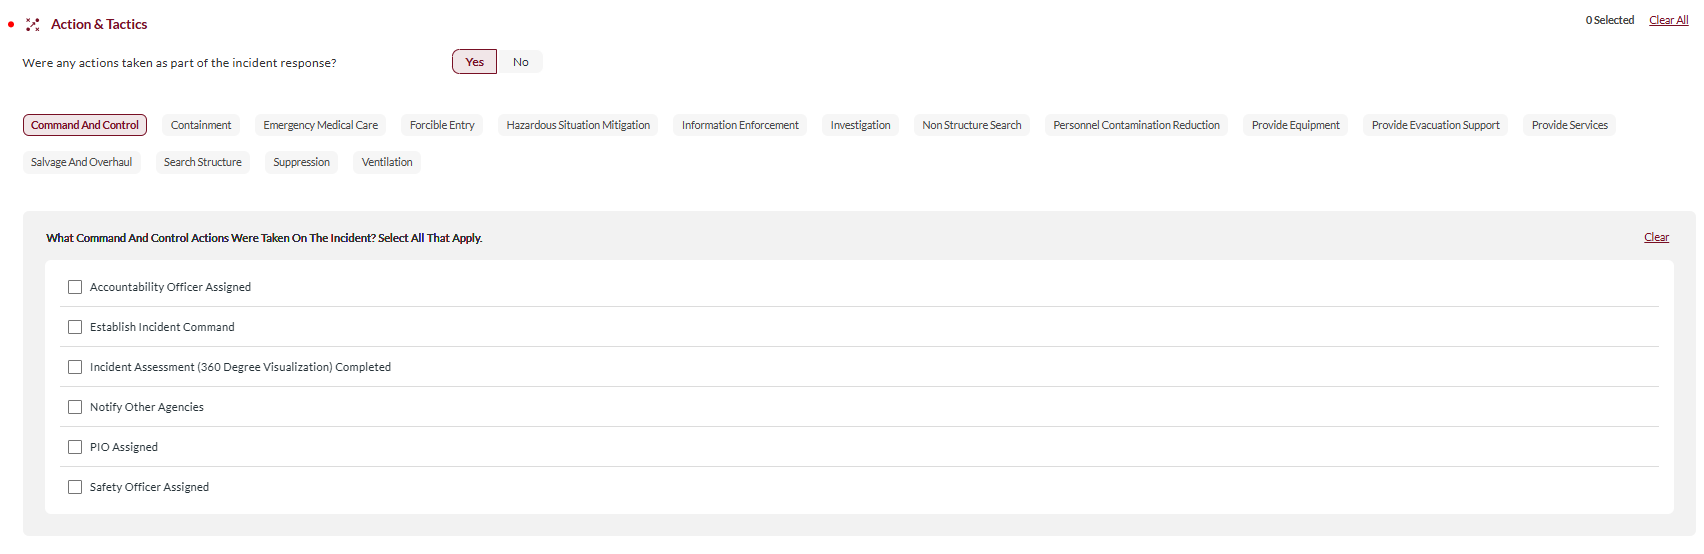
📖 Detailed guide: Actions & Tactics
Step 3: Record Location and Involved Parties
In Address & Location:
Enter the incident location using either the parcel address or the point/area map interface.
Specify location type and occupancy status.
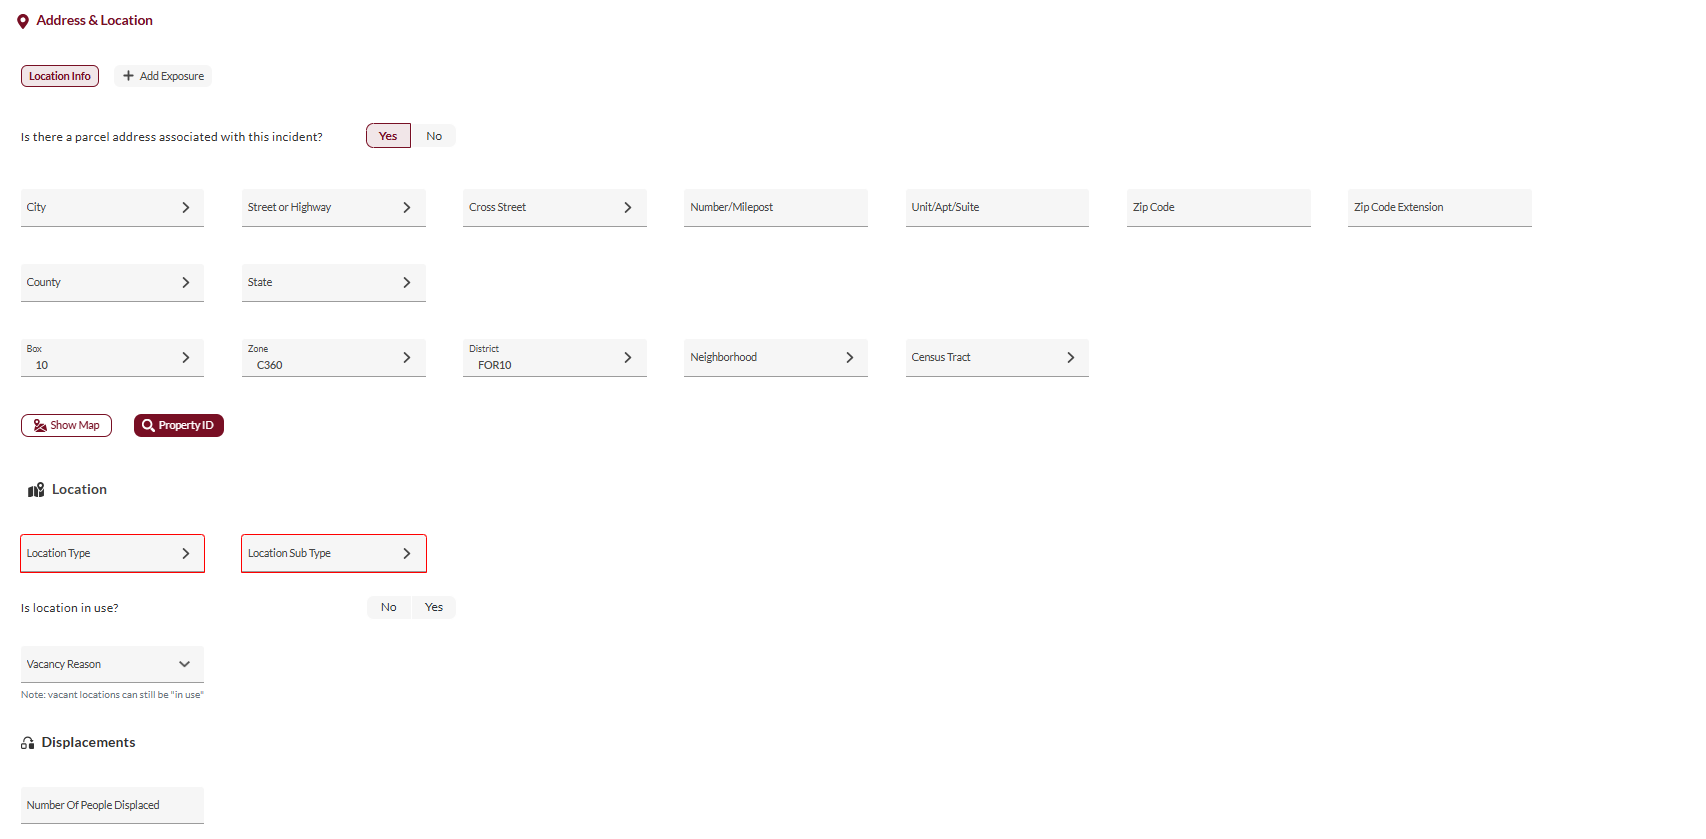
In Involved Entities:
Document any exposures where the incident spread.
Add information about individuals and organizations involved in the incident.

In MVC/Vehicle Info, complete detailed vehicle and collision information (vehicle incidents).

📖 Detailed guides: Address & Location | Involved Entities, MVC/Vehicle Info
Step 4: Complete Narratives and Authorization
Write an Obstacles Narrative describing any response challenges encountered.
Complete Incident Narrative with a comprehensive account from dispatch to completion.
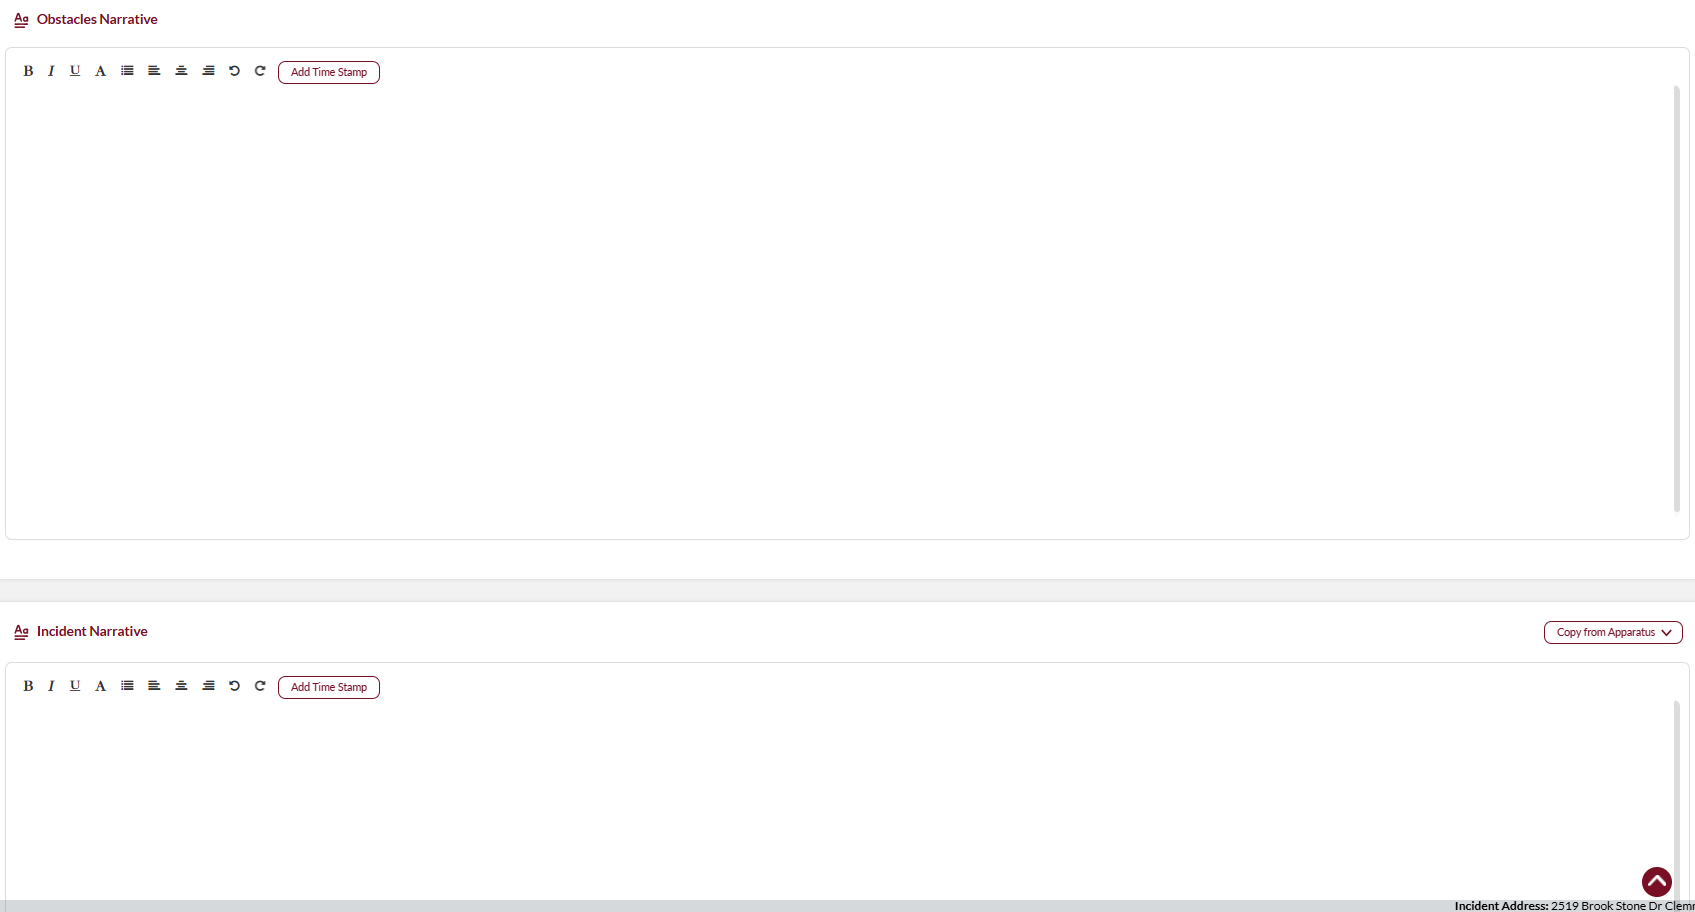
Fill in the Authorization section with the report completion date and the responsible personnel.
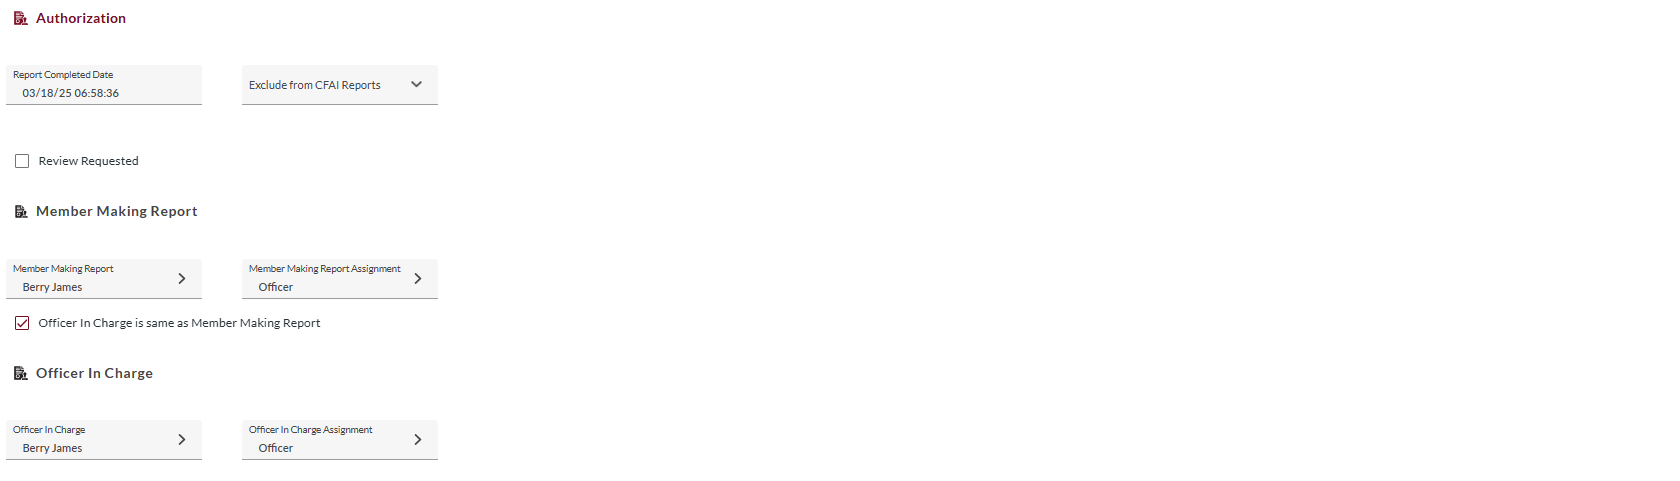
📖 Detailed guides: Narratives | Authorization
Part 3: Recording Response Details
Document unit deployment, personnel assignments, and operational timeline.
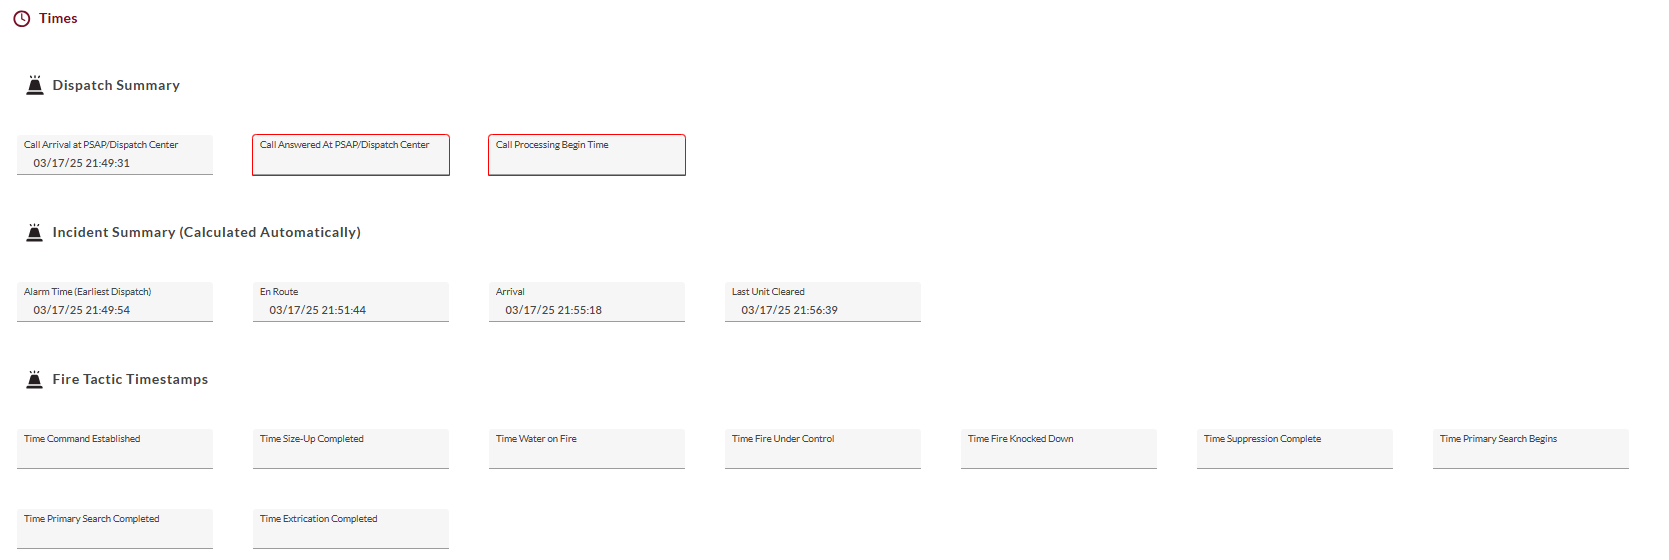
Step 1: Document Response Times
Enter dispatch timestamps (call arrival, call answered, processing begin).
Verify that incident summary times are automatically calculated.
Review and correct any timestamp discrepancies.
Step 2: Add Apparatus and Personnel
Click Add in the Apparatus Info section.
Select the apparatus from the dropdown list.
Complete response details (times, response mode, personnel assignments).
Write or generate a narrative describing unit activities.
Repeat for all responding units.
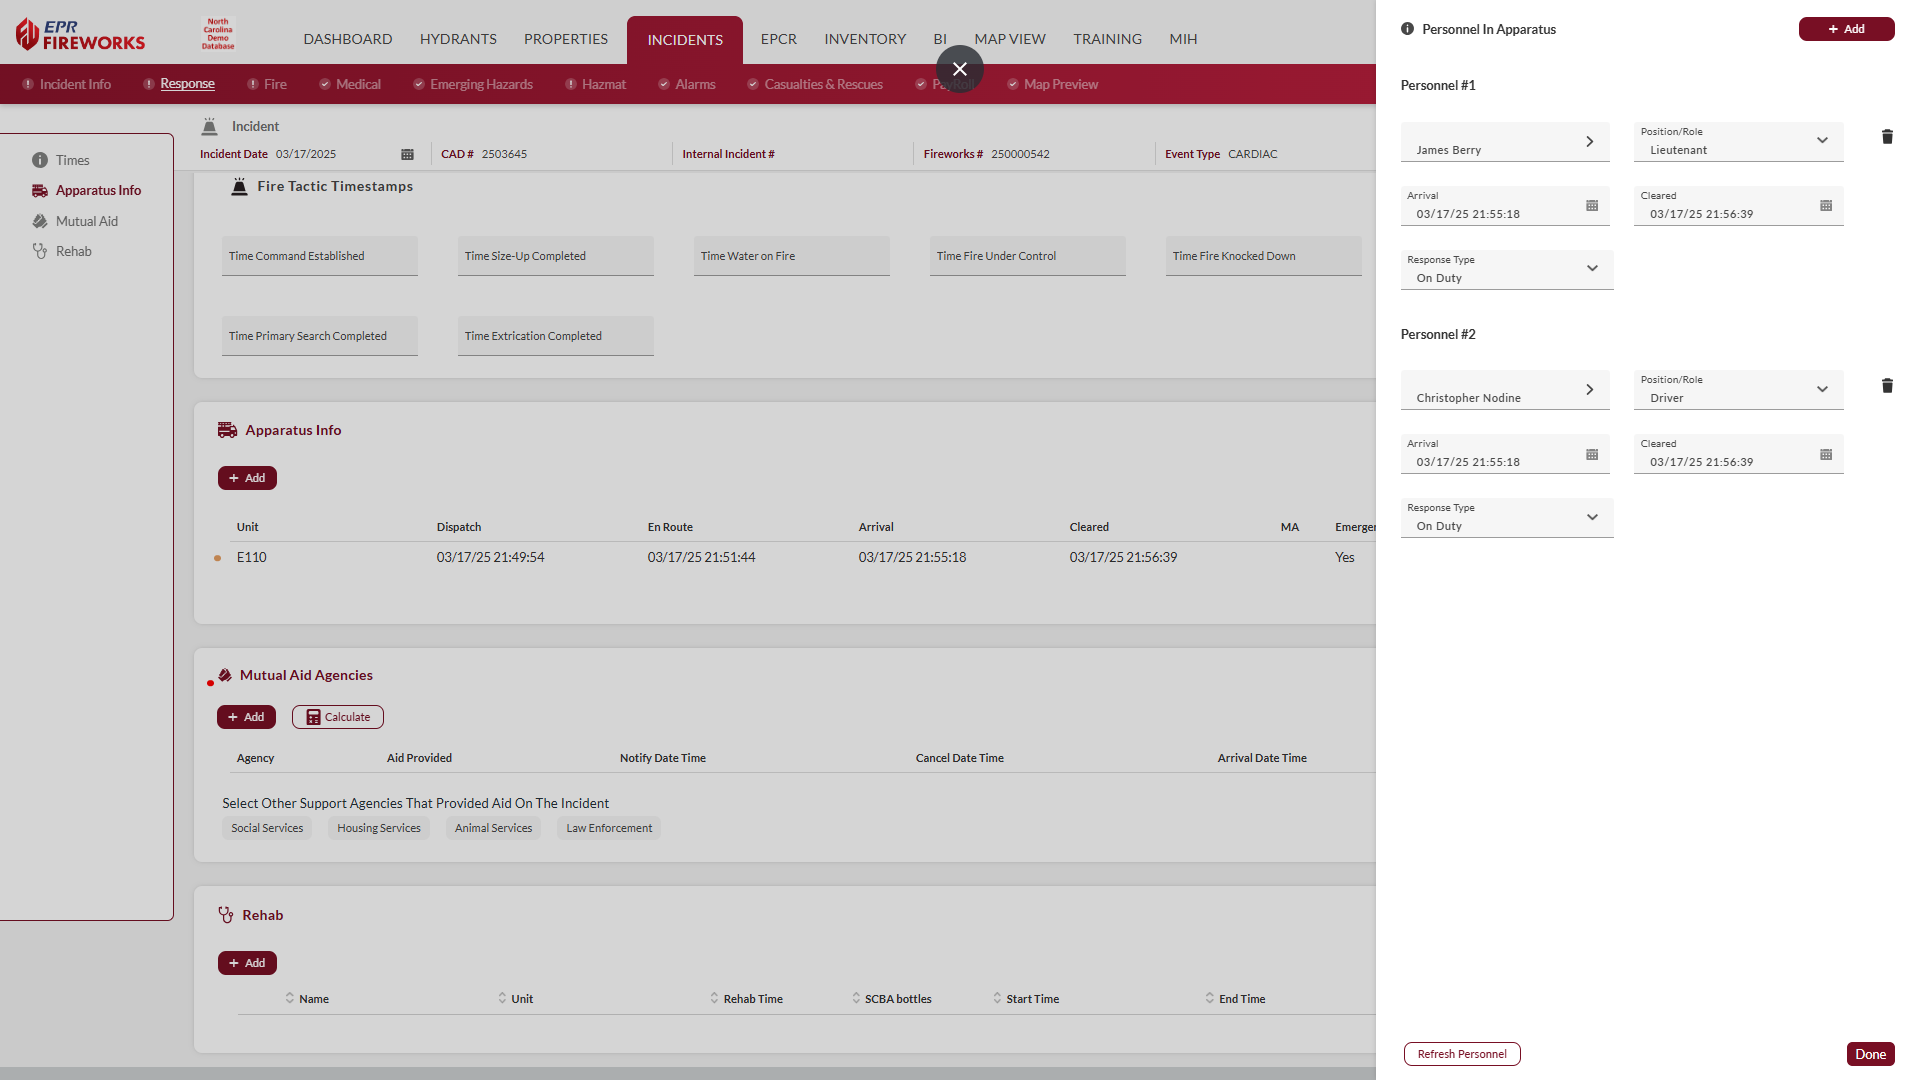
If other fire departments participated in the incident, complete the Mutual Aid Agencies section.

Step 3: Record REHAB Activities
If rehabilitation operations were conducted:
Click Add in the REHAB section.
Complete responder details and vital signs.
Record rehabilitation duration and provider information.
Repeat for all responders who underwent rehabilitation.

📖 Detailed guide: Response
Part 4: Completing Specialized Documentation
NERIS automatically displays specialized tabs based on your incident type selection. Complete any tabs that appear (Fire, Medical, HazMat, Emerging Hazards) with incident-specific information before submitting your report.
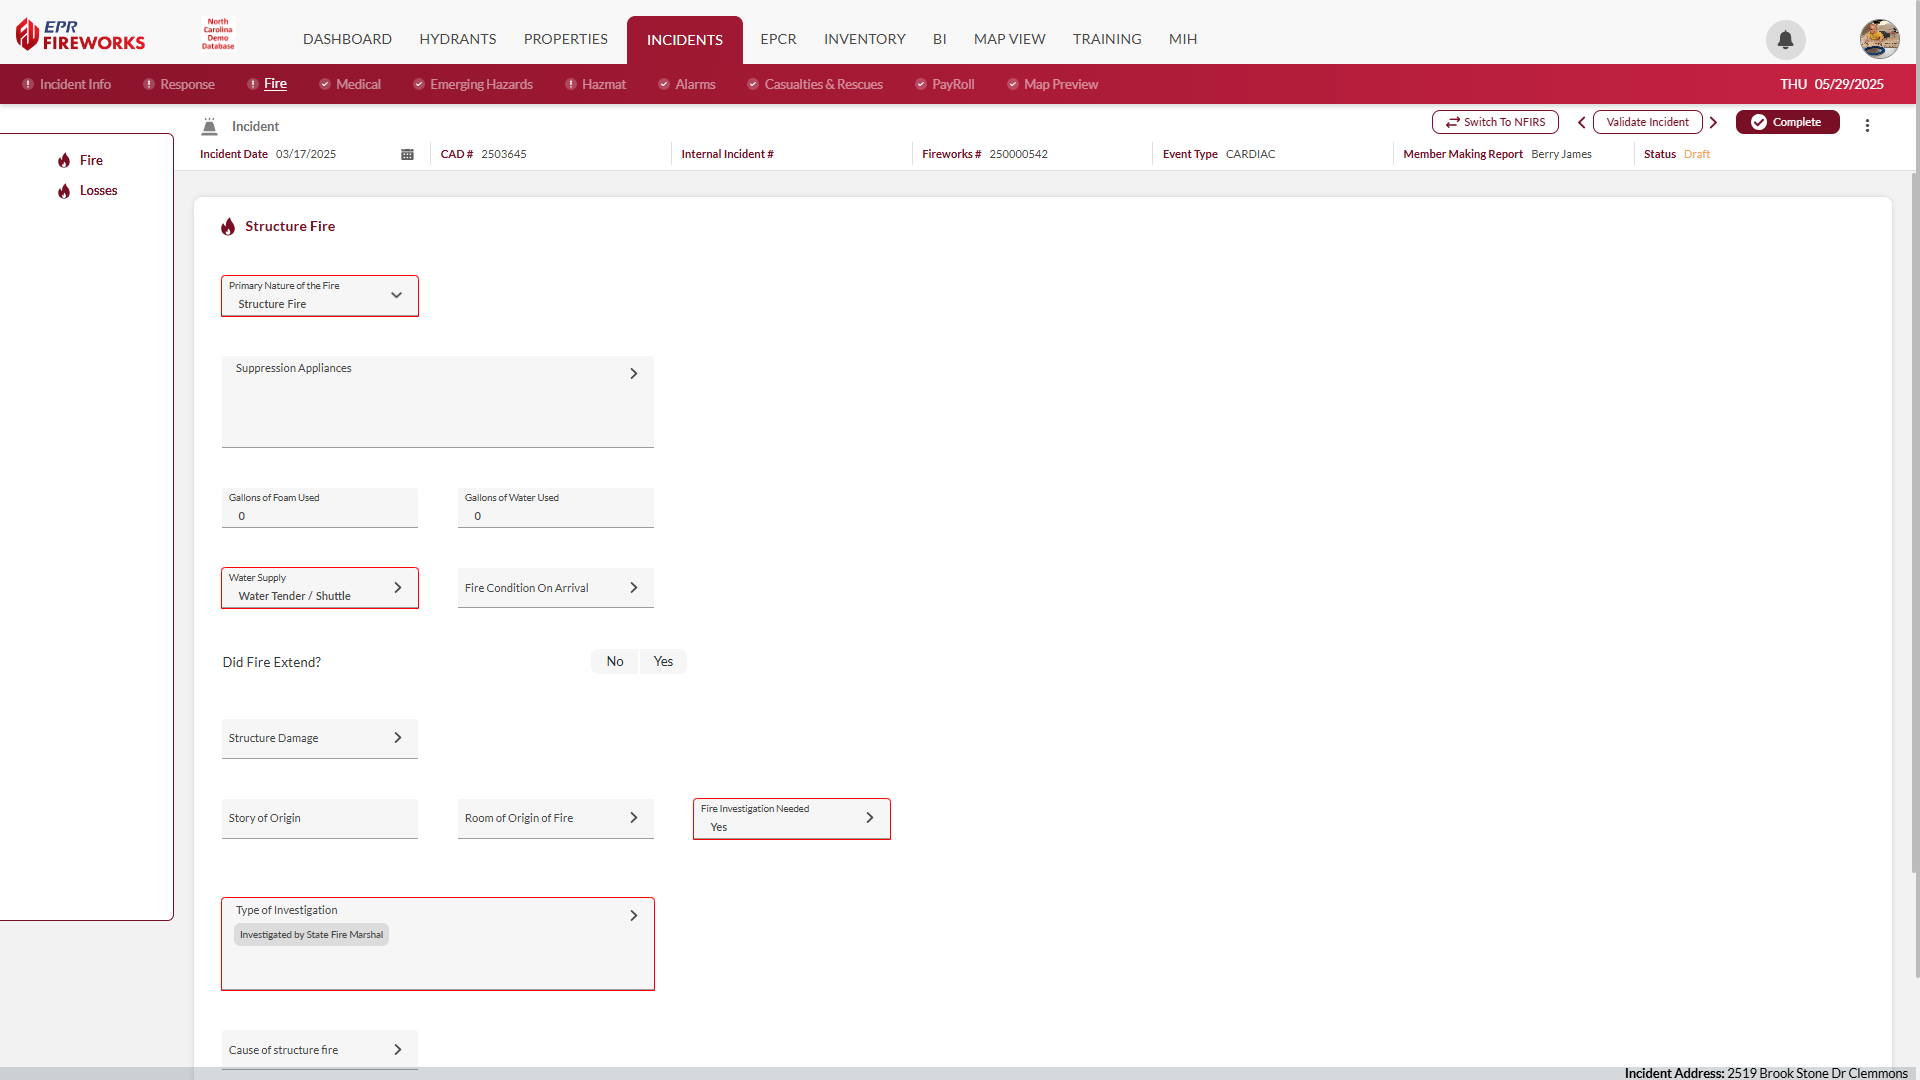
📖 Detailed guides: Fire | Medical | HazMat | Emerging Hazards
Part 5: Finalizing Your Report
Complete final documentation requirements and submit your NERIS report.
Step 1: Document Fire Protection Systems
Navigate to the Alarms tab.
For each system type, indicate Present, Not Present, or Not Applicable.
When Present is selected, document system types and operational status.
Record any system failures and their causes.
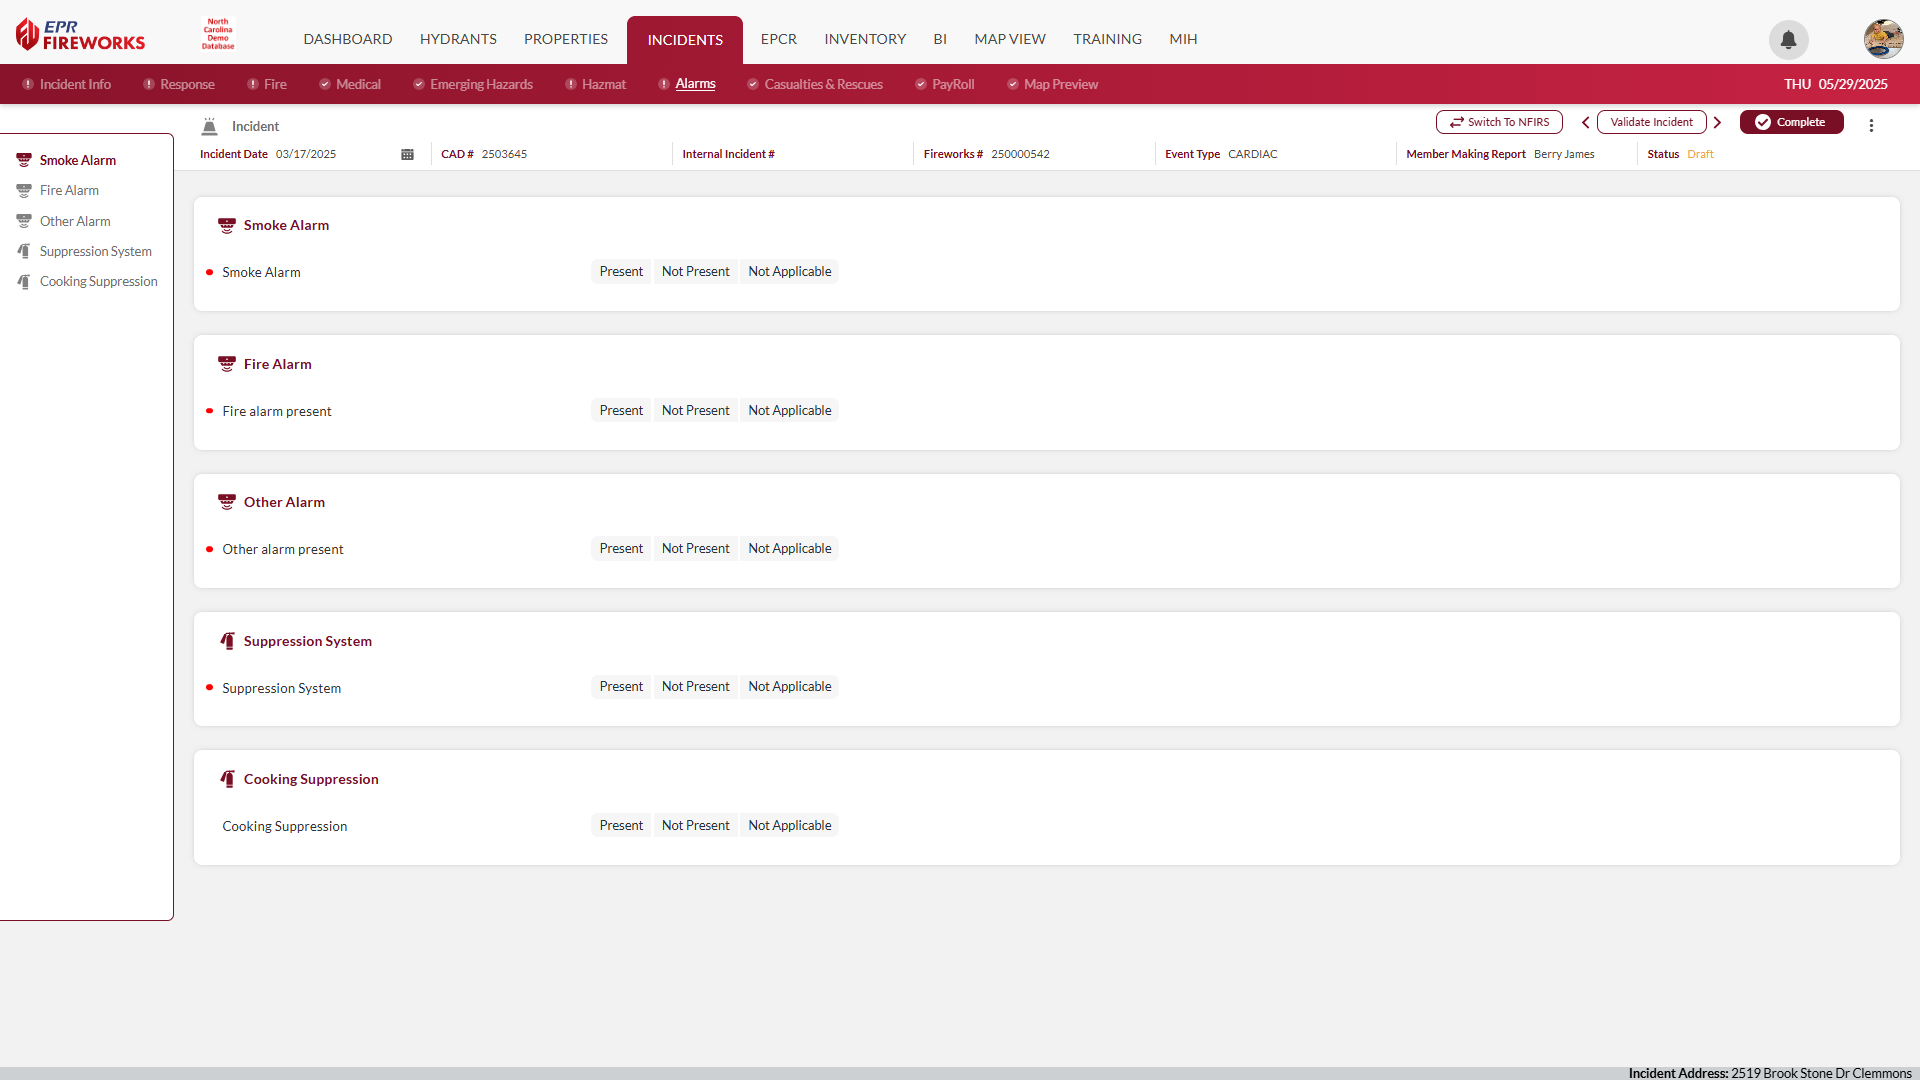
📖 Detailed guide: Alarms (Risk Reduction)
Step 2: Record Casualties and Rescues
Navigate to the Casualties & Rescues tab.
Add firefighter casualties/rescues if any occurred.
Add civilian casualties/rescues if any occurred.
Complete detailed forms for each entry, including demographics and circumstances.
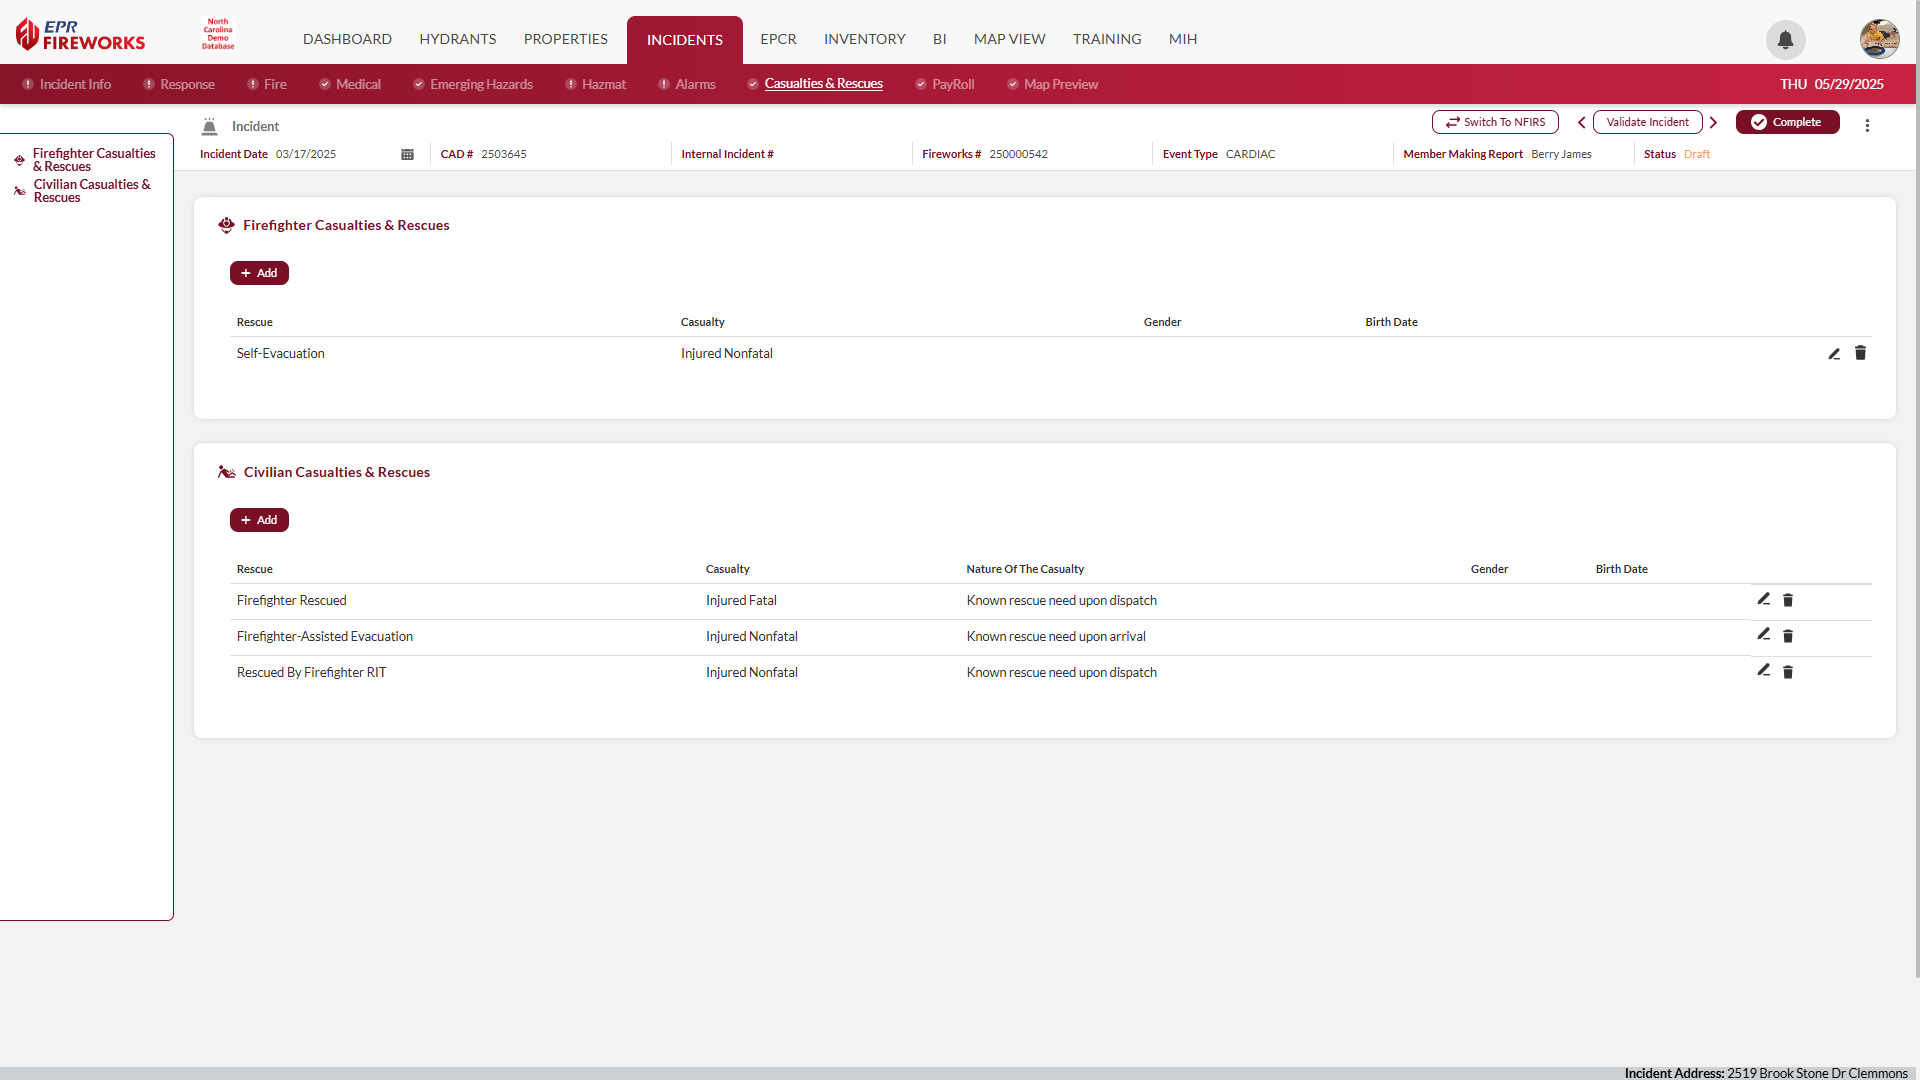
📖 Detailed guide: Casualties & Rescues
Step 3: Complete Payroll Documentation
Navigate to the Payroll tab.
Click Add Personnel to add responders assigned to the apparatus.
Complete compensation details, including hours, pay type, and response classification.
Use bulk update tools if needed for multiple personnel records.
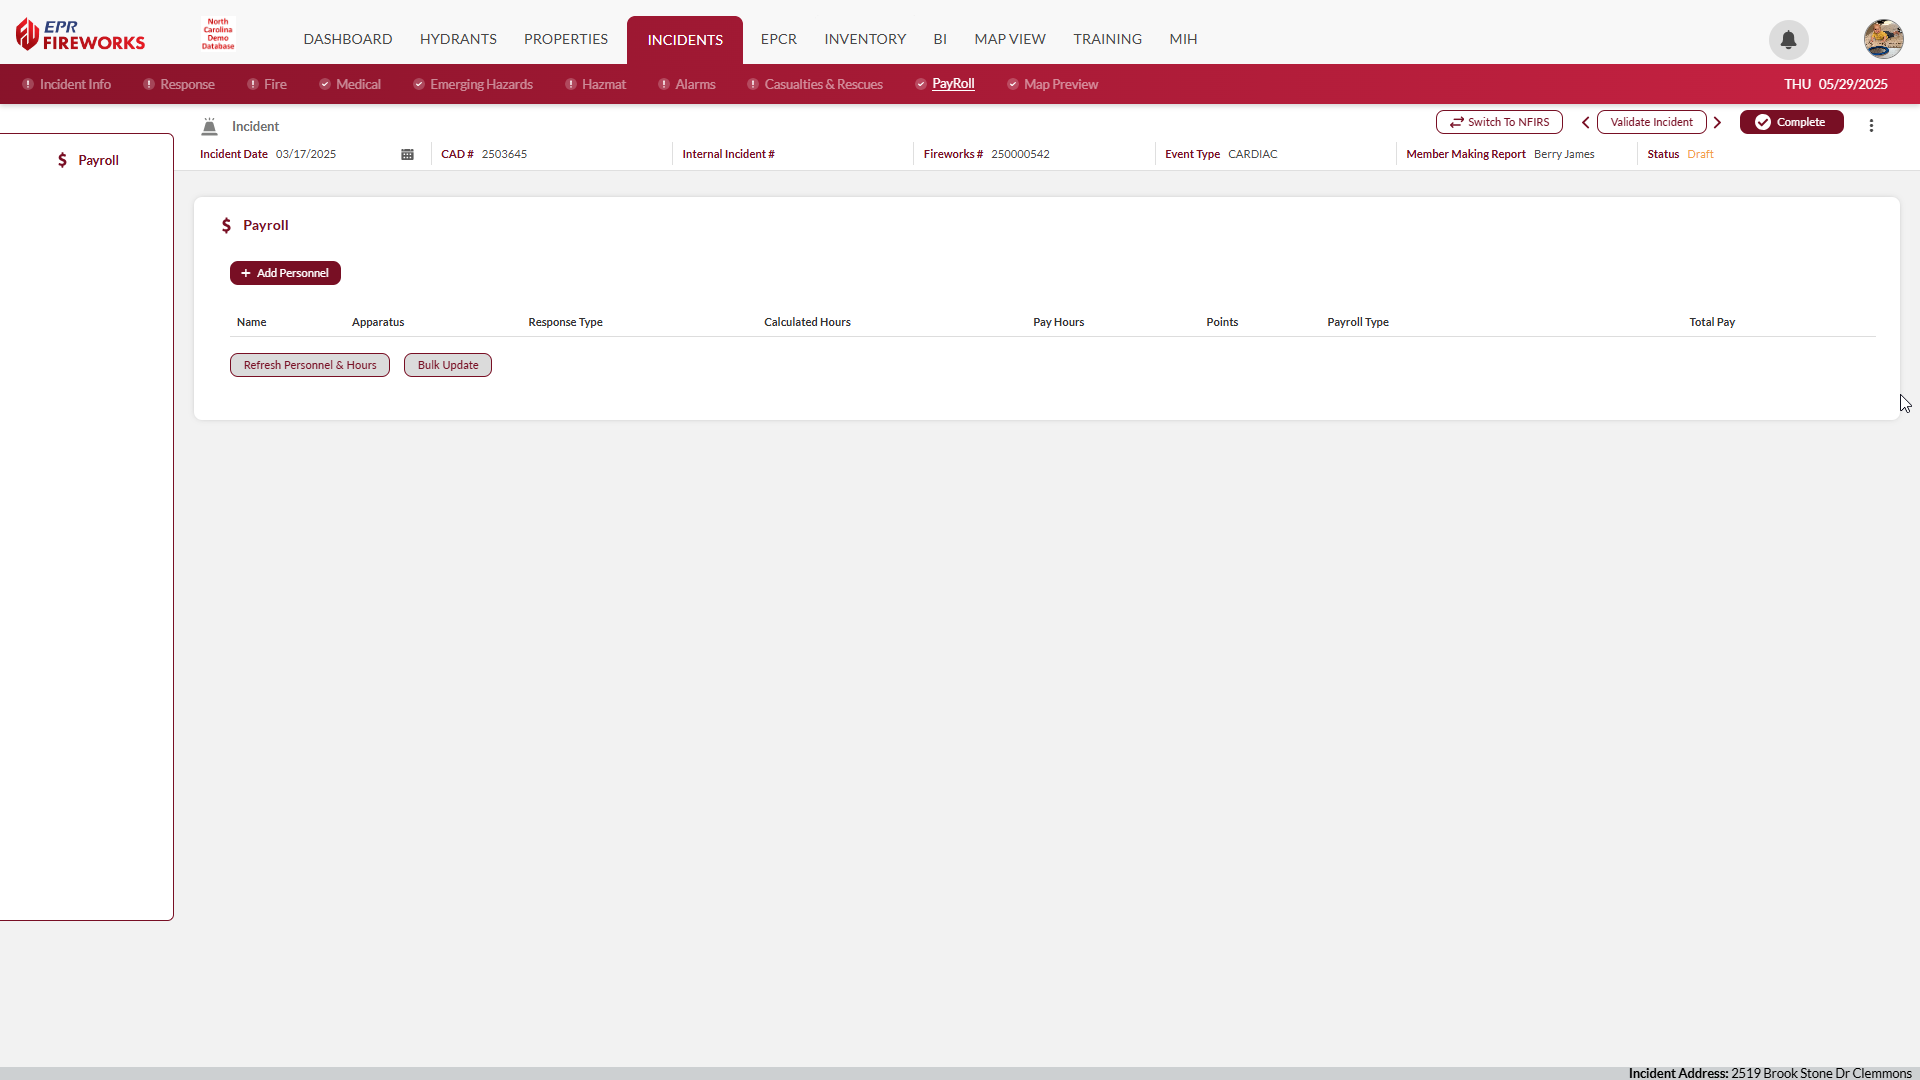
📖 Detailed guide: Payroll