Inspections - Release Notes
Inspections > Billing > Batch Bill Invoice Enhancement
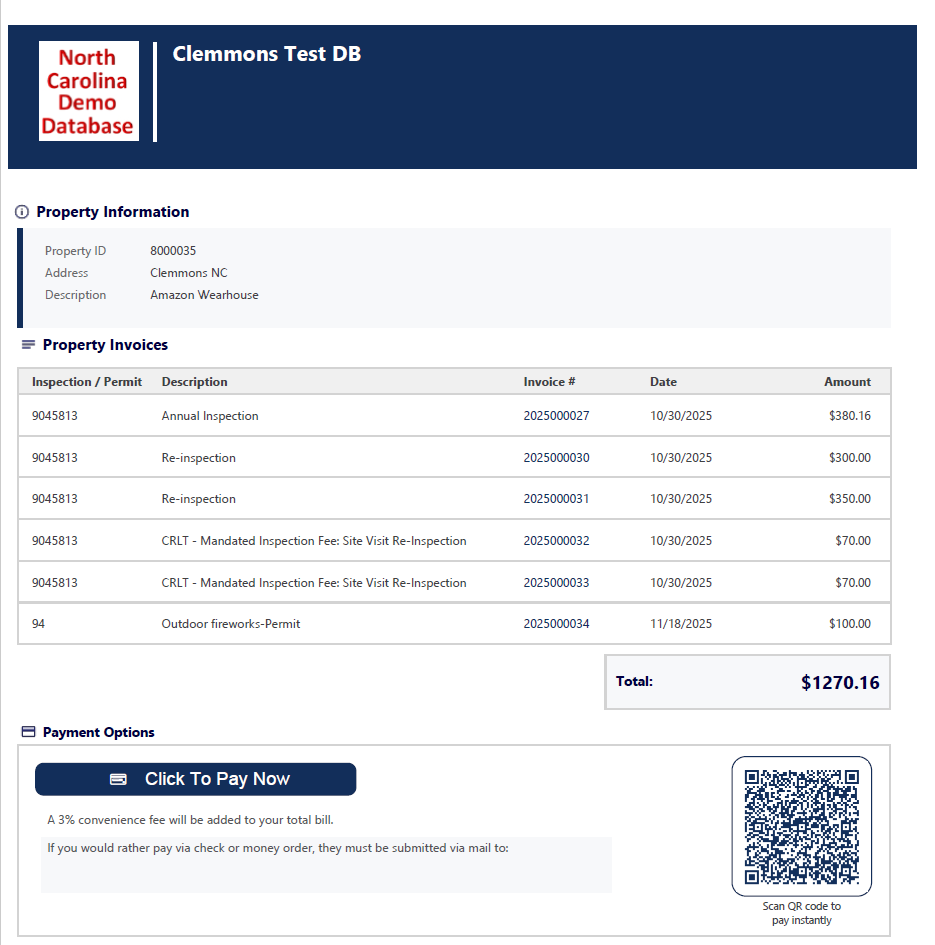
The batch bill invoice PDF now displays selected bills in an organized table format, improving clarity when processing multiple invoices simultaneously.
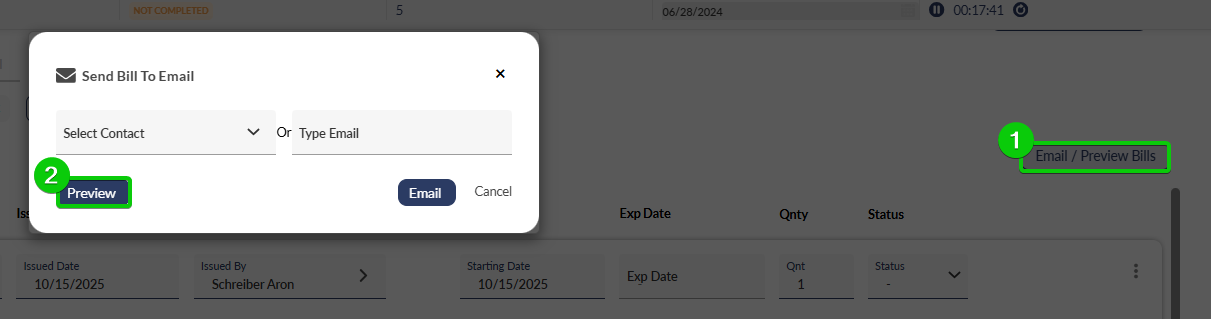
Inspections > Billing > Bill Preview
Preview bills before submission to verify accuracy and completeness, reducing errors in your billing workflow.